


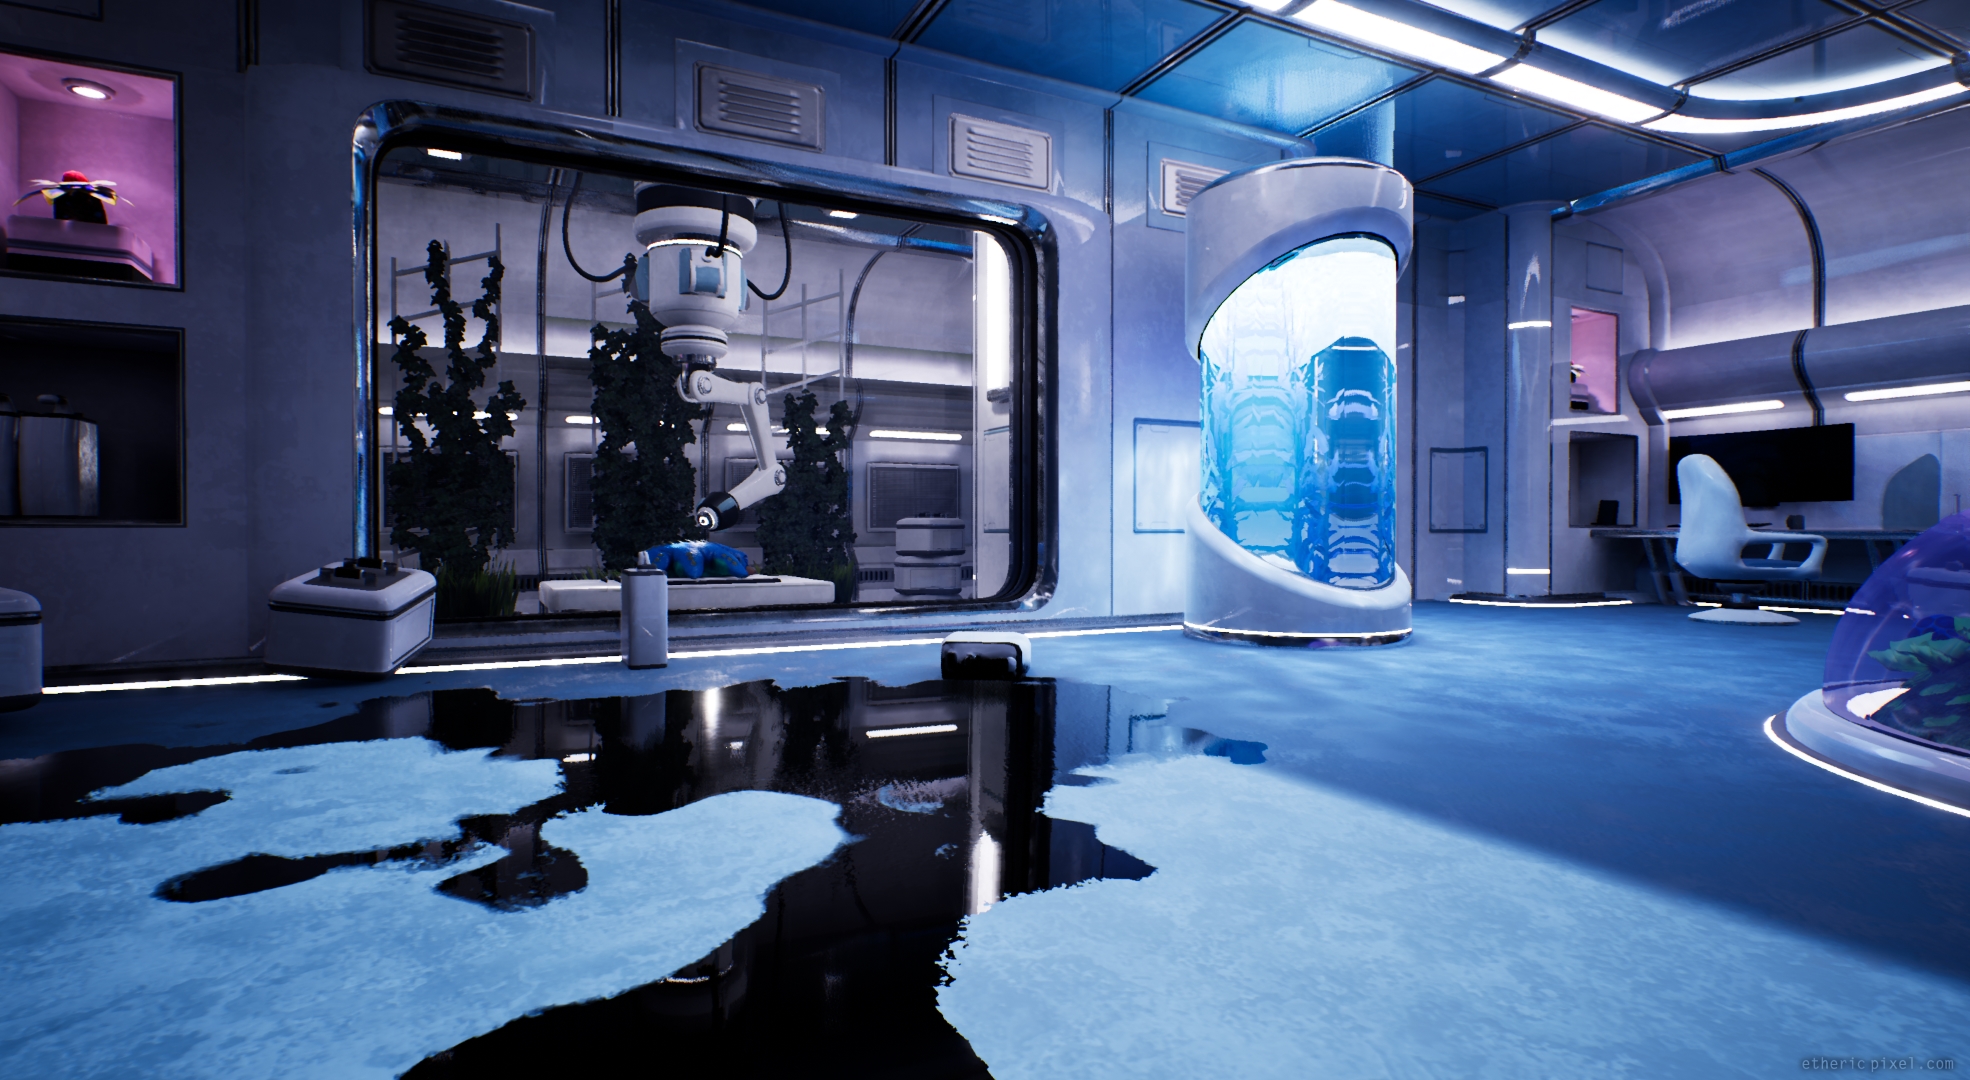
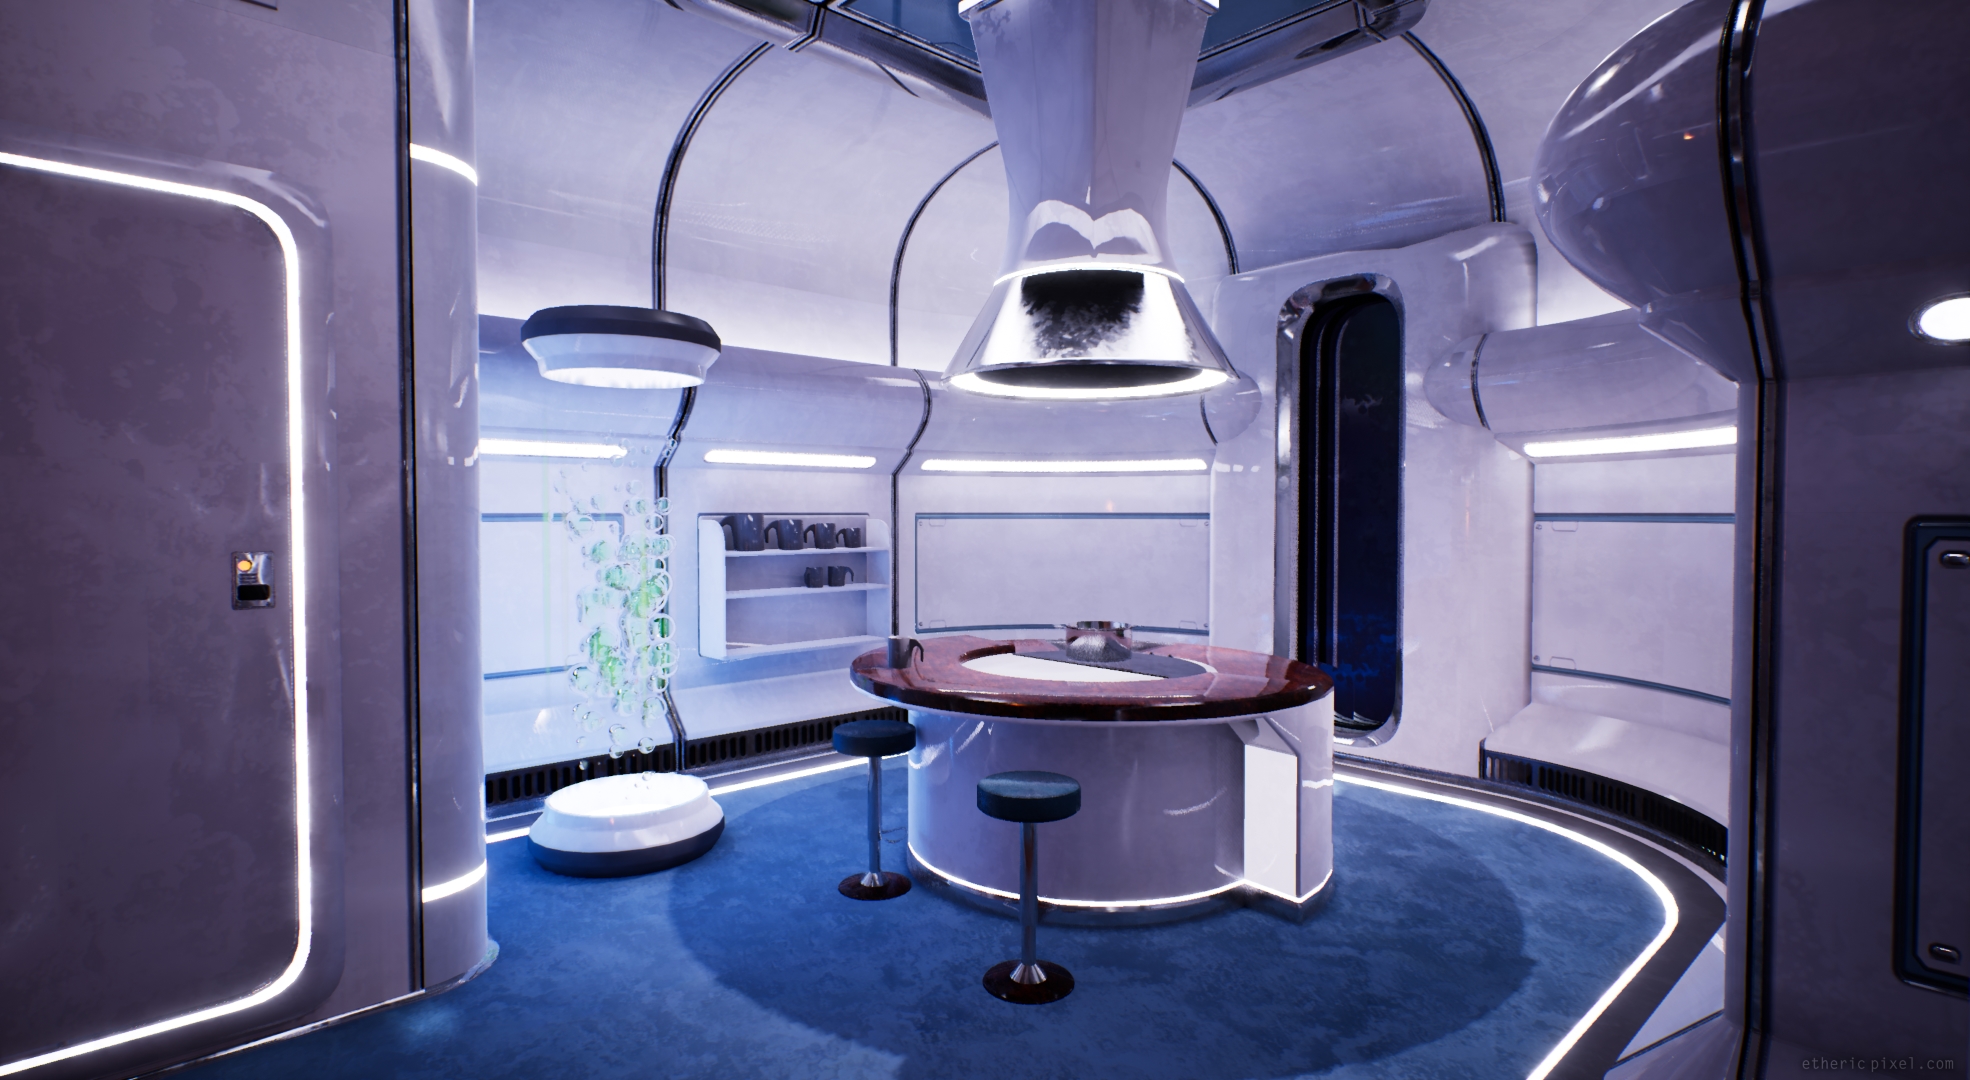
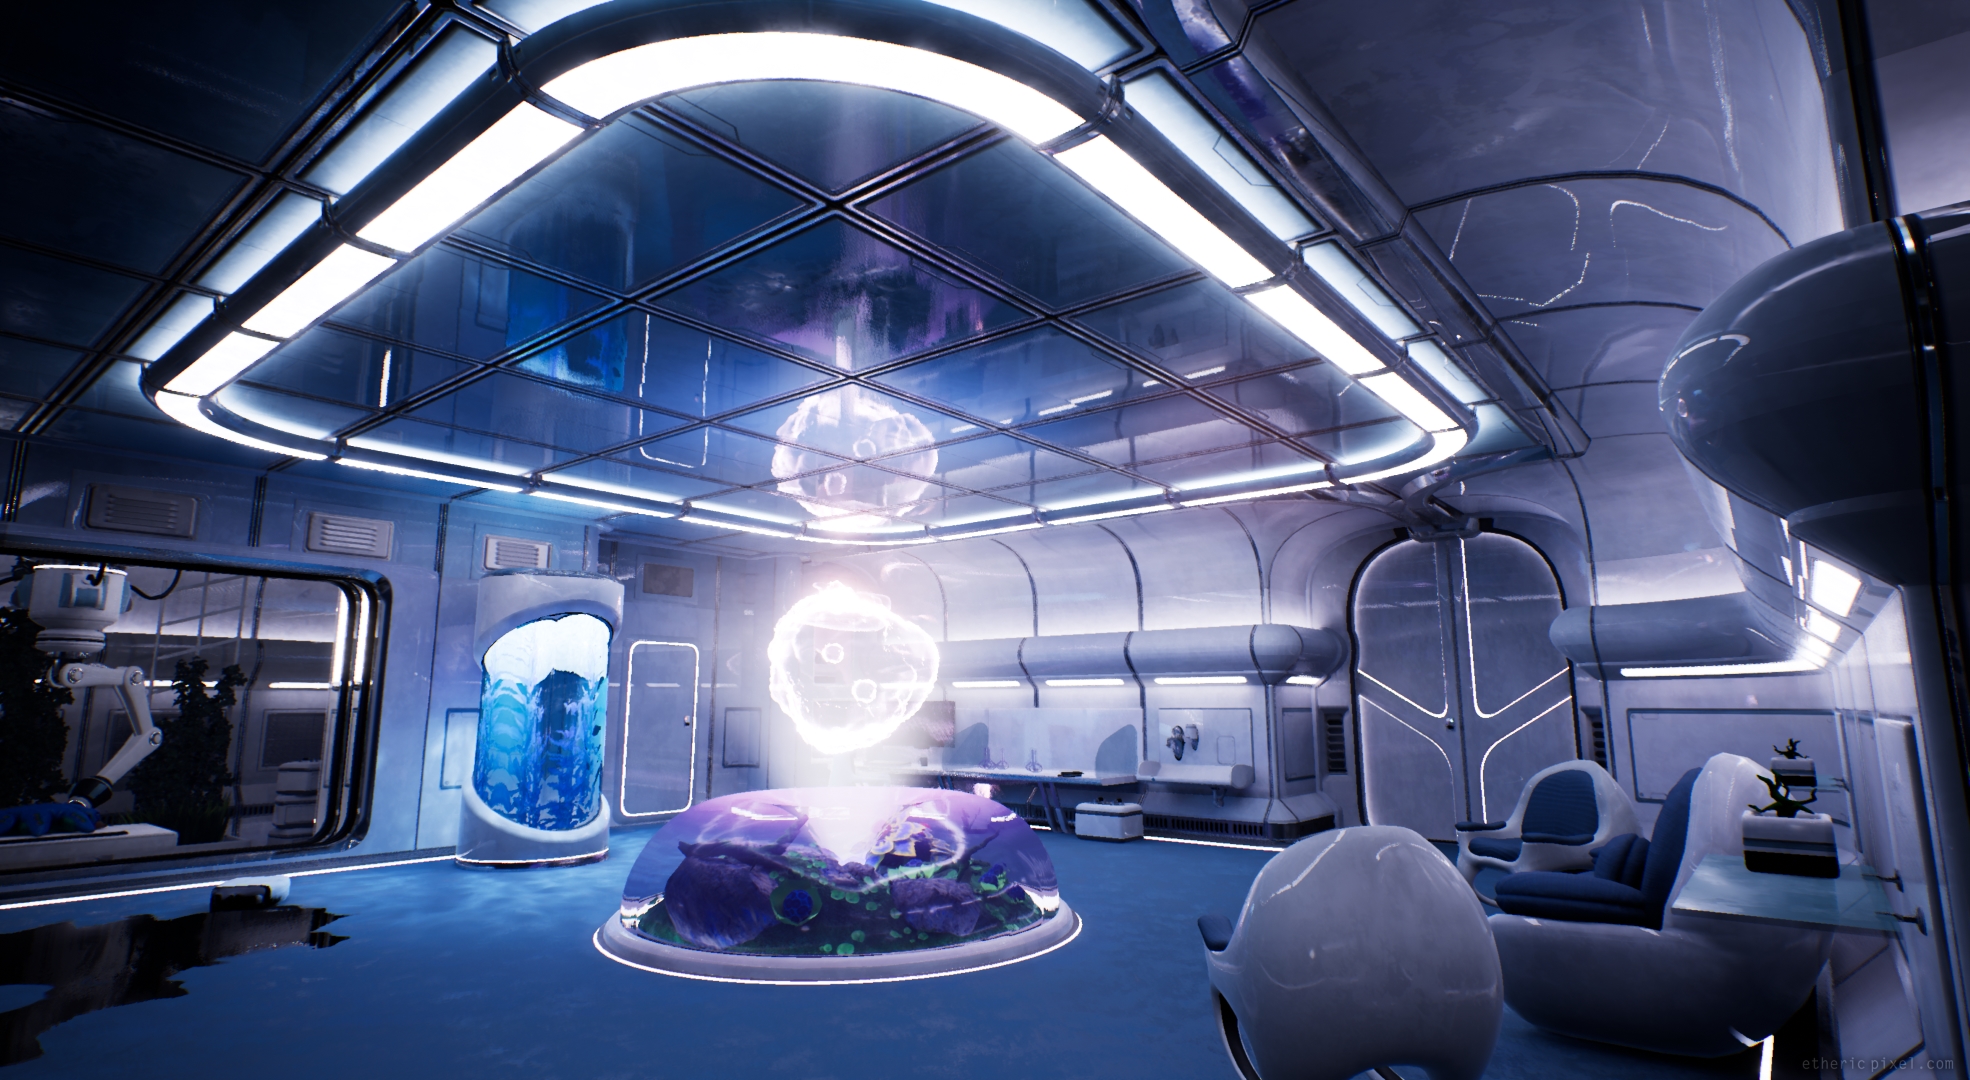
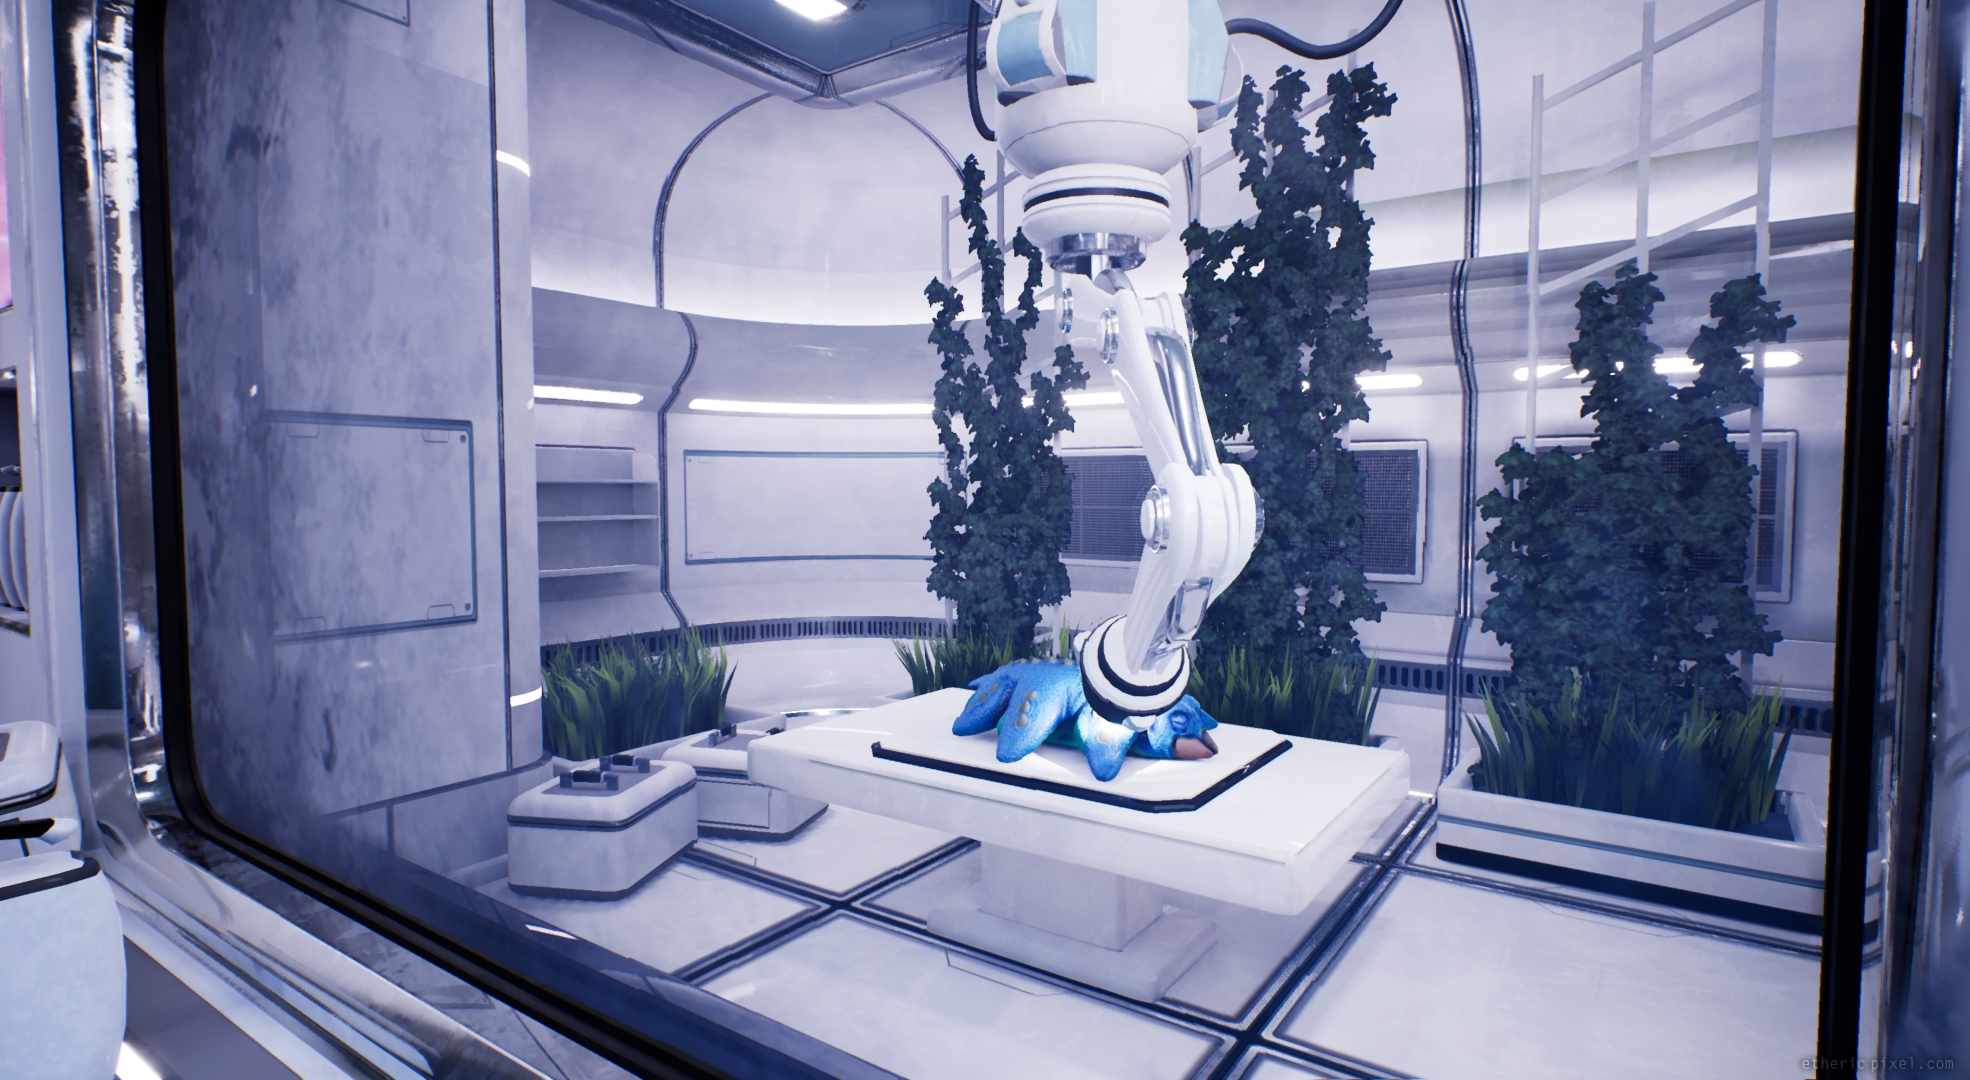
Finally. Here is an overview of my very first modular game environment created and rendered in Unreal Engine 4.15, for an end-of-year project.
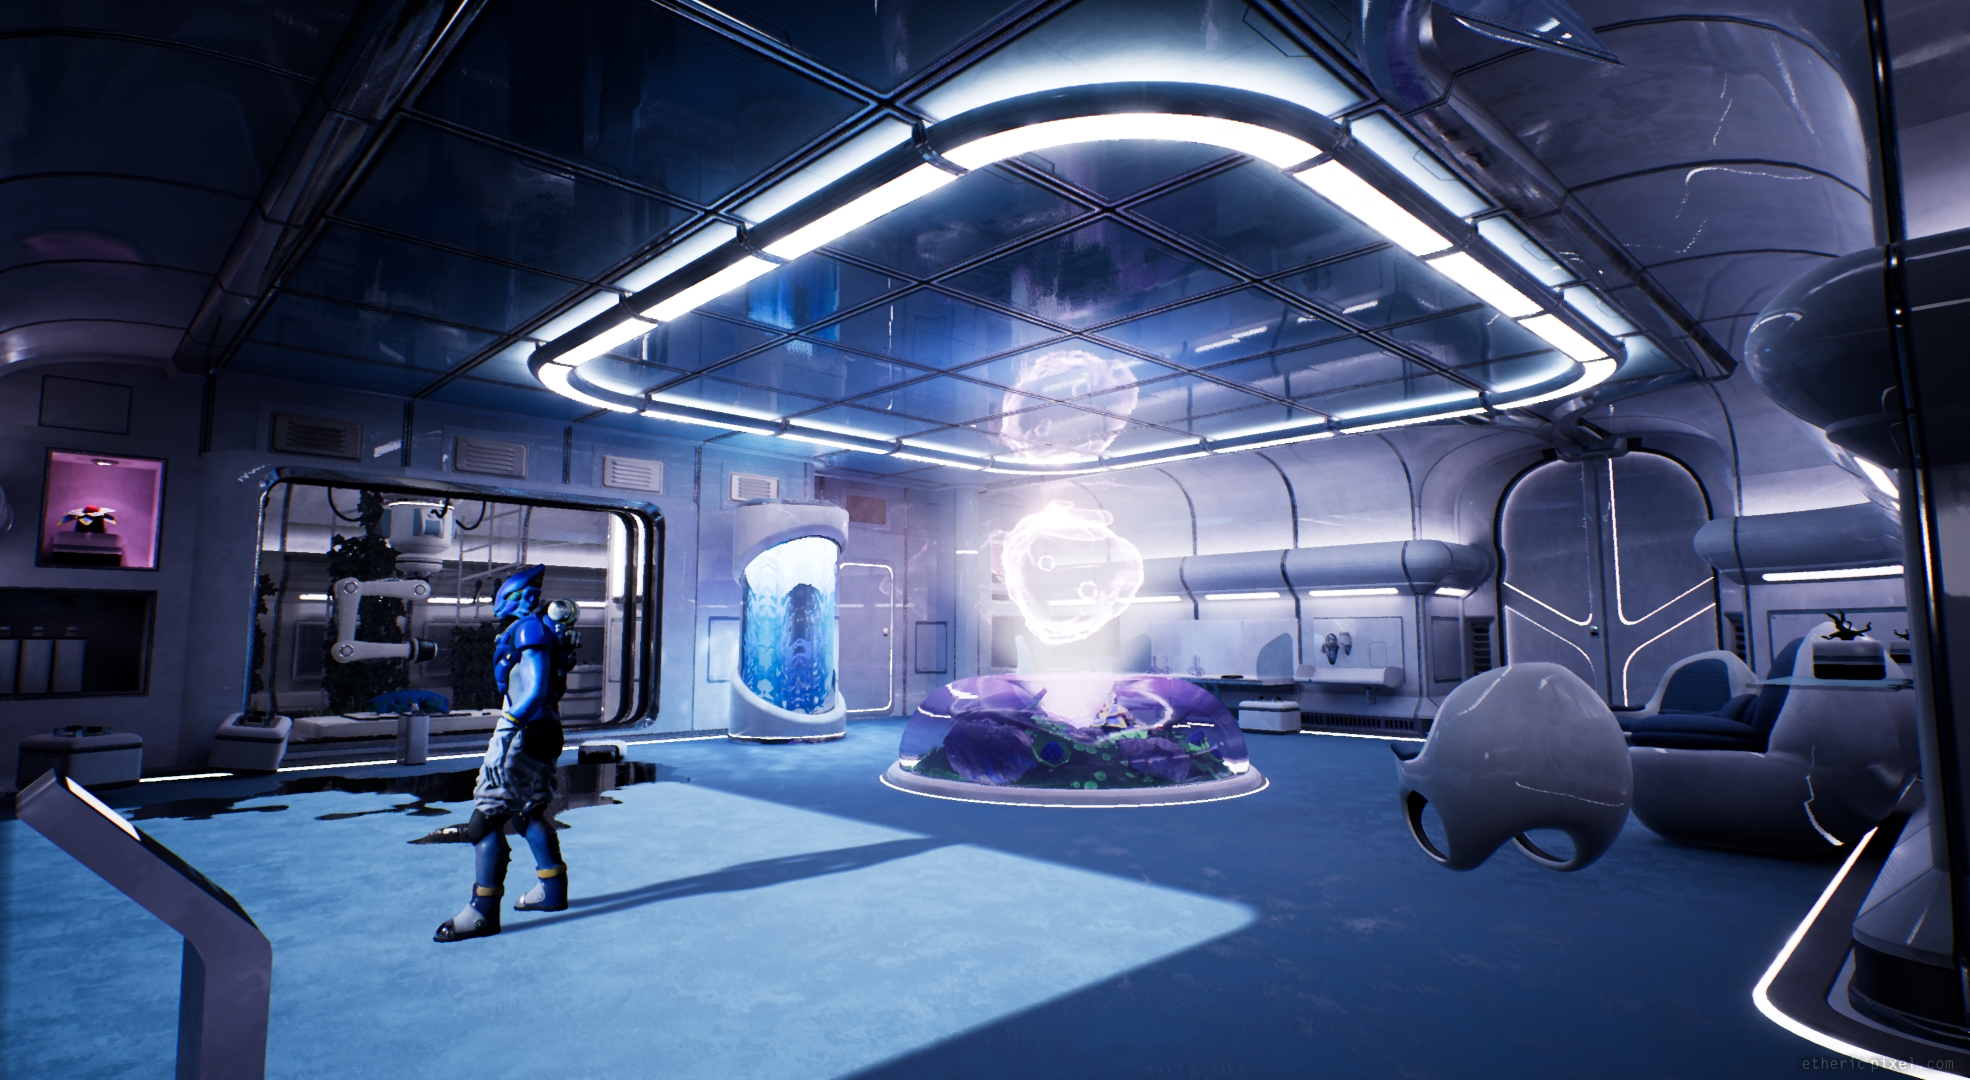
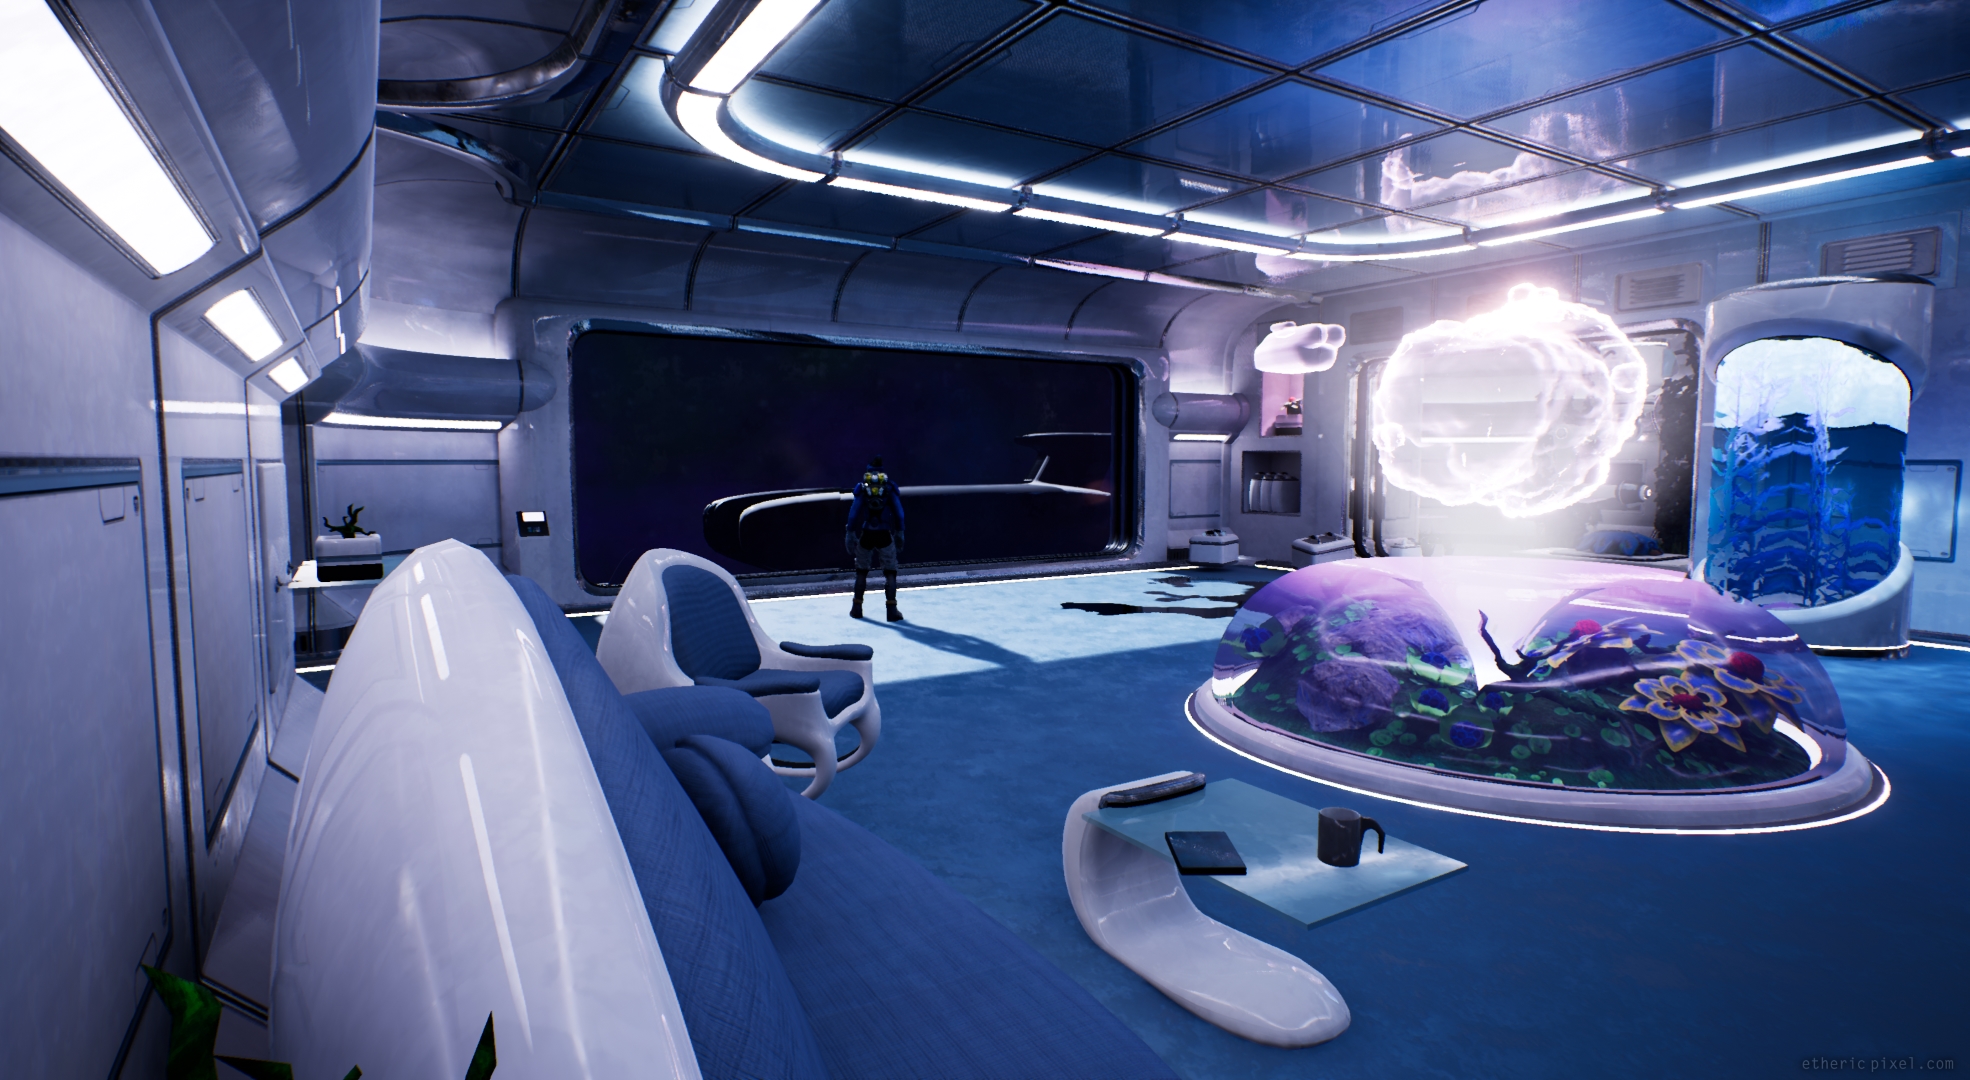
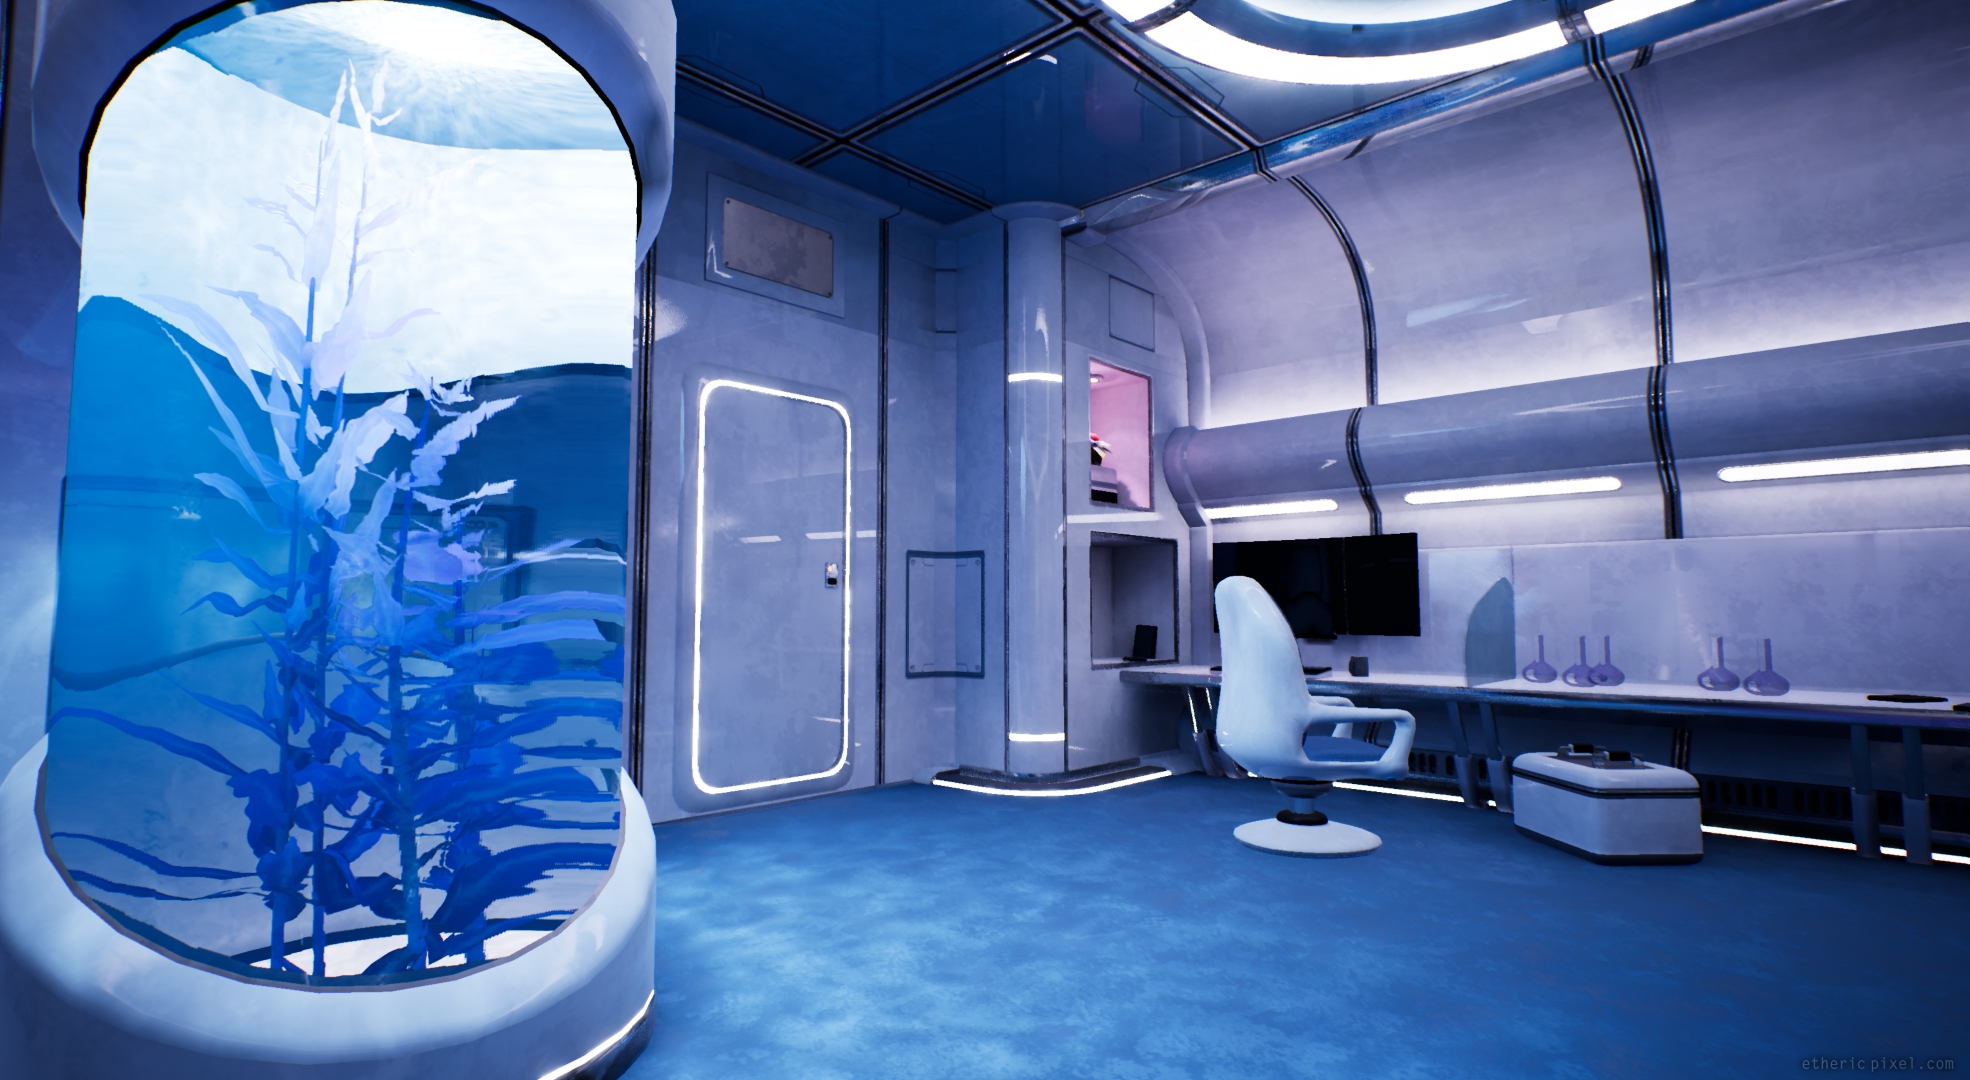
This is a living room which is part of a space bioengineering laboratory.
The story behind tells us that some advanced alien civilisation invested an asteroid, trying to recreate a habitable biosphere after their star died and blew up their home planet (hence the project name Revive).
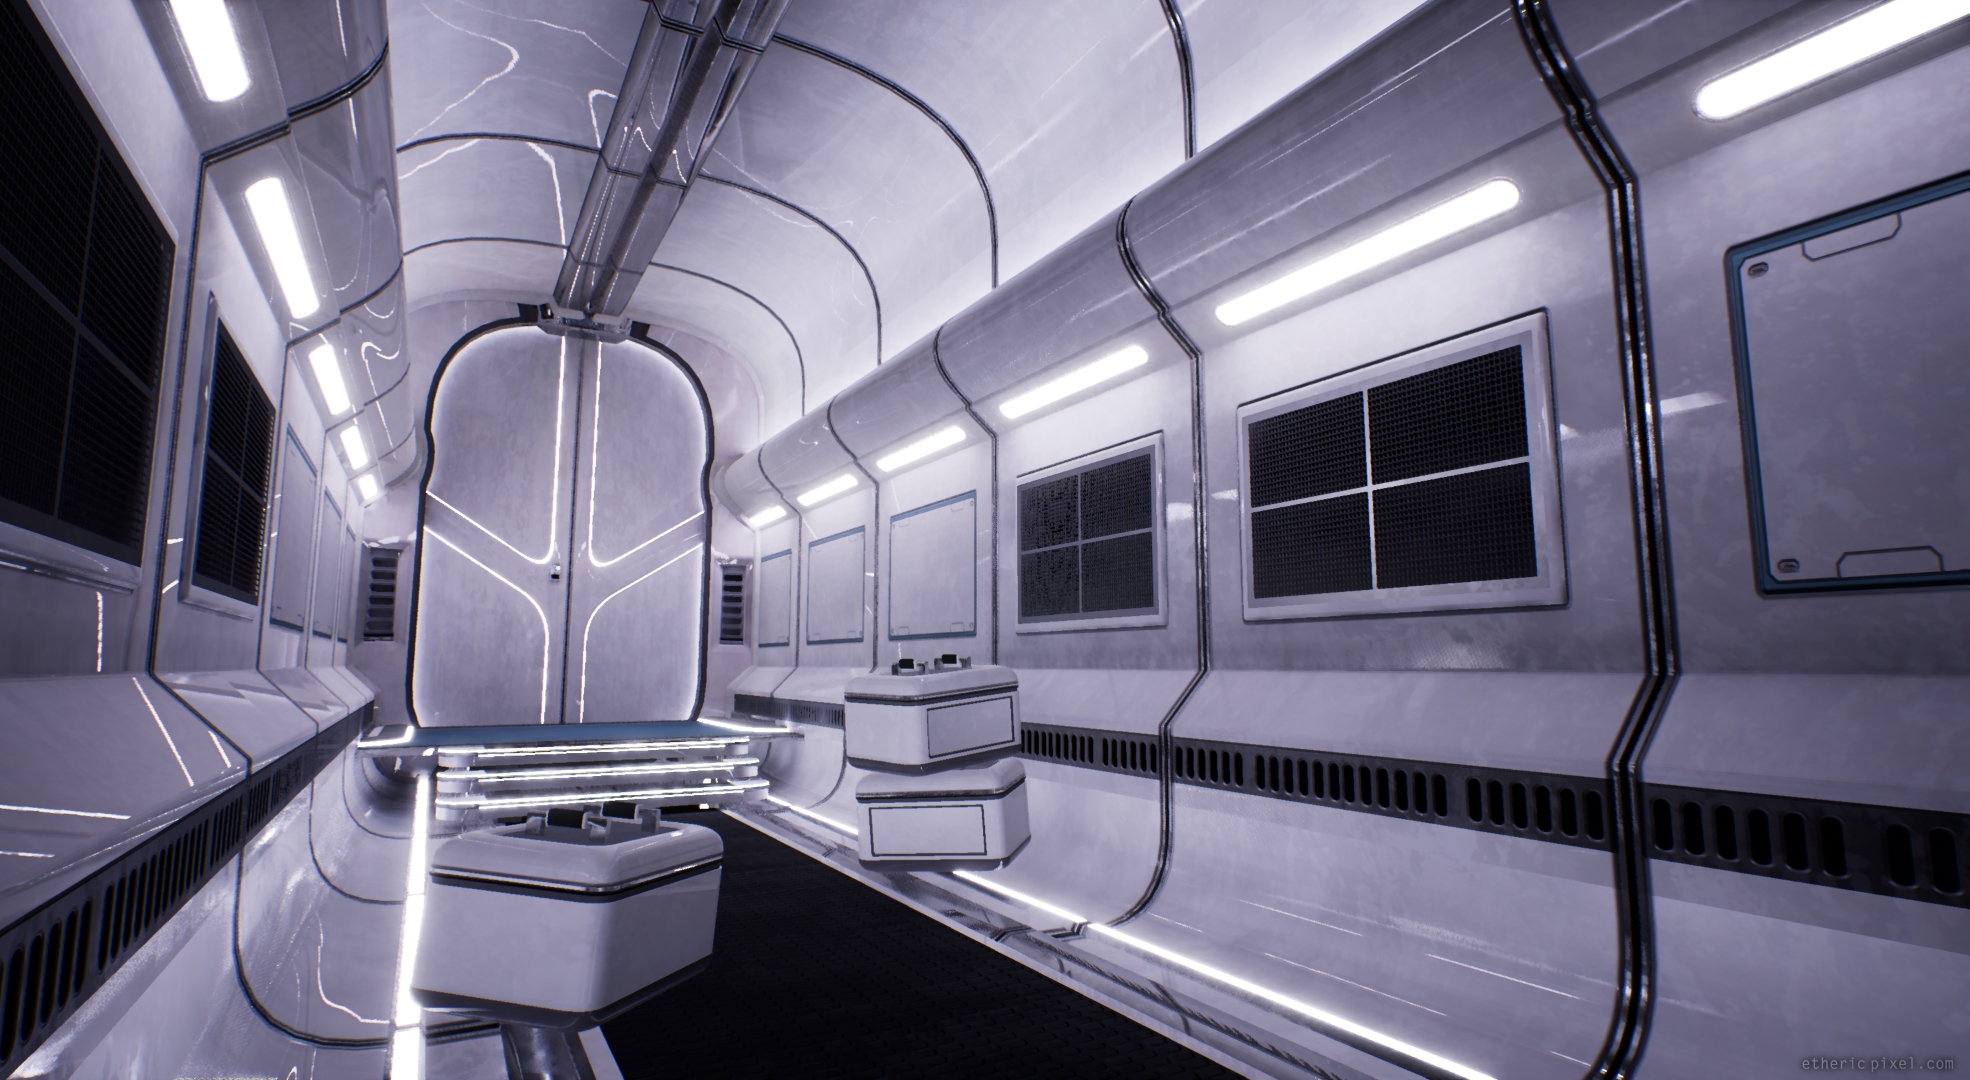
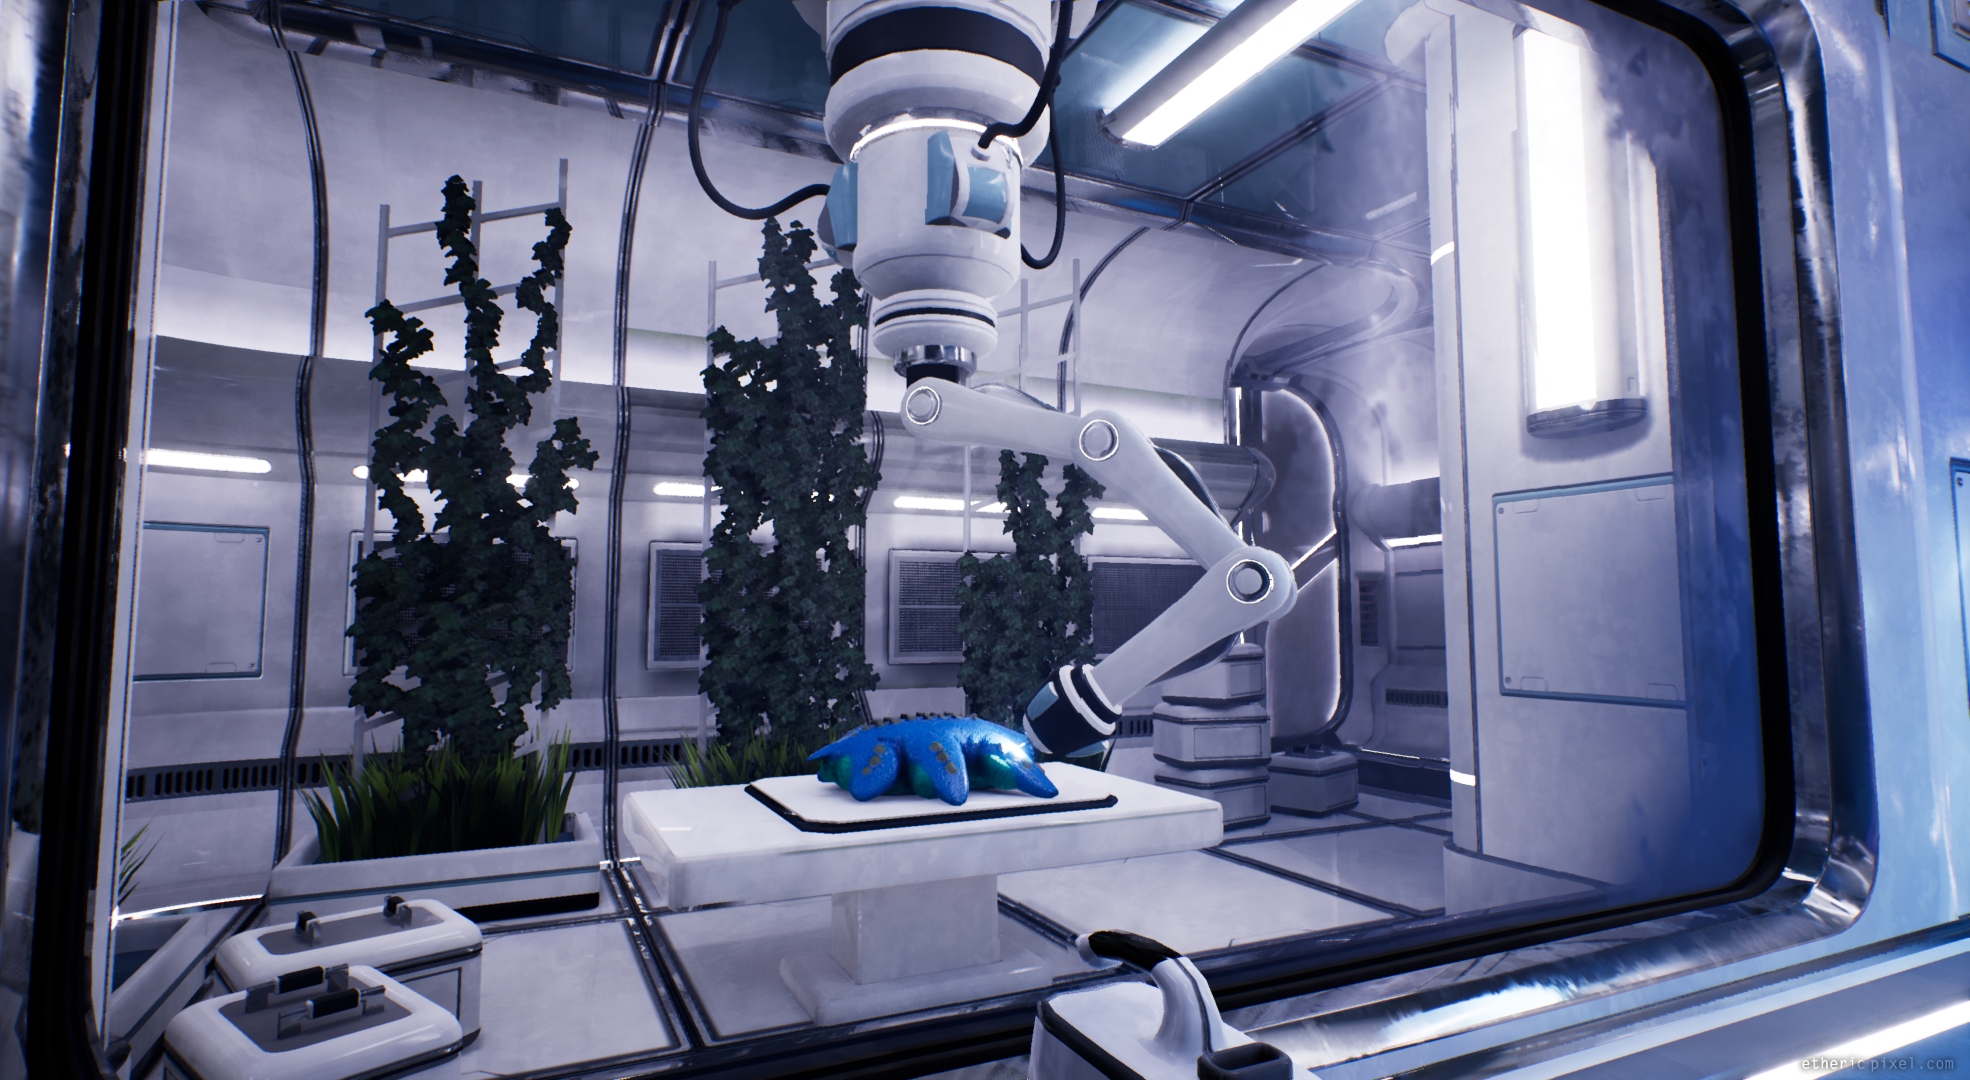
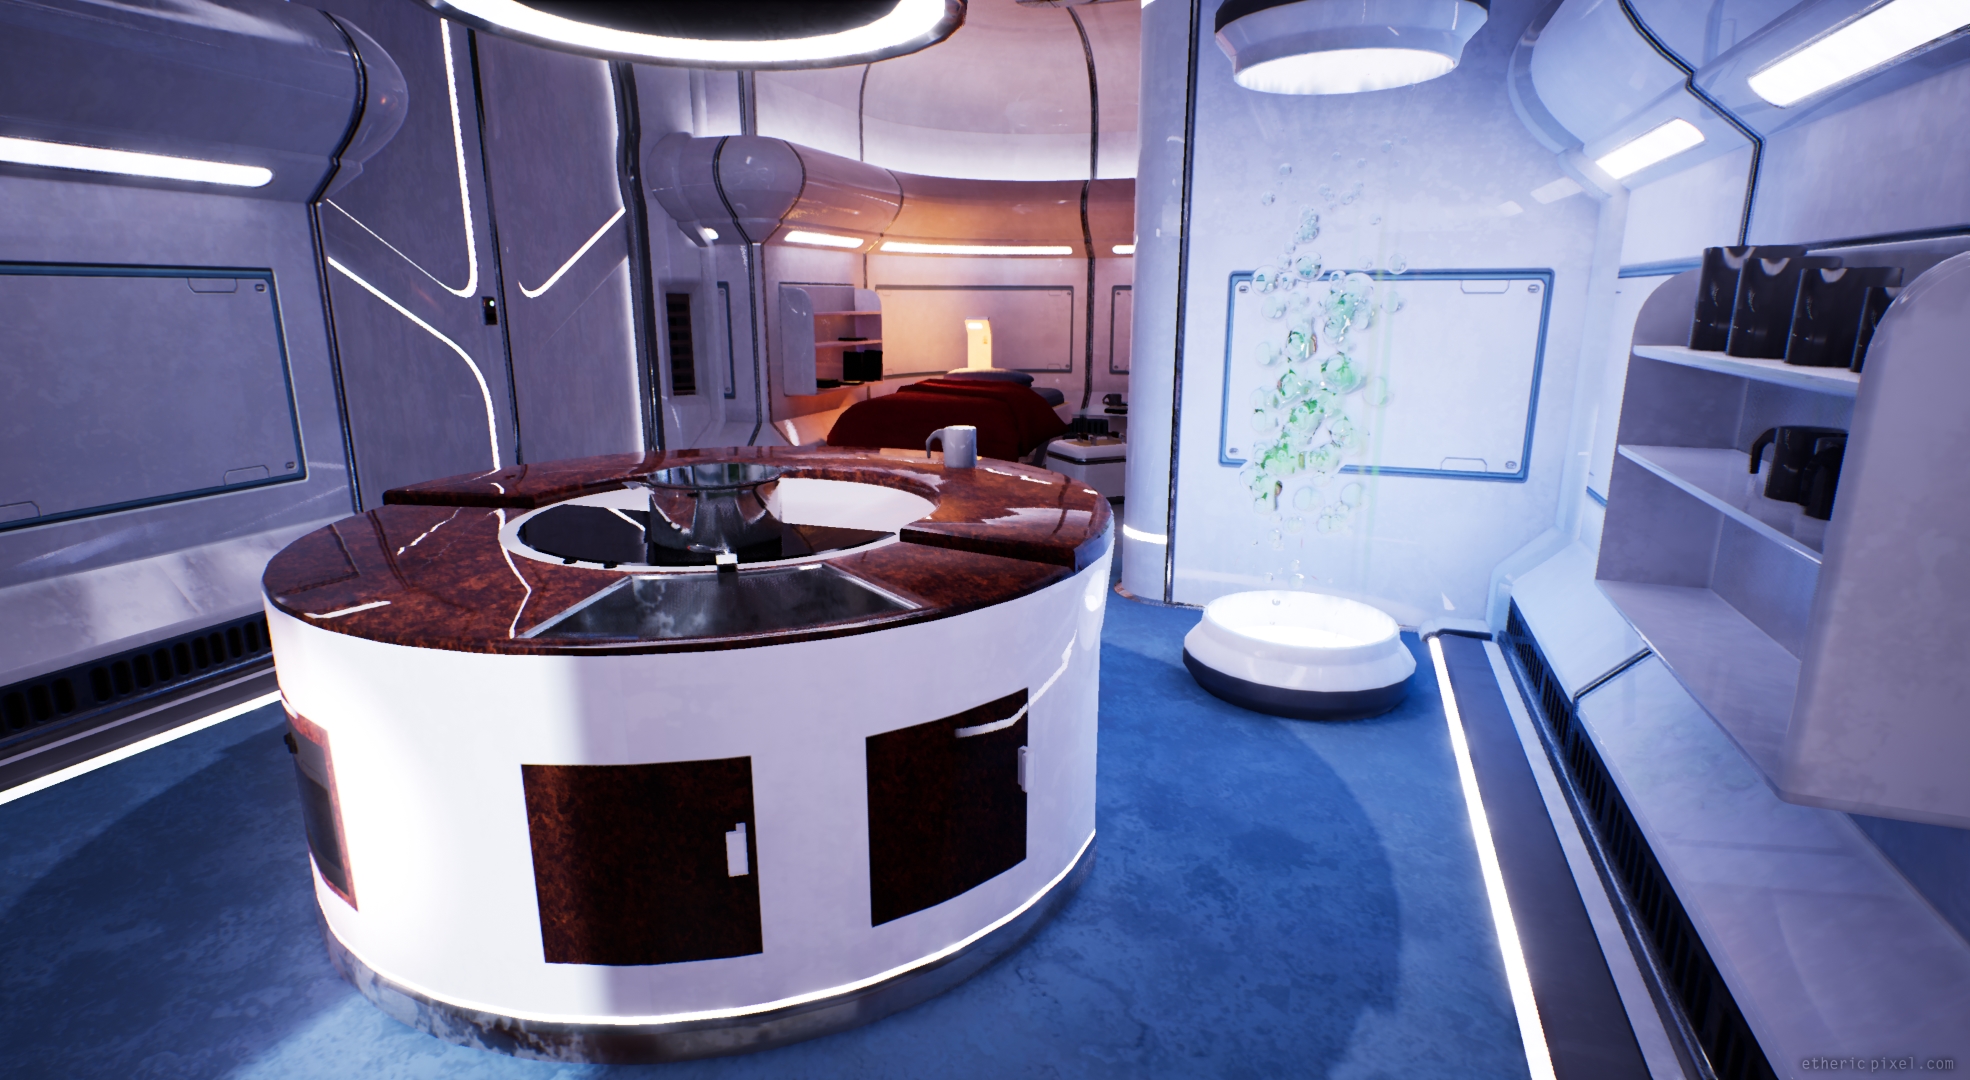
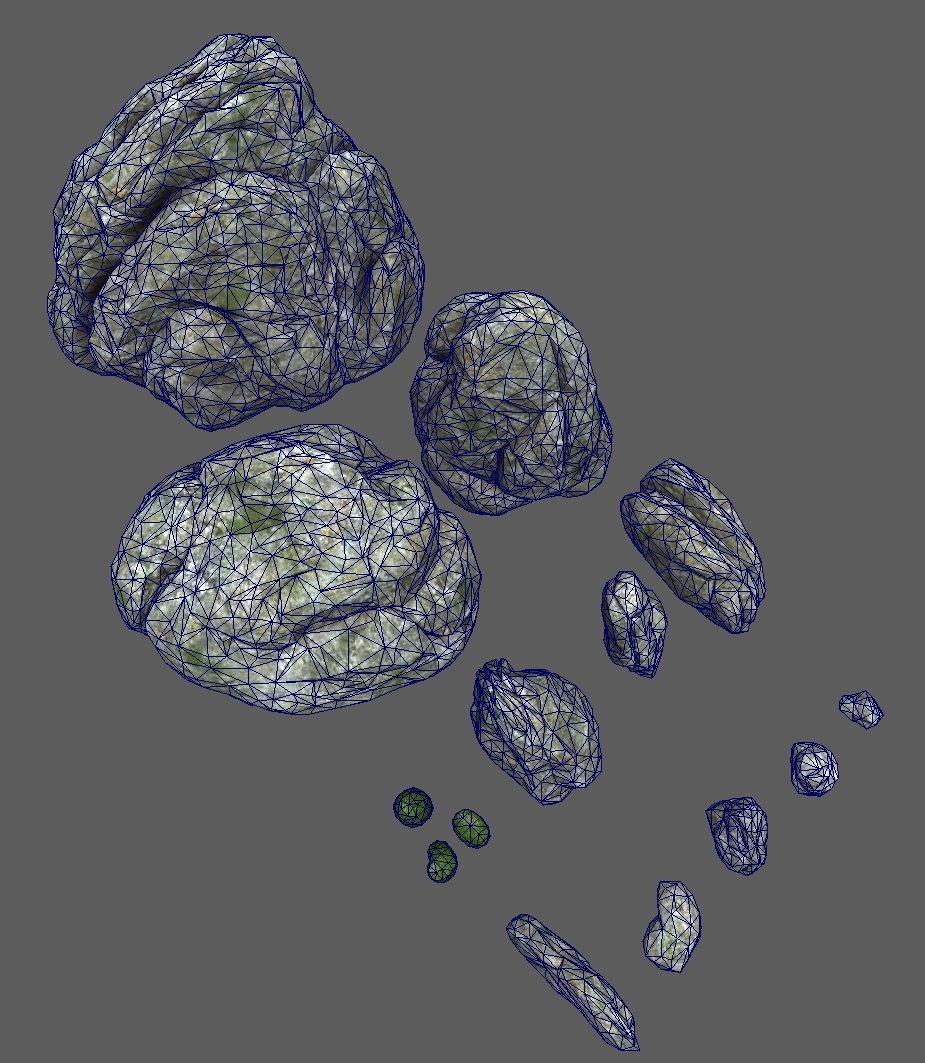
The scene consists of about 70 different modular units and props, created in 3ds Max.
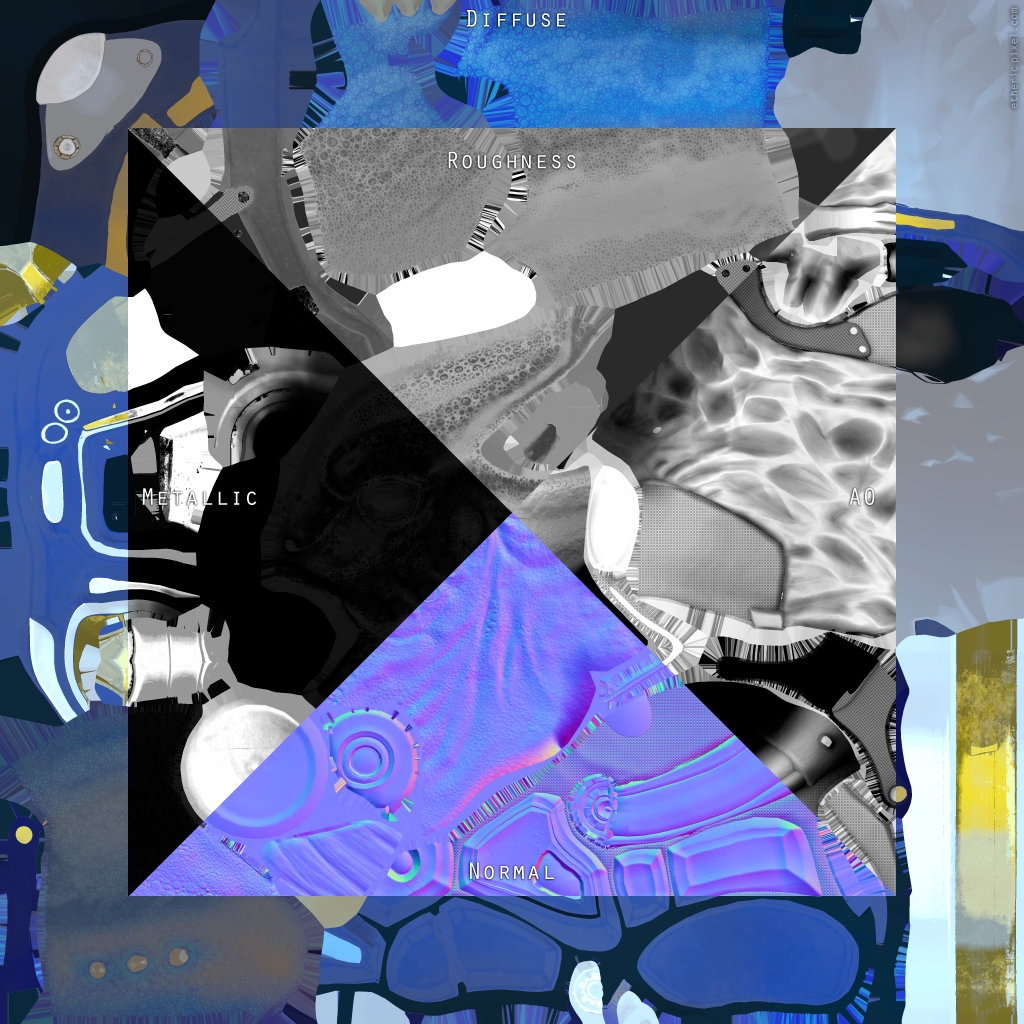
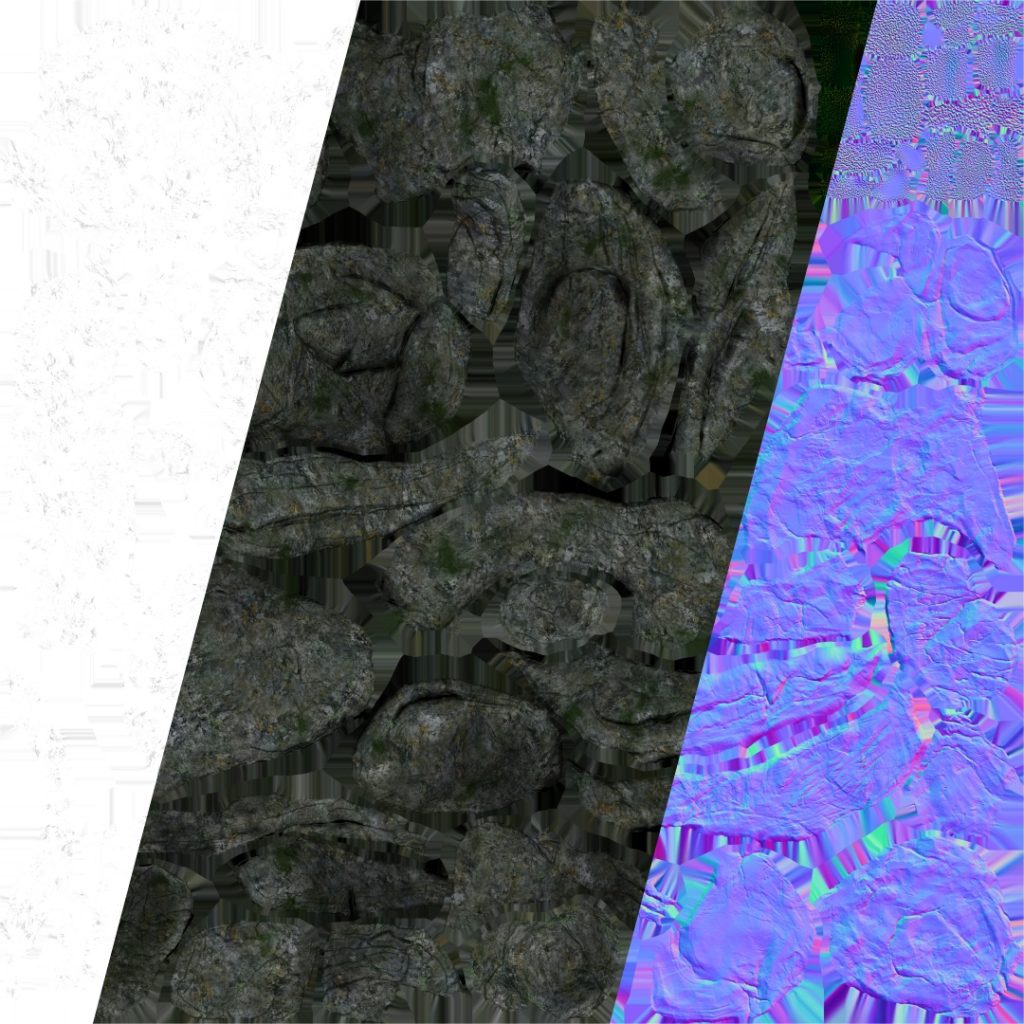
The maximum texture resolution allowed for this project was 2048*2048. Also I could only have 1 material ID per object. For all the 3D assets (except the organic elements) I decided to use 1 texture set, which I progressively filled up throughout the process, primarily in Photoshop.
The main shader uses:
– Diffuse RGB texture,
– Normal RGB texture,
– Emissive RGB texture,
– Roughness, Metalness, AO and Opacity mask packed in one RGBA texture,
– A triplanar mapped dirt texture.
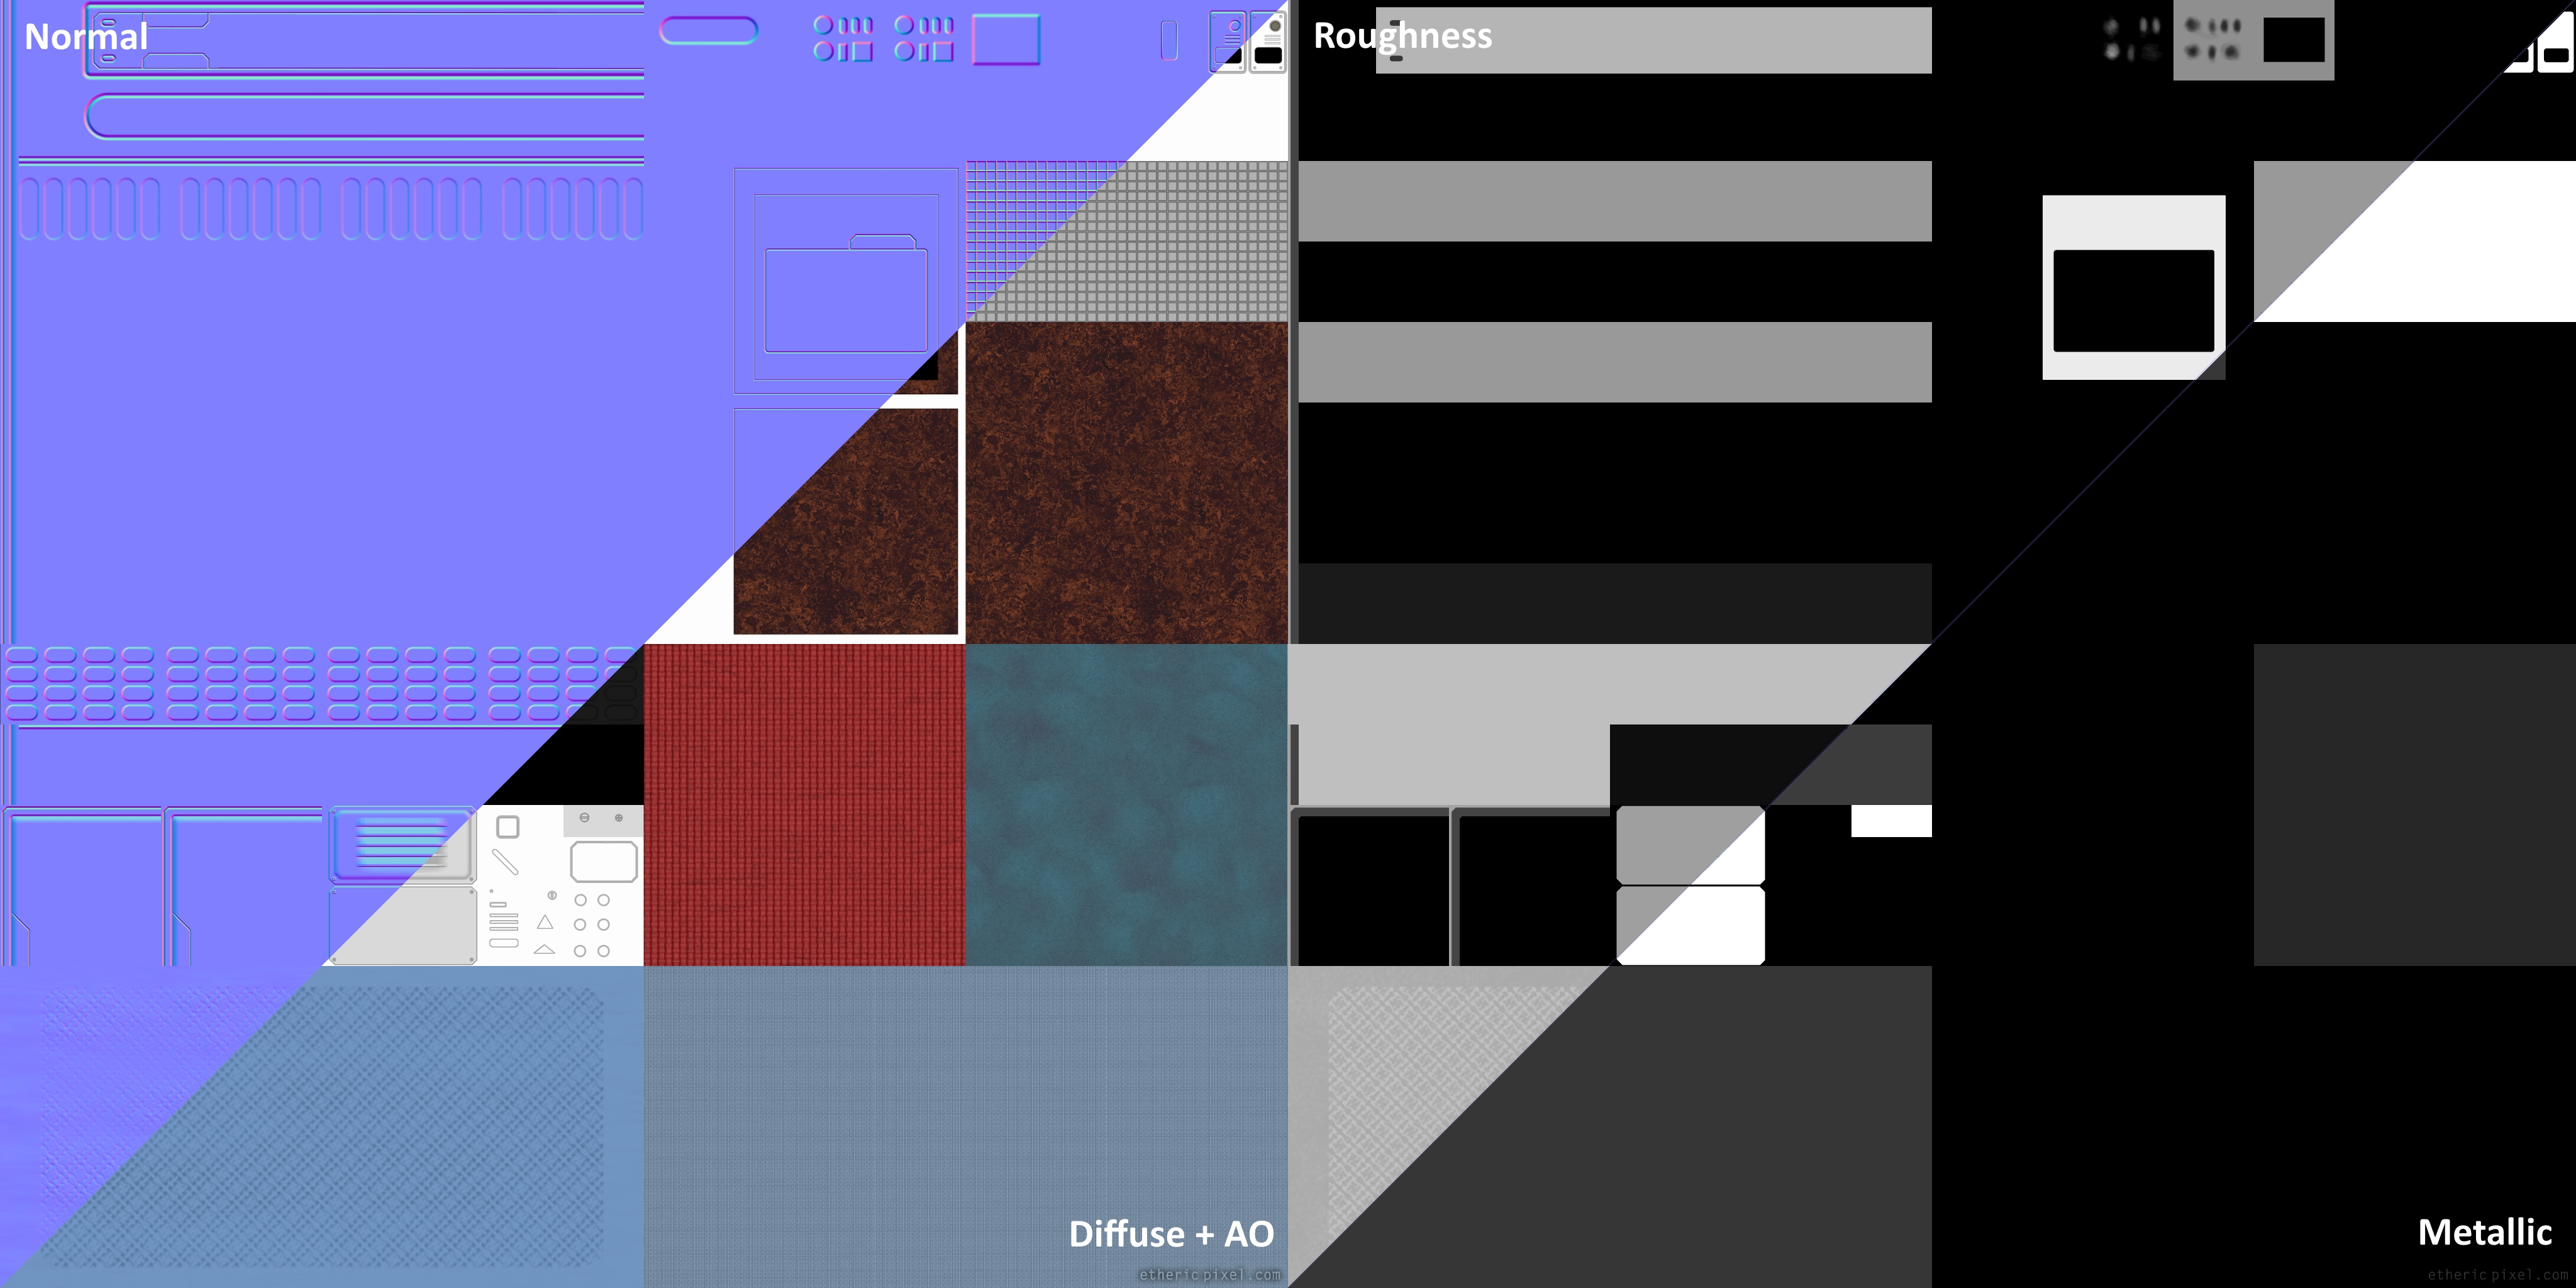
Textures used for all props and modular units.
The final render looks very new, clean and shiny, but since we are in a bioenginiering lab it makes sense, somehow.
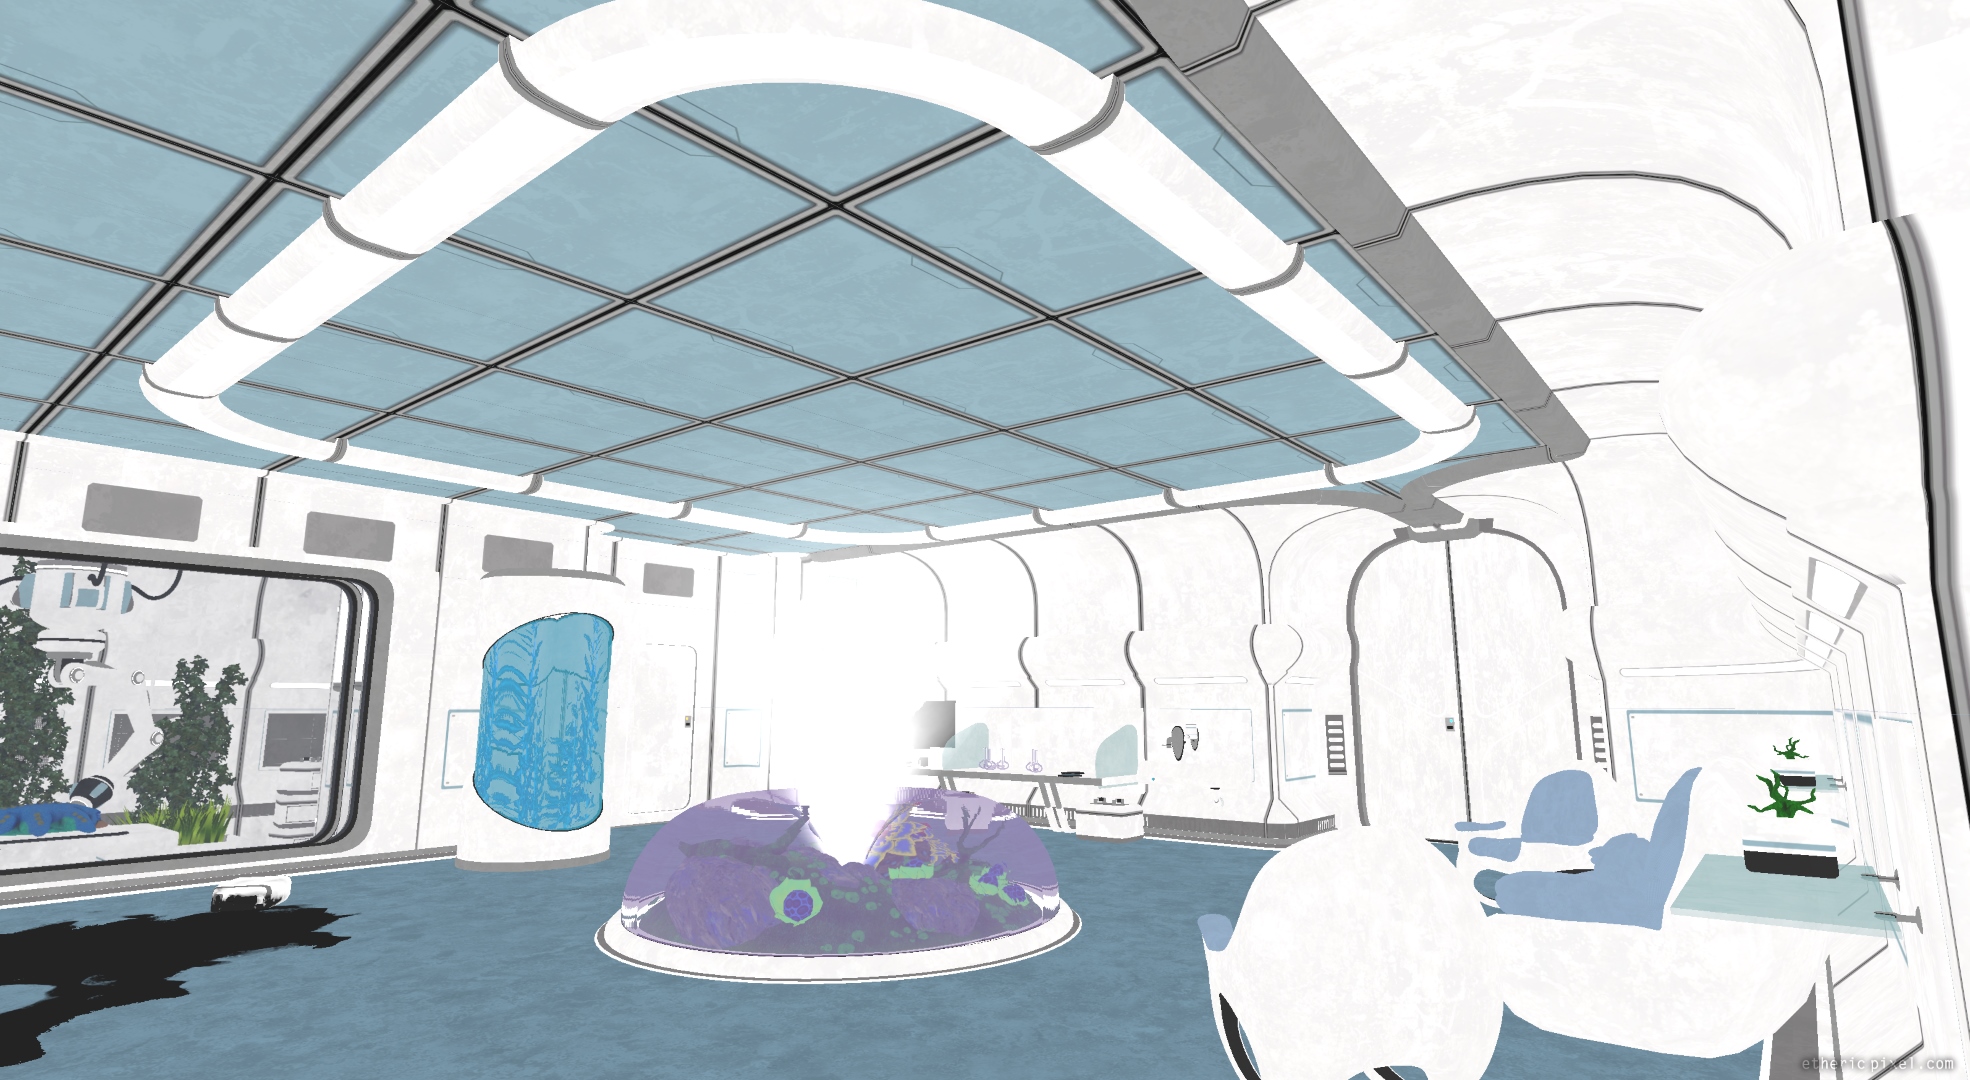 Unlit
Unlit
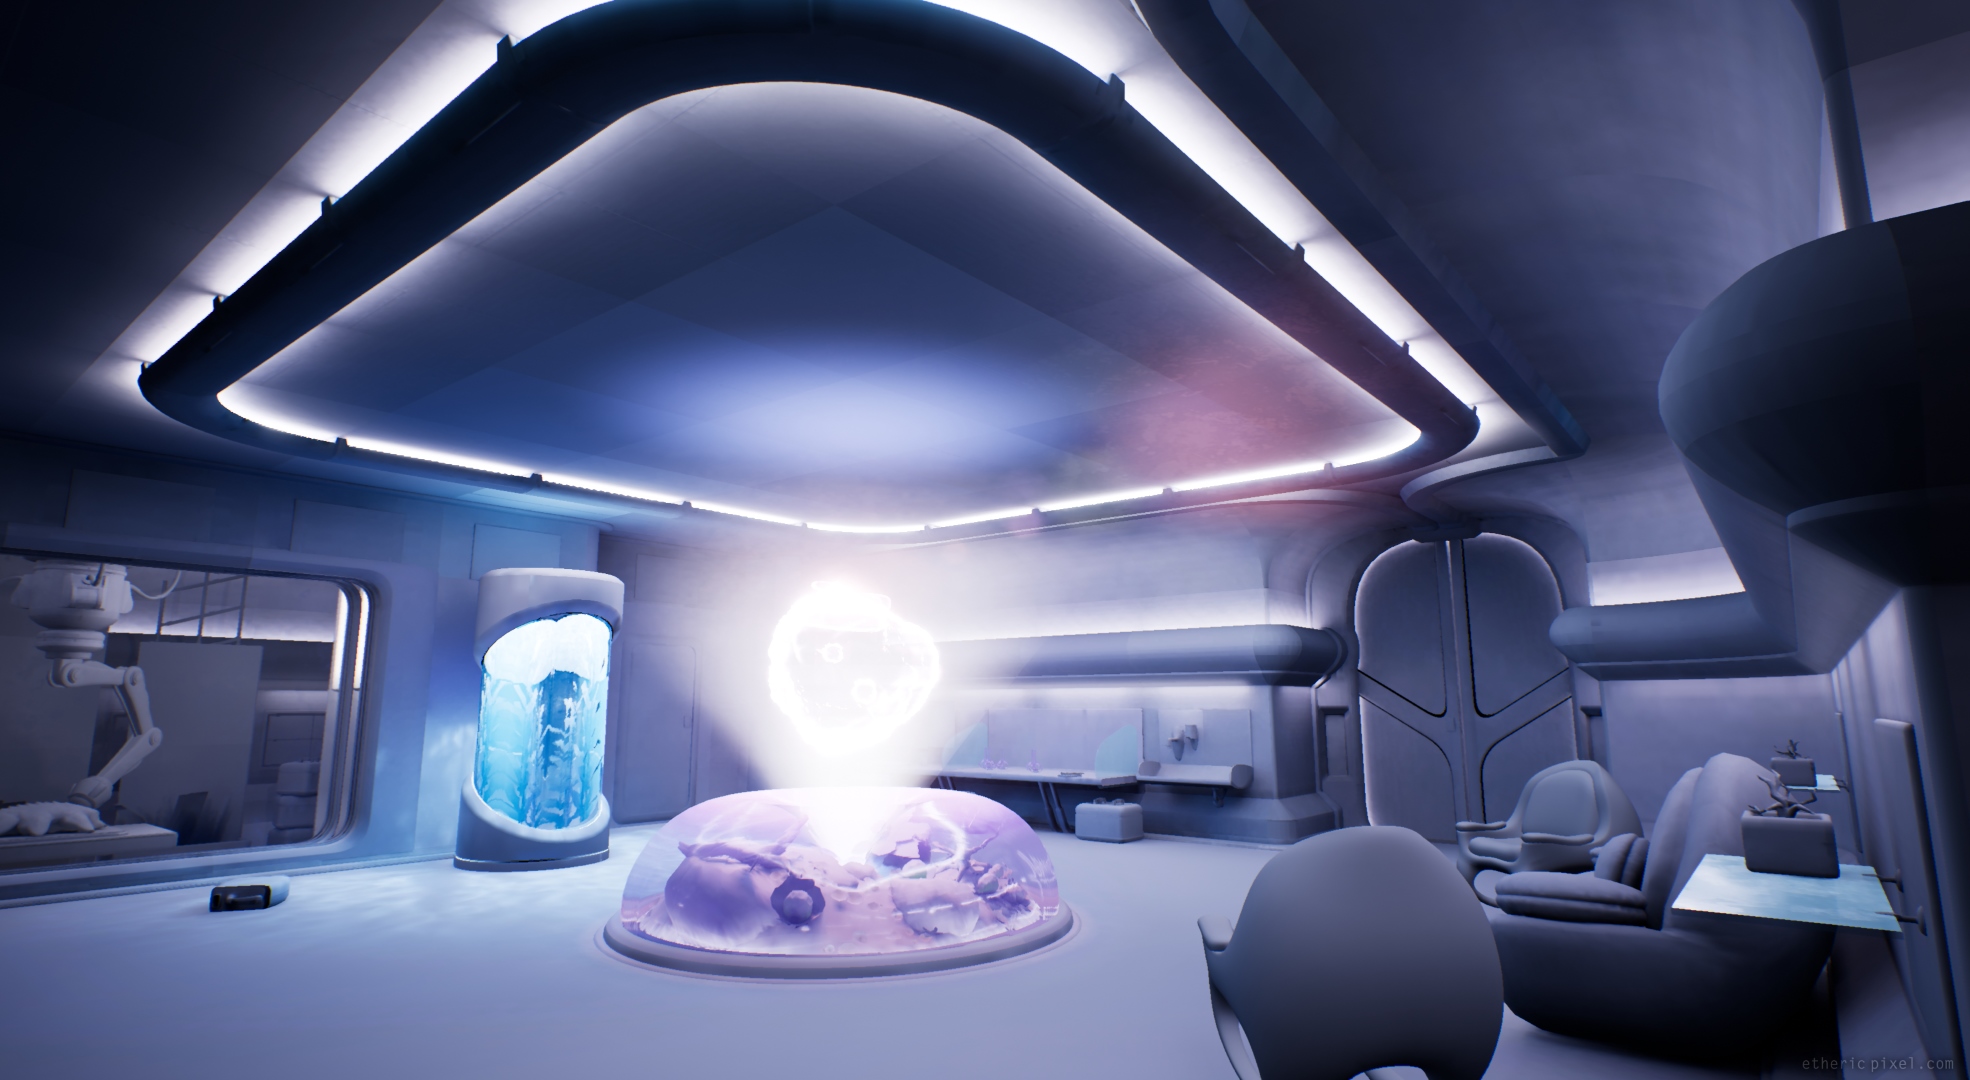 Lighting only
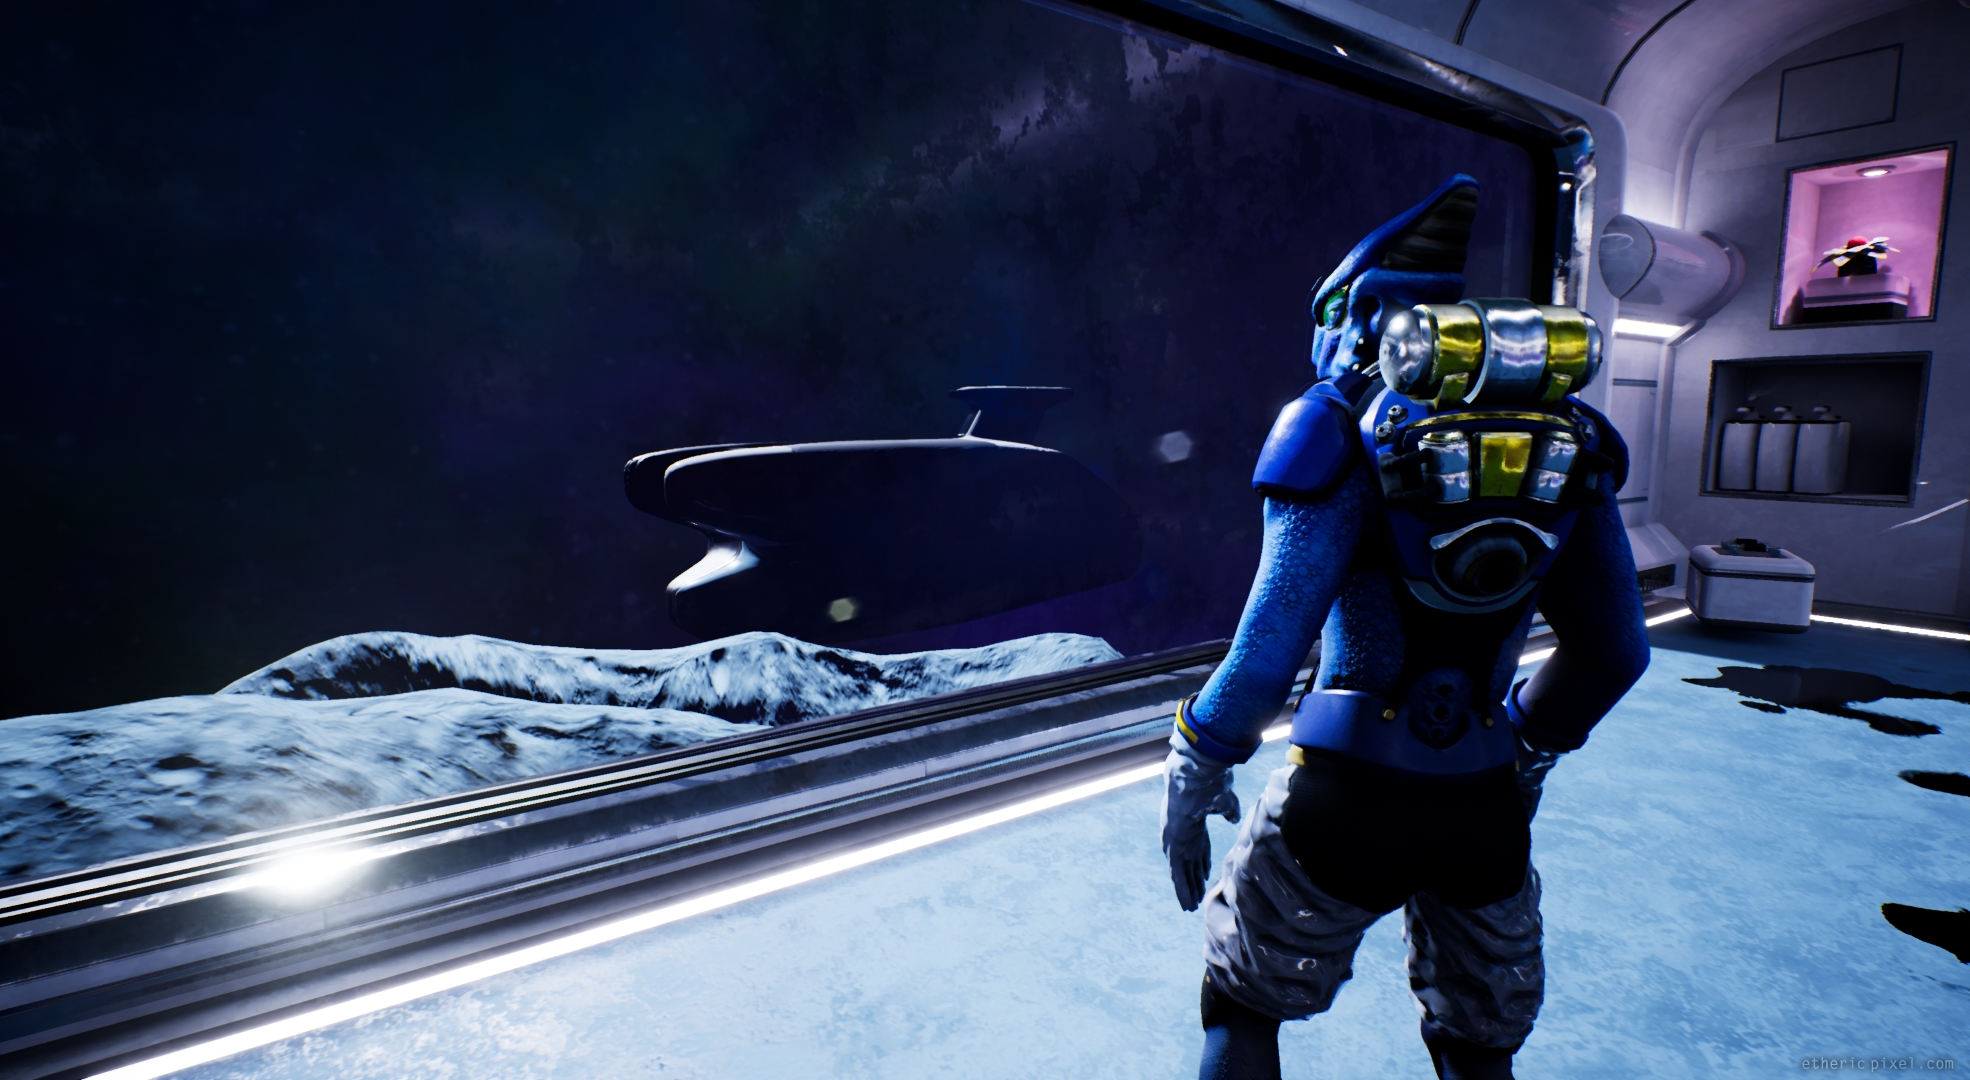
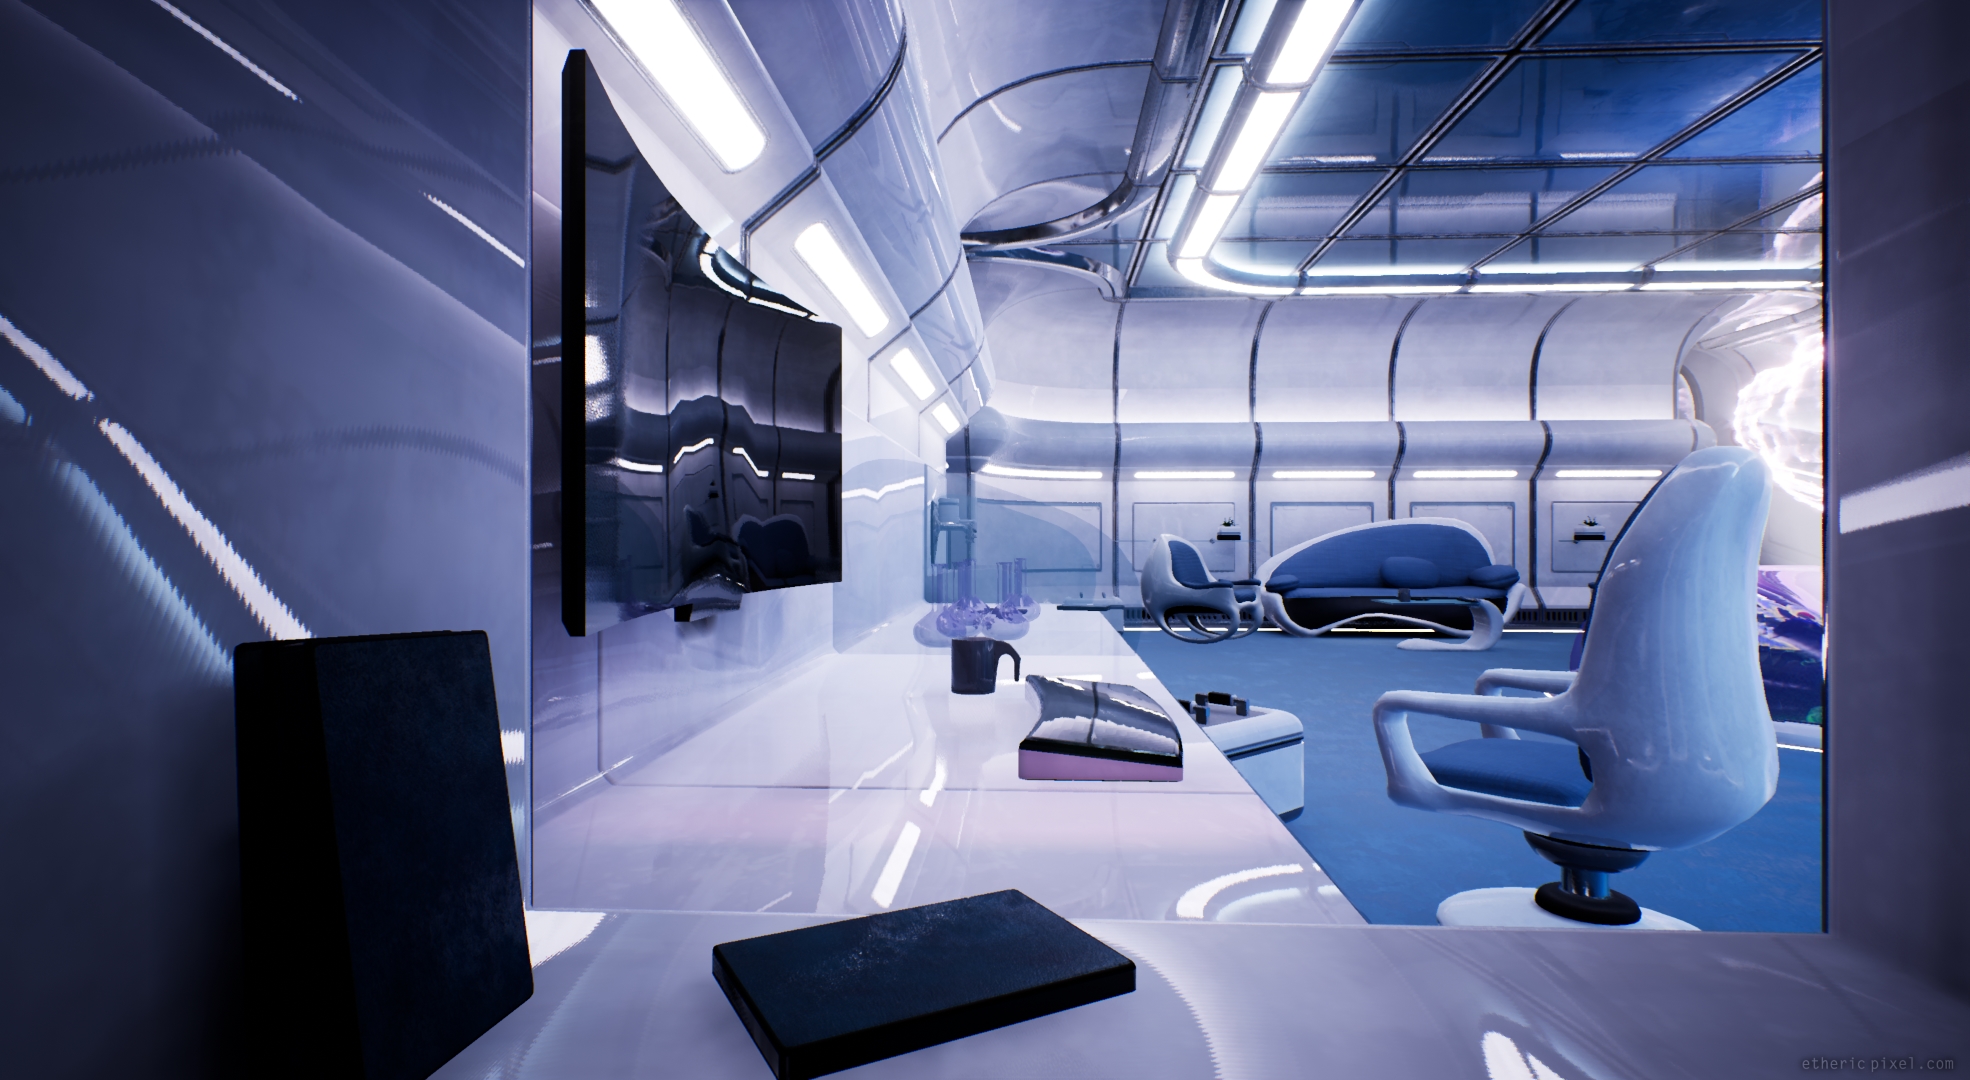
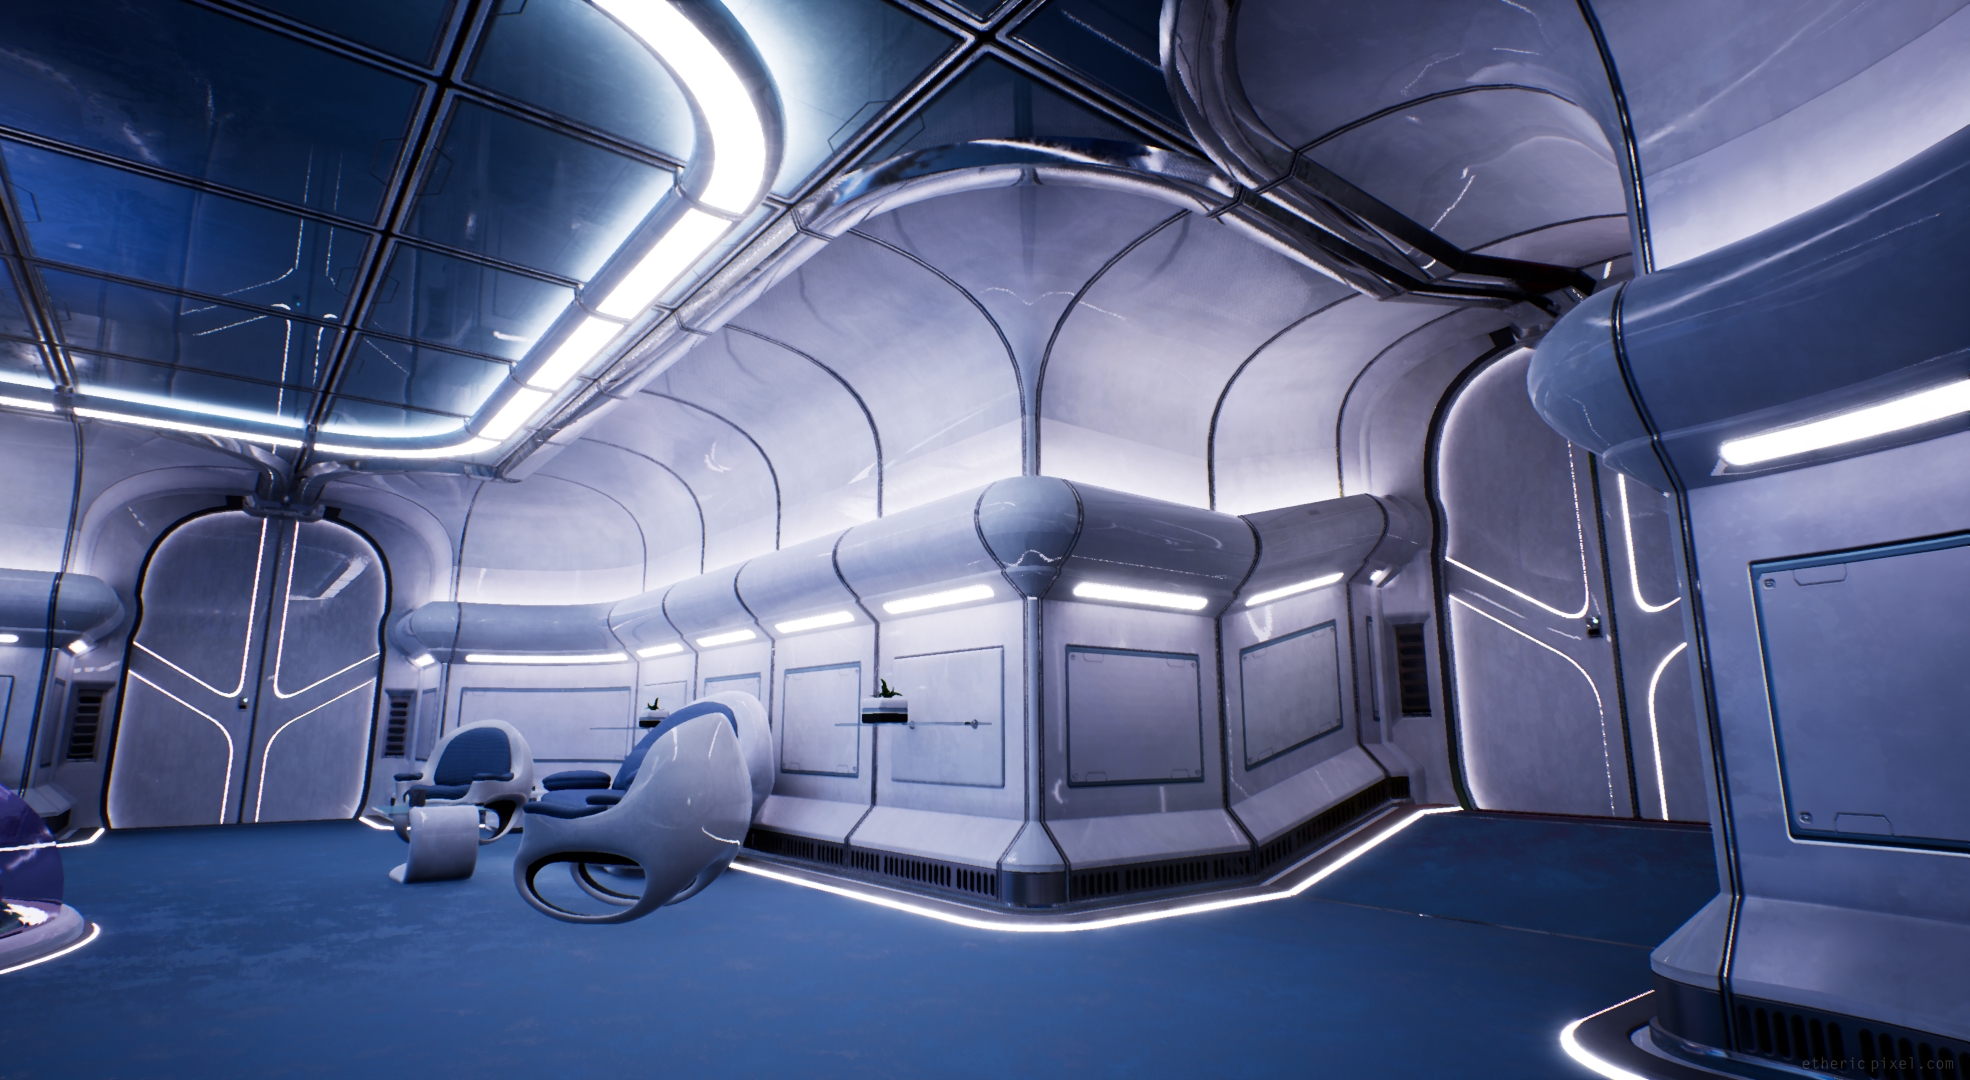
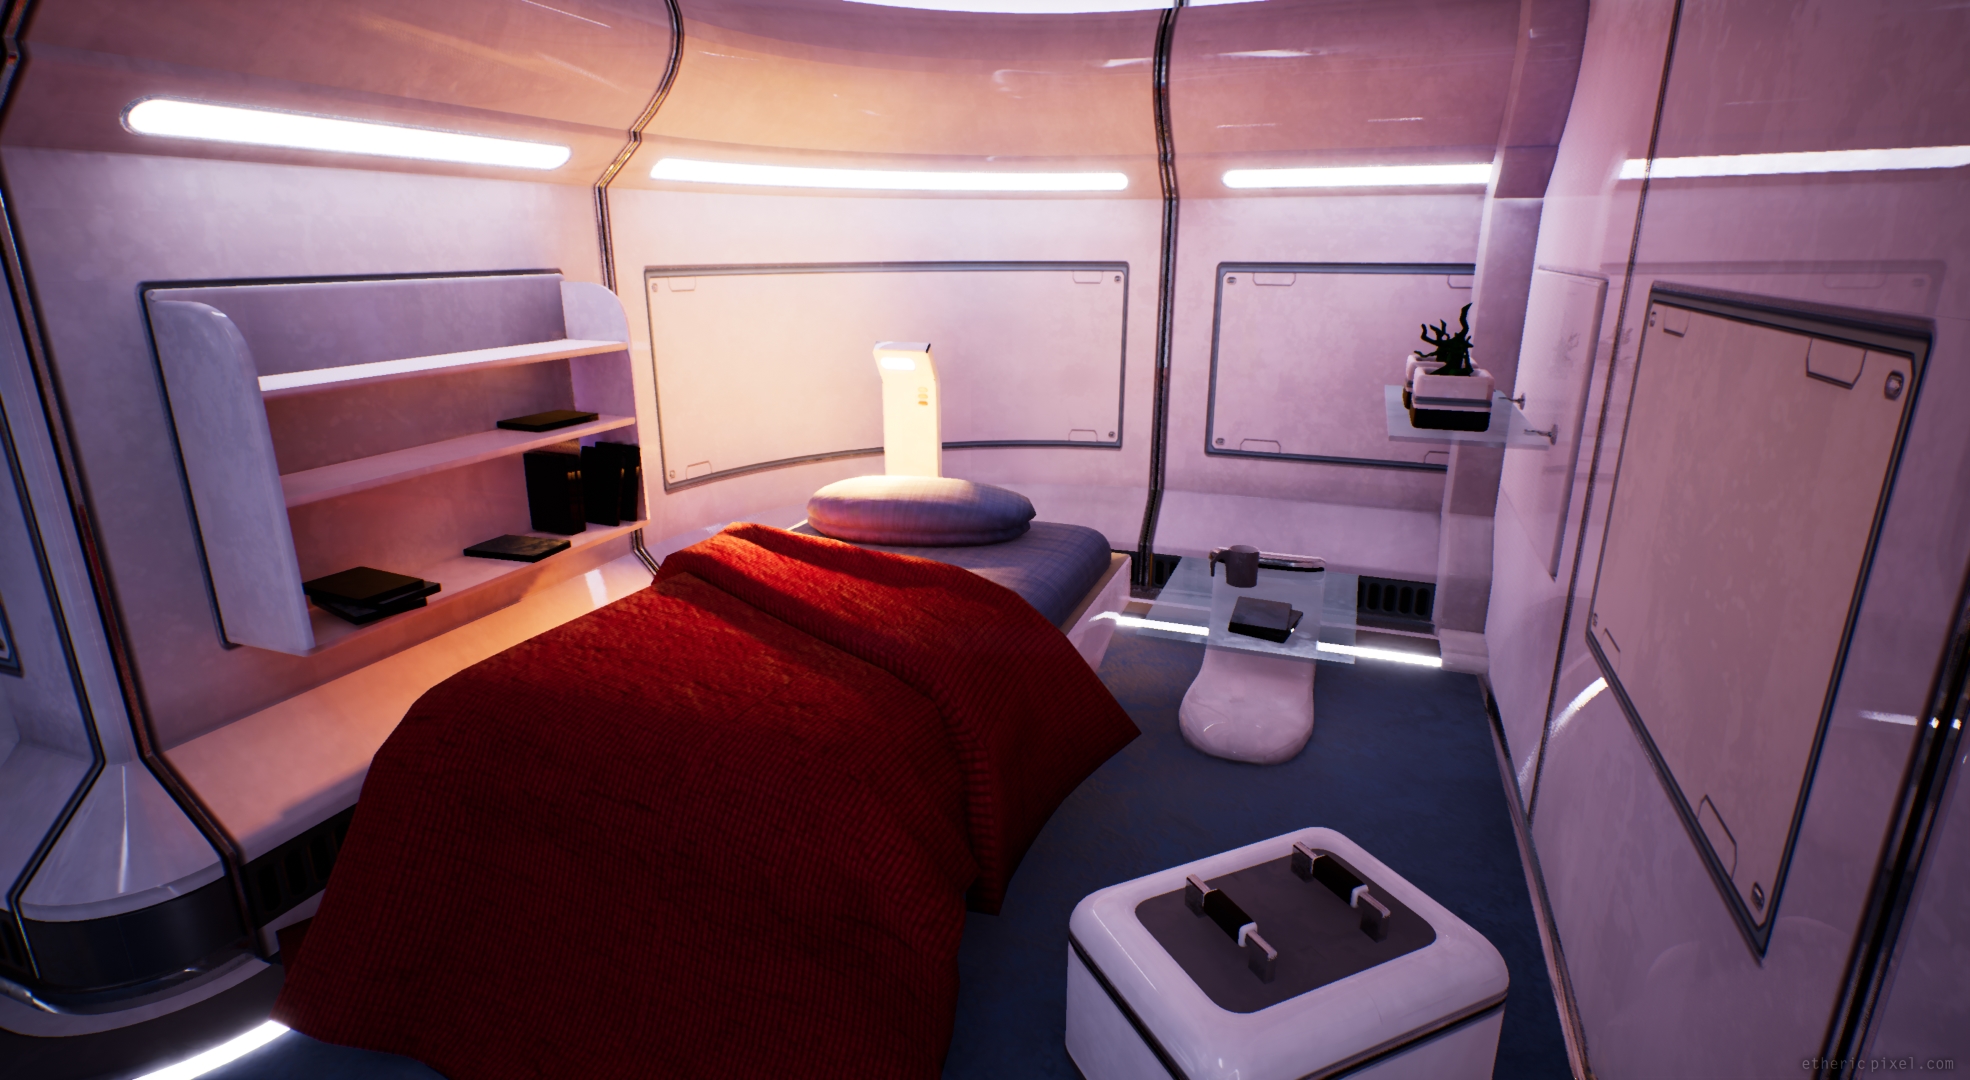
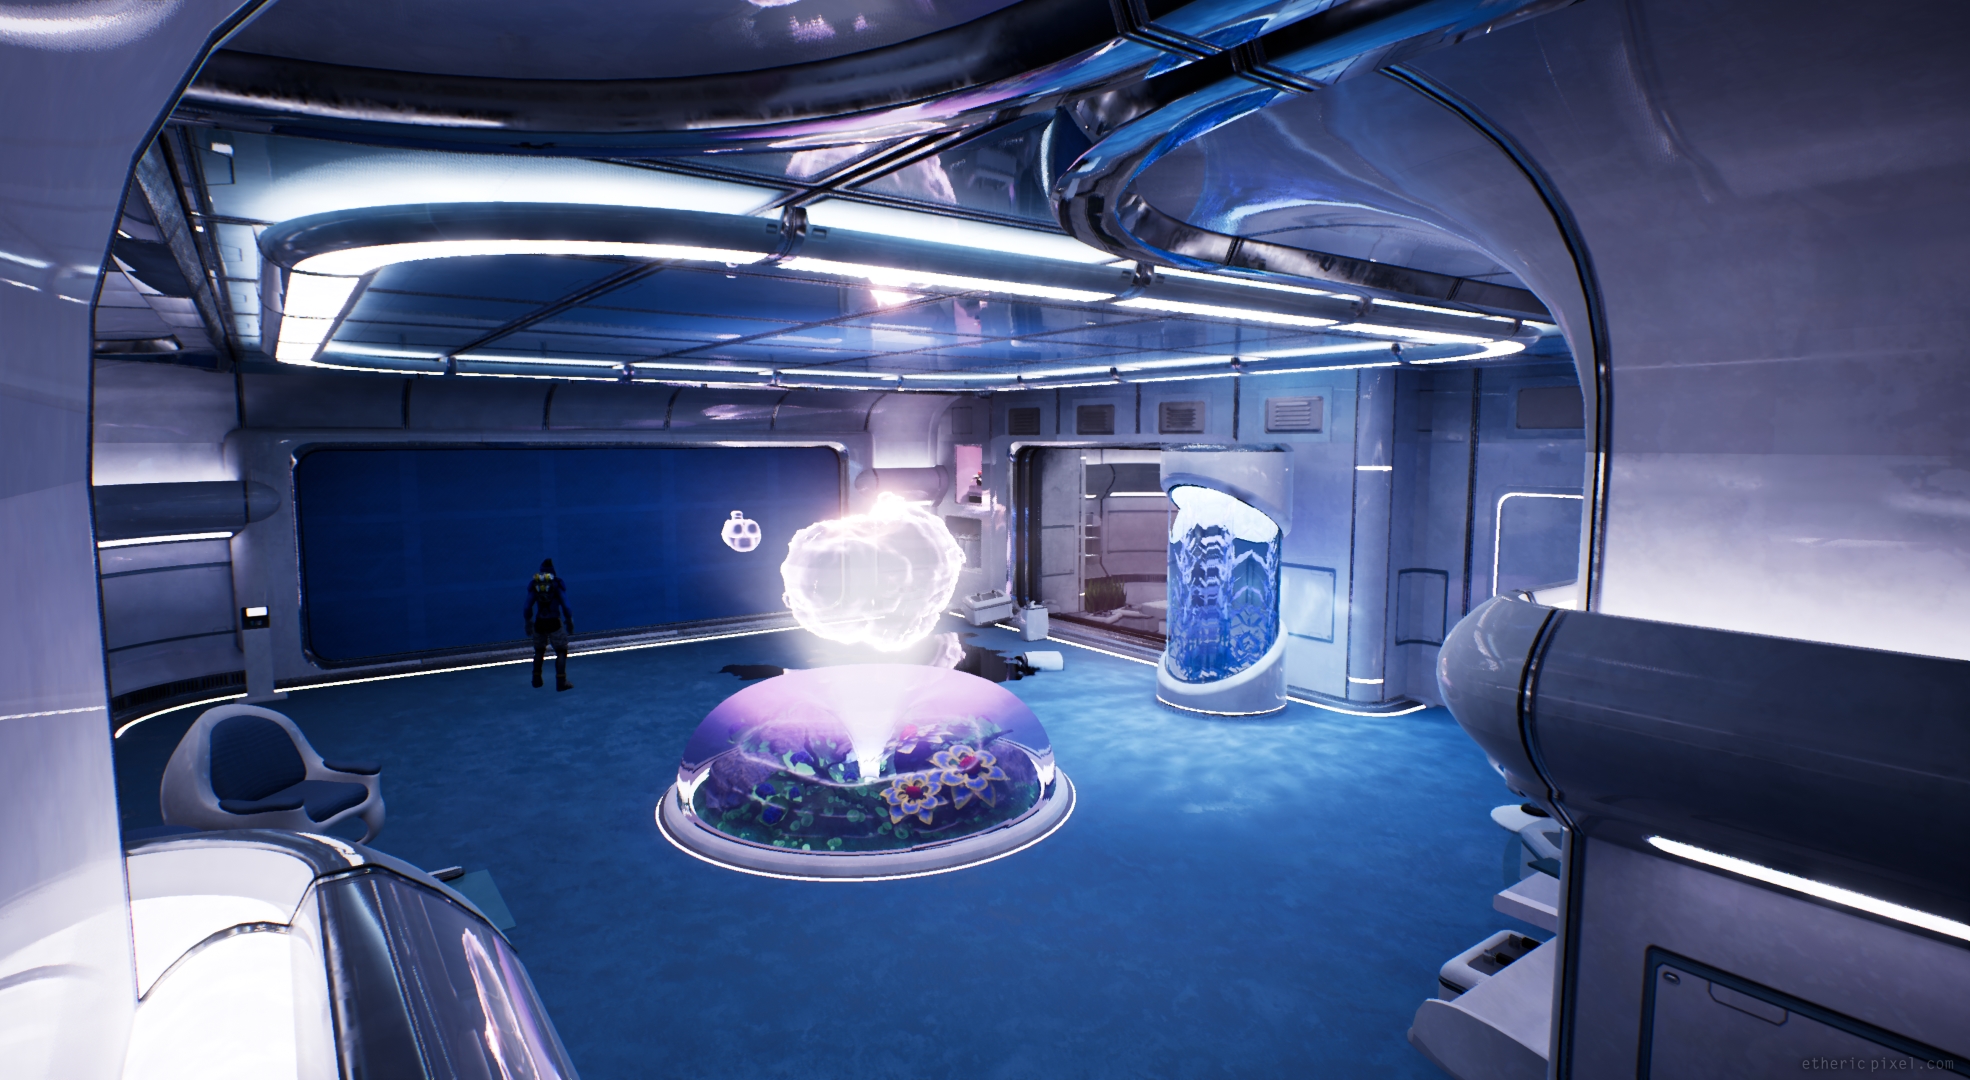
More screenshots:


See this on my Artstation
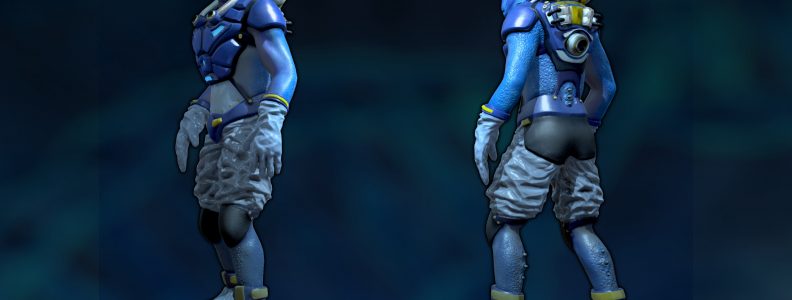
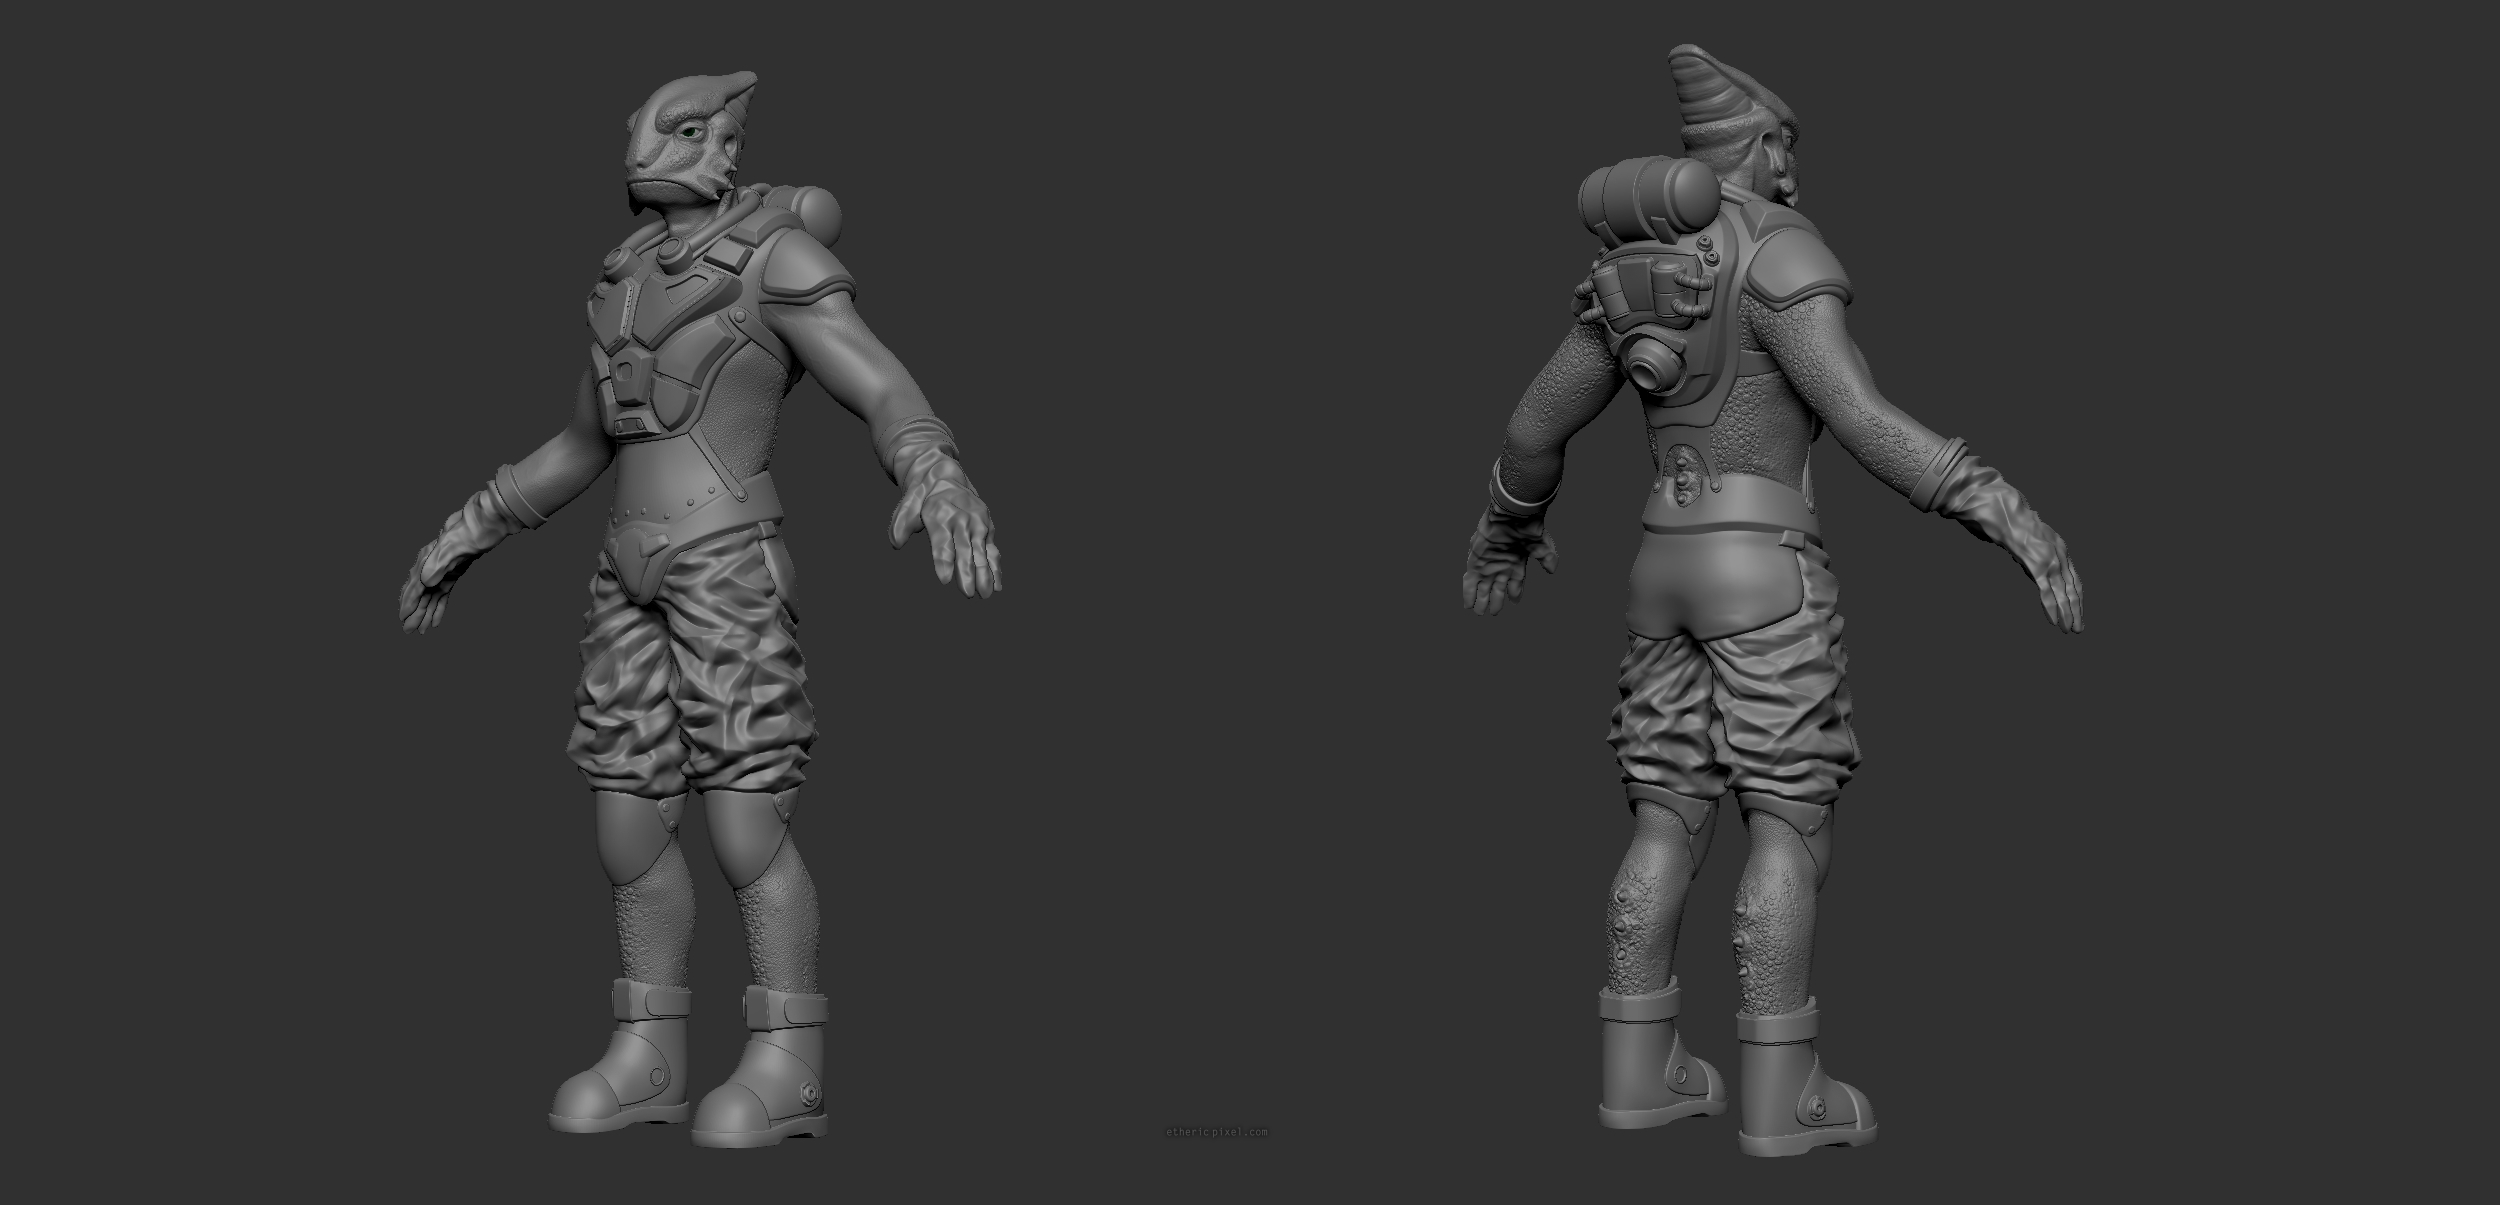
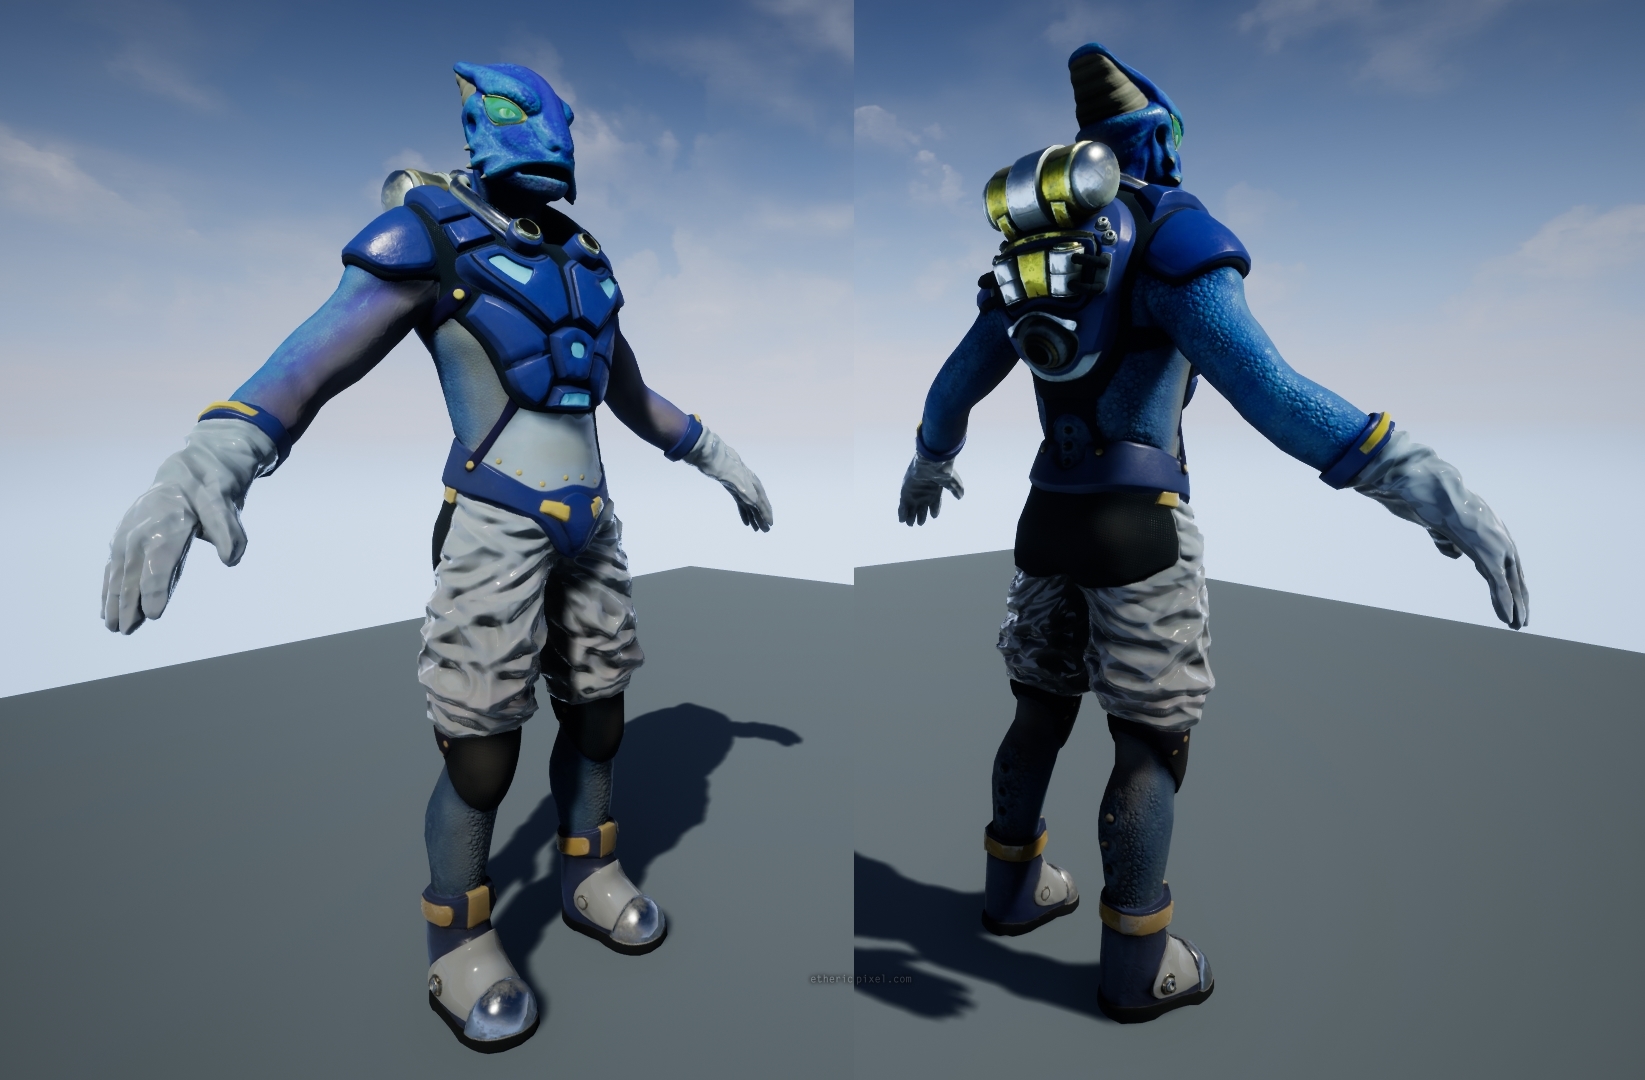
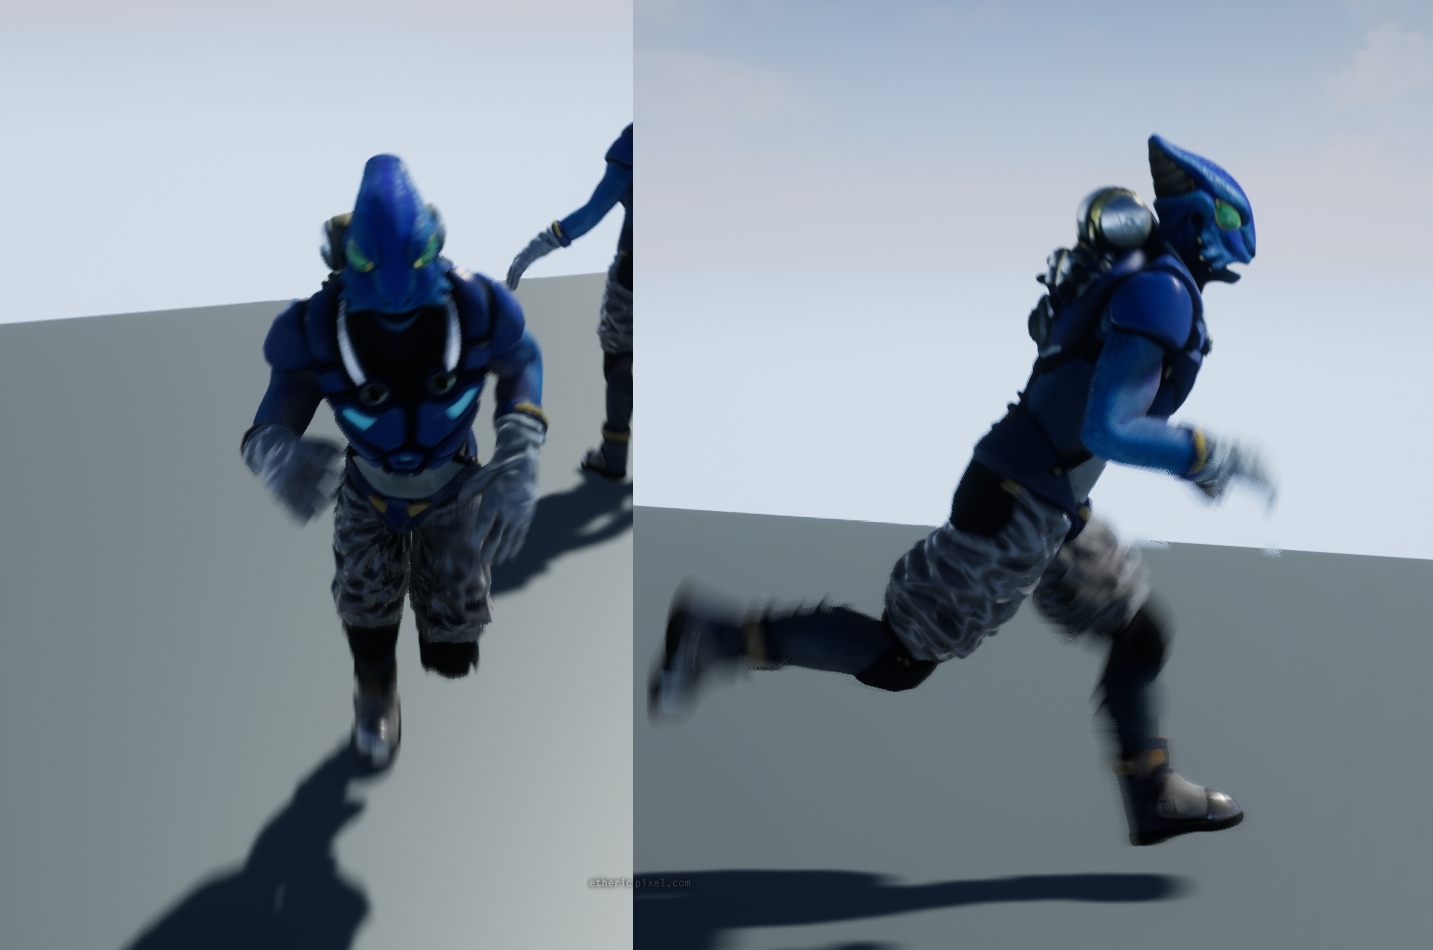
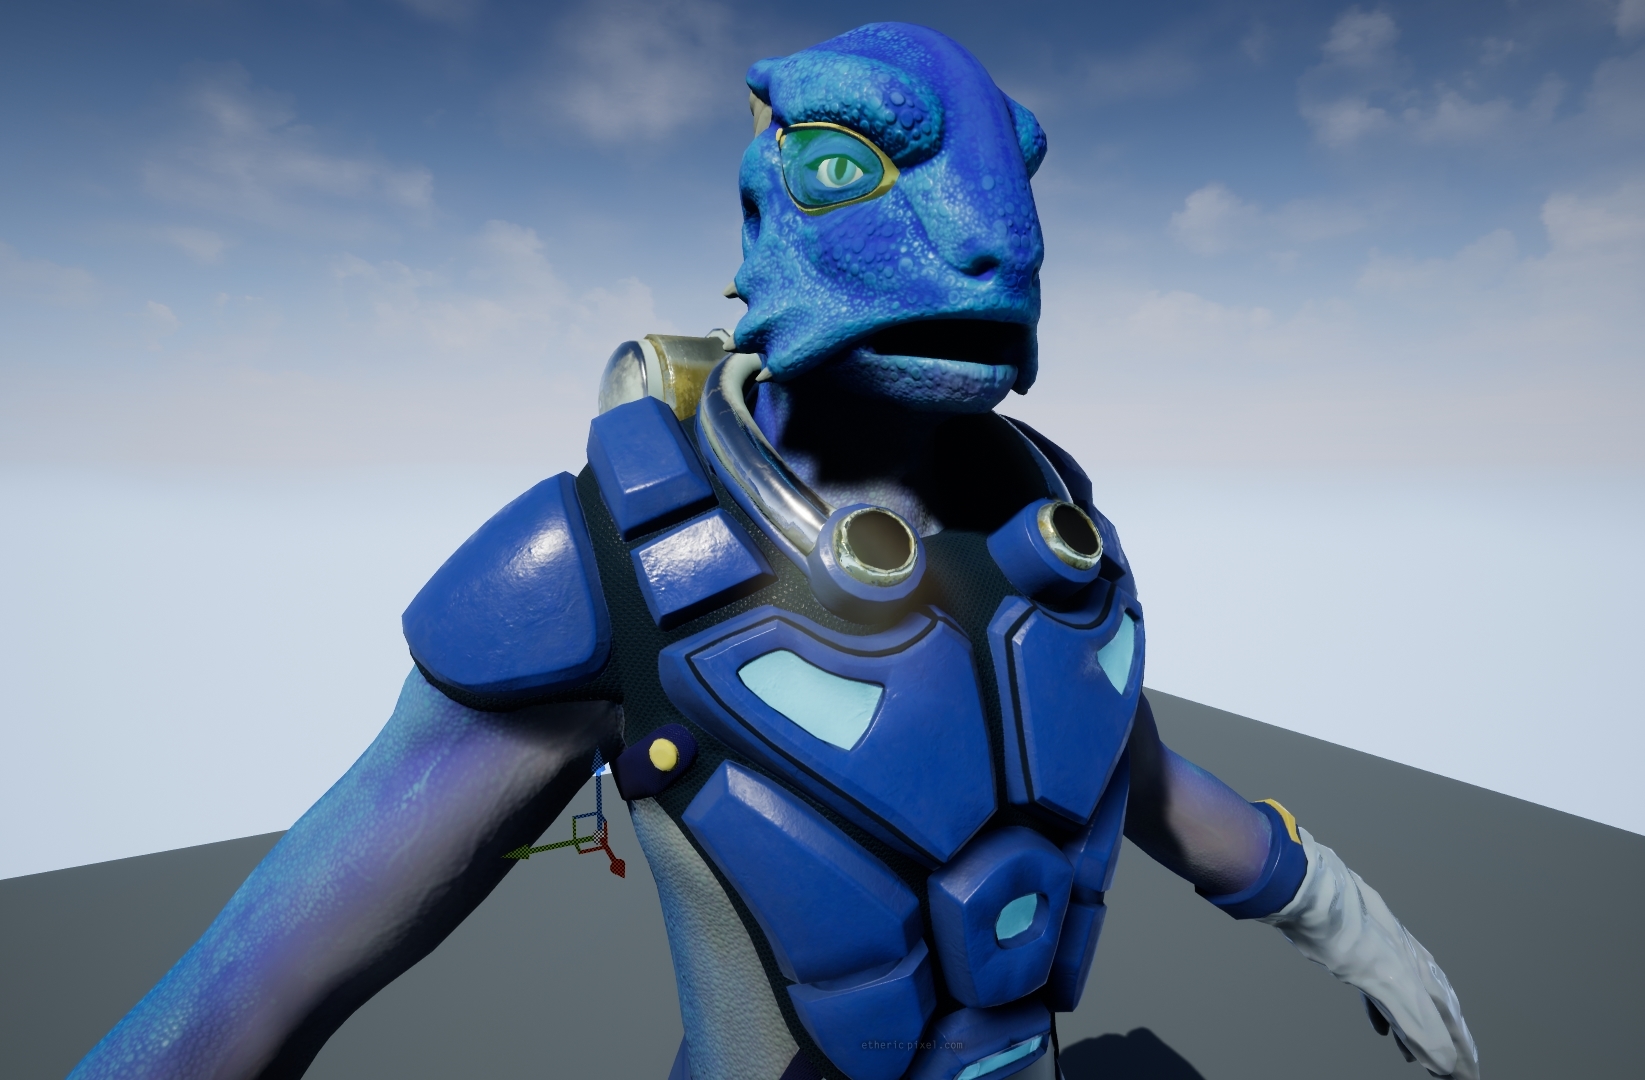
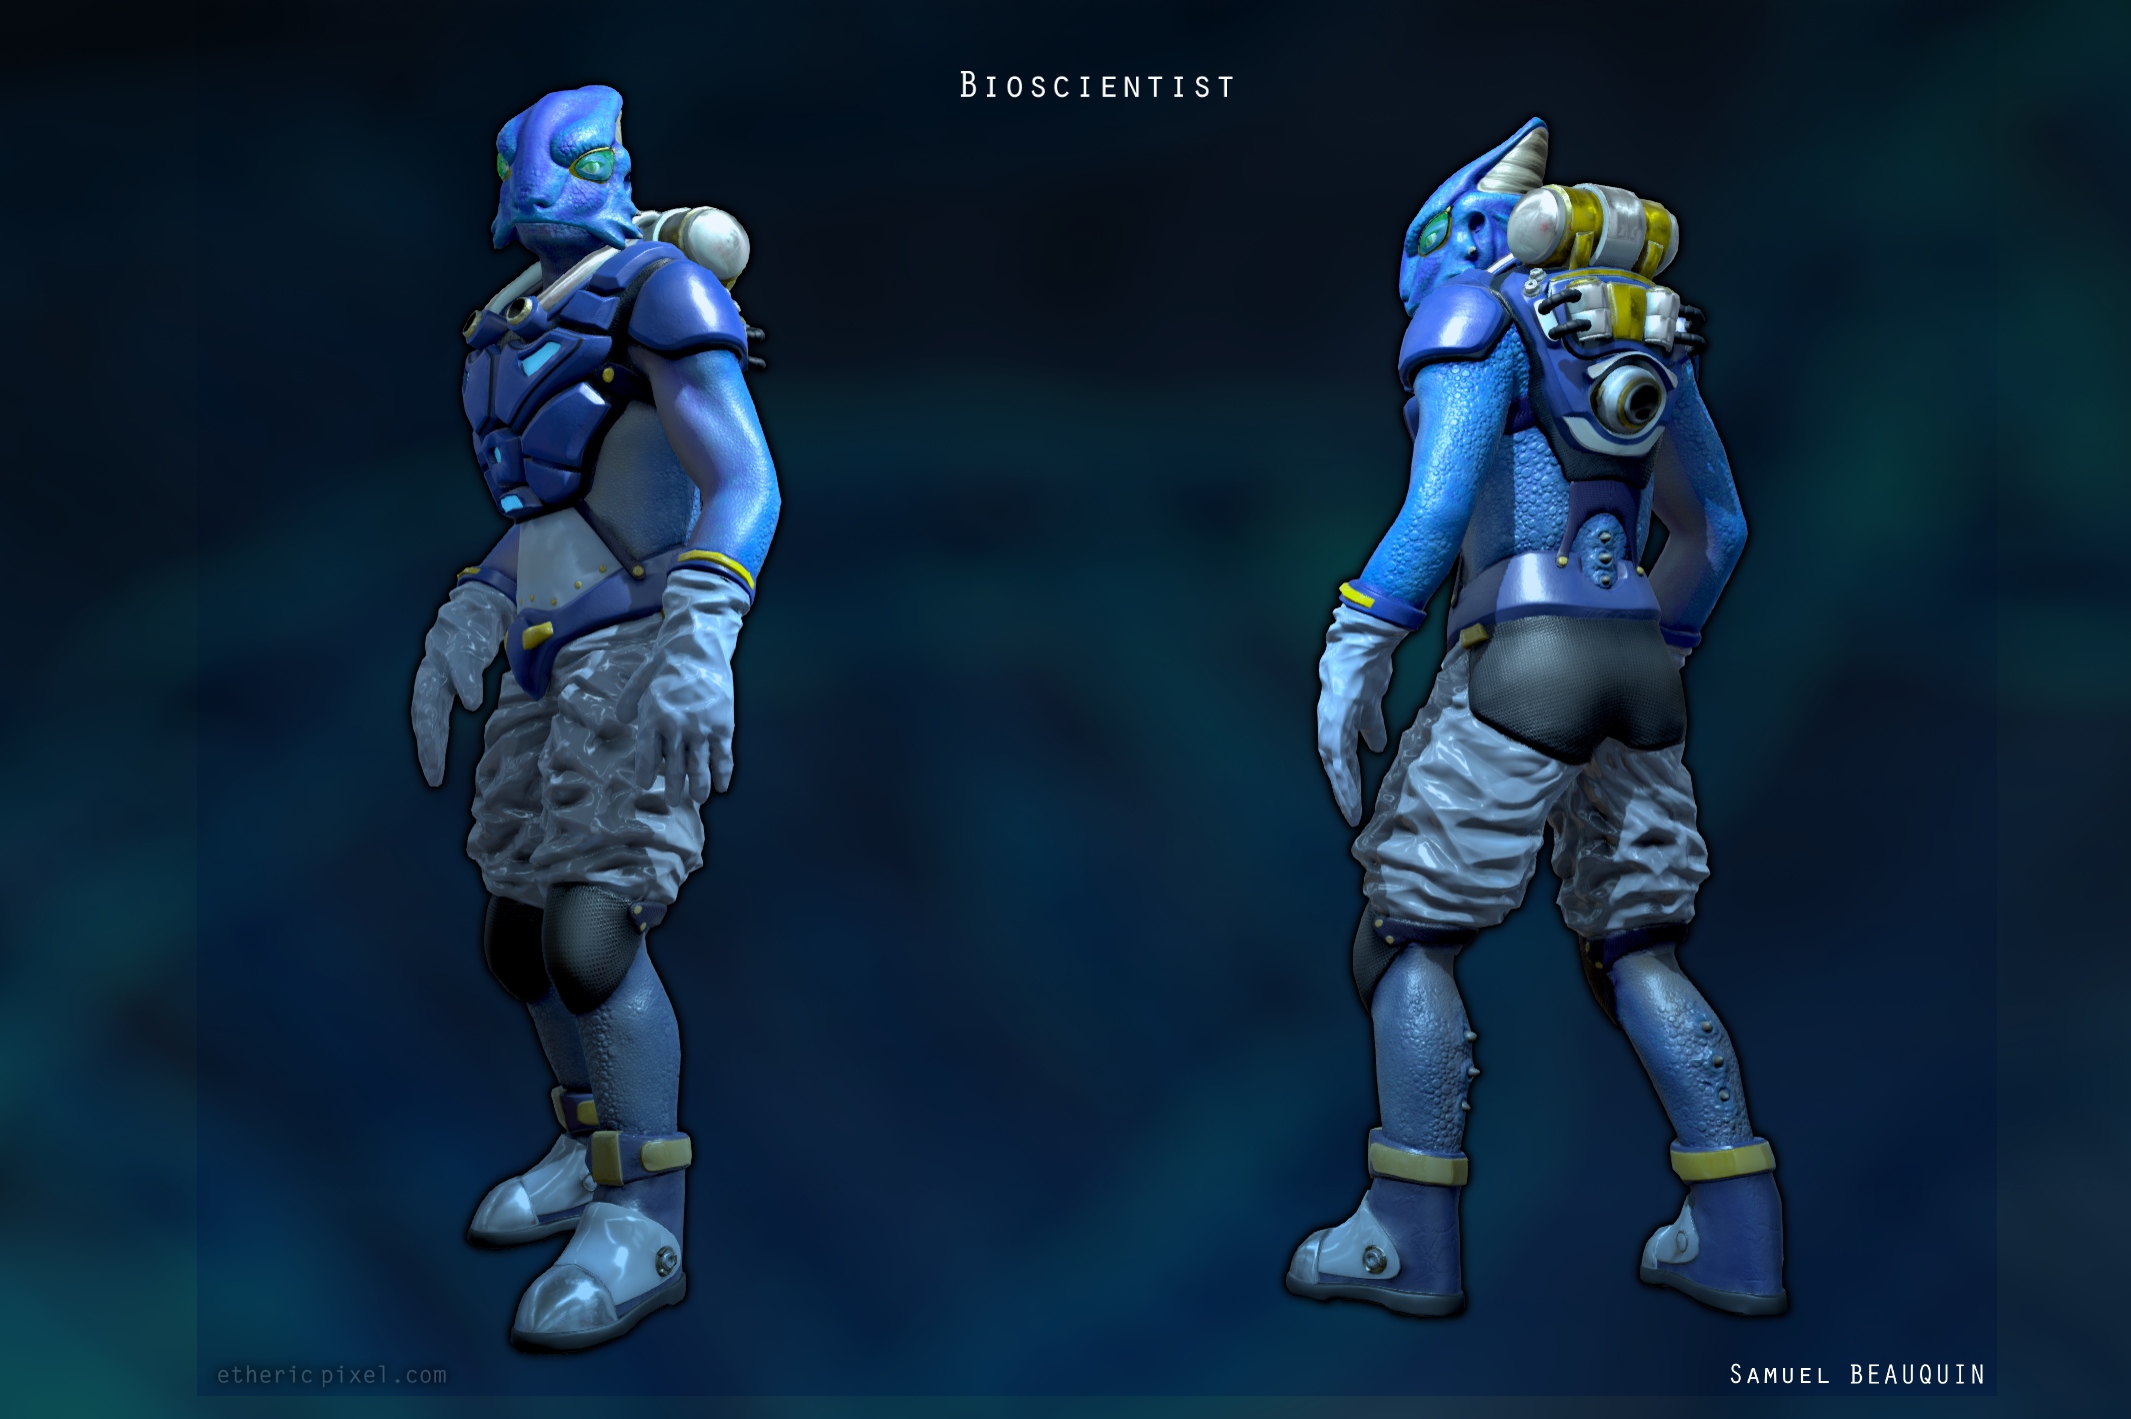 He (we assume Frank) is part of my end-of-year project (which is coming next).