Category Archives: Low Poly

Earthshine

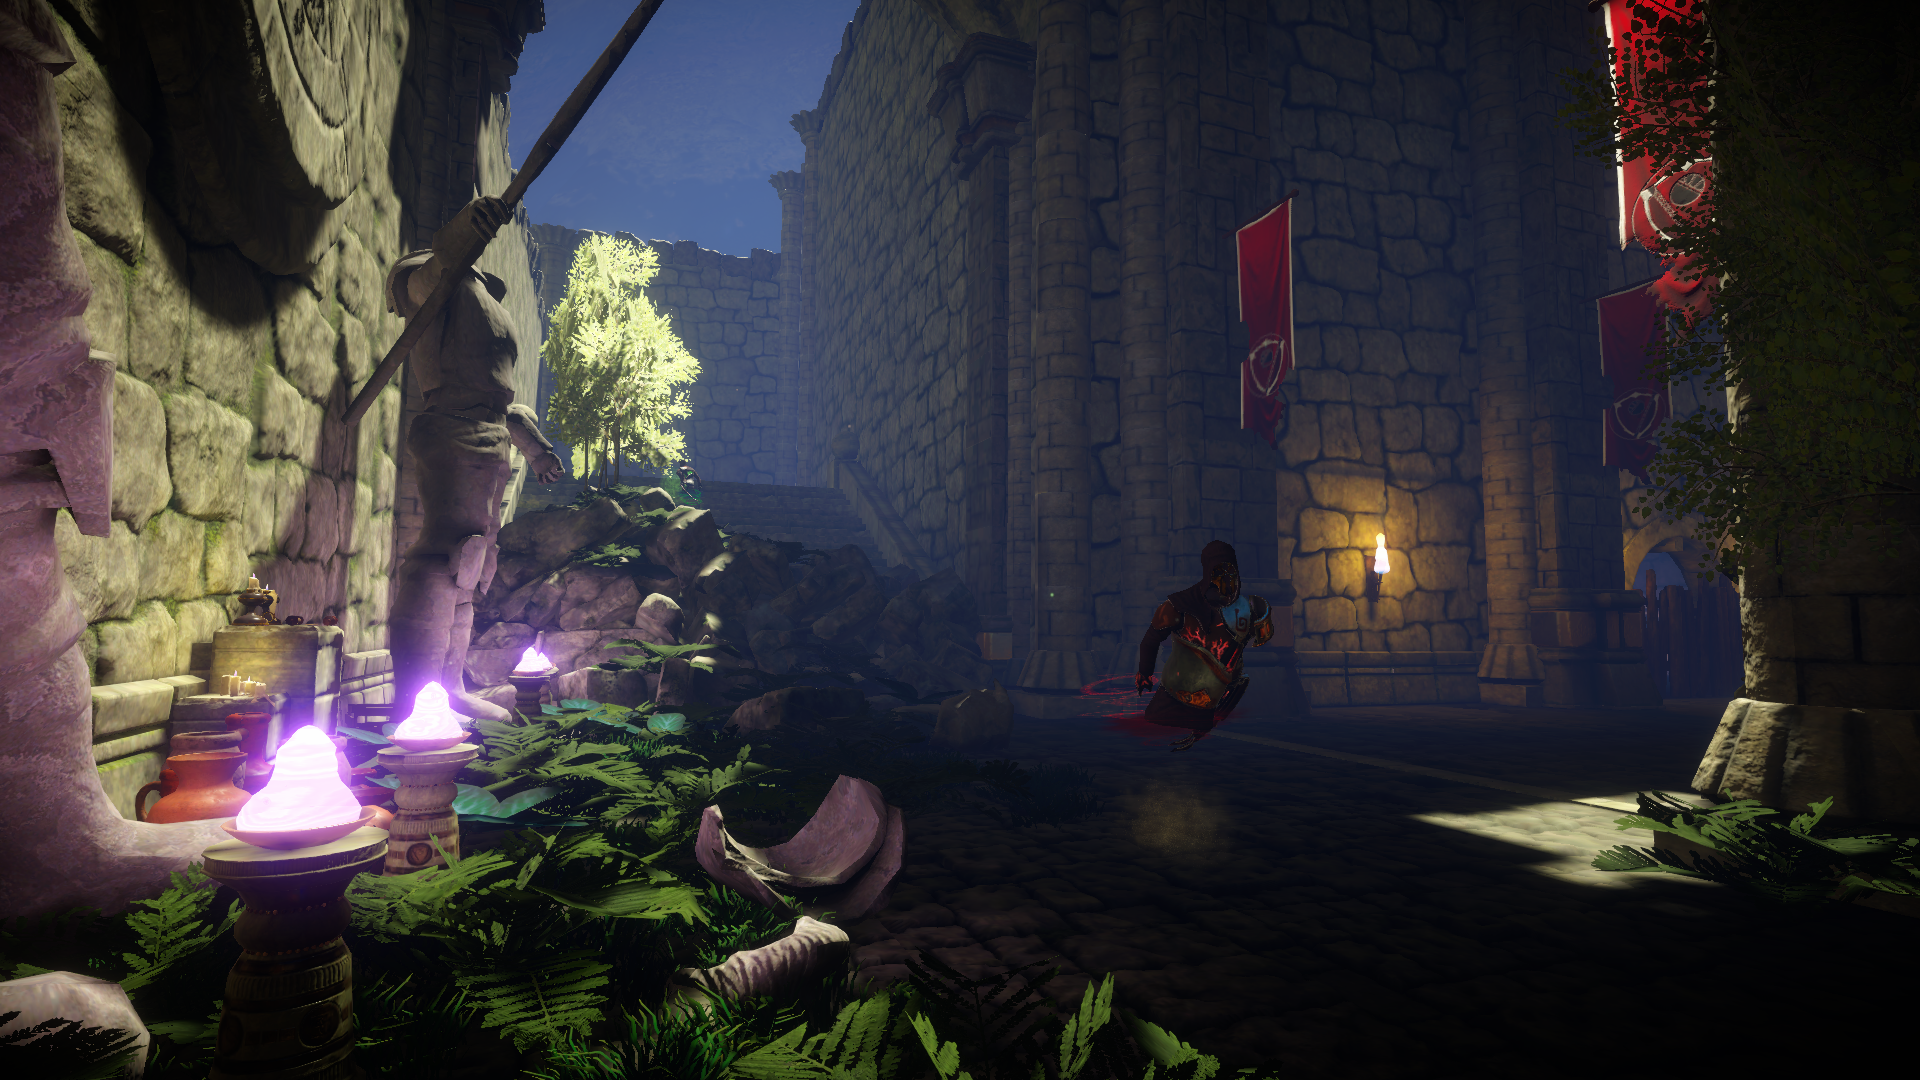
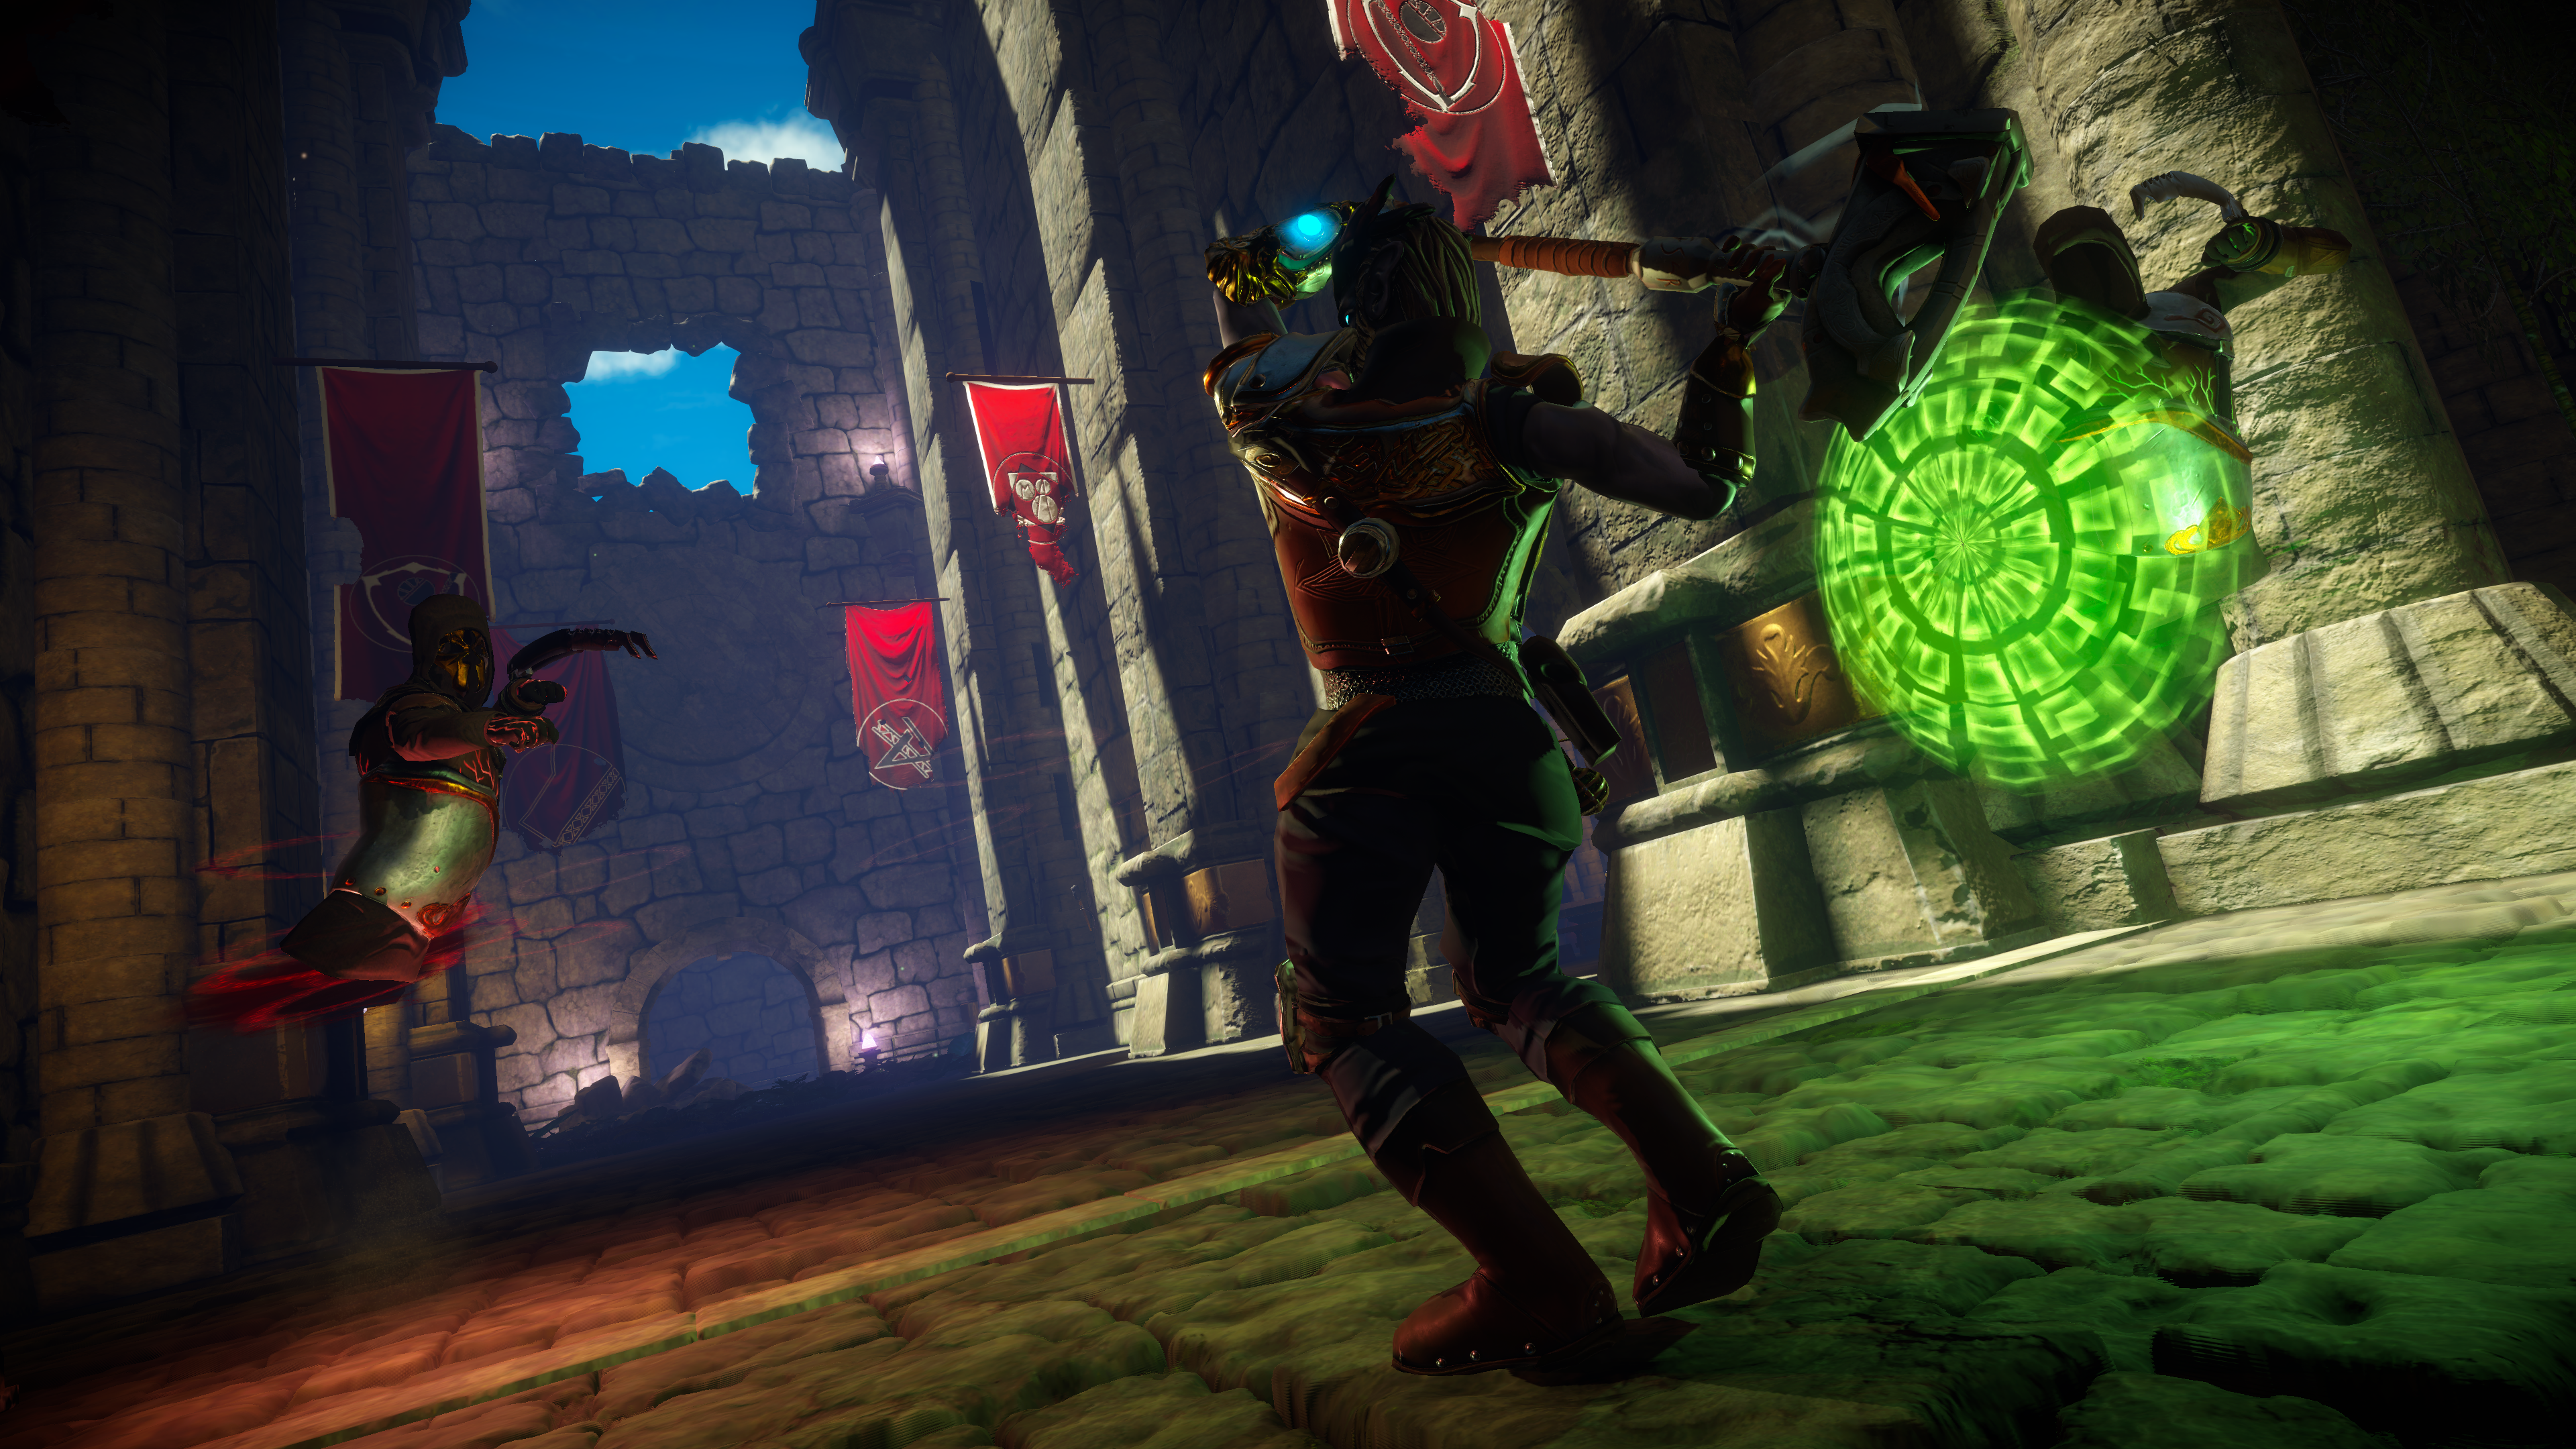
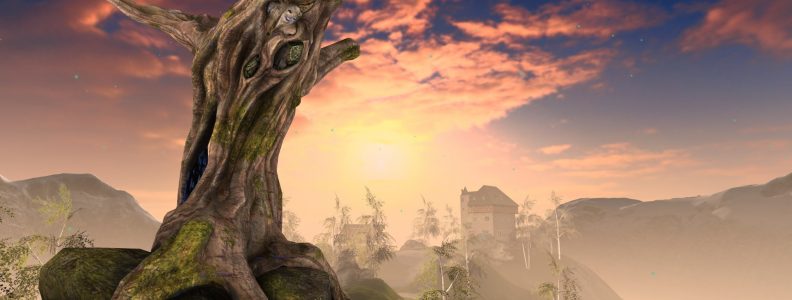
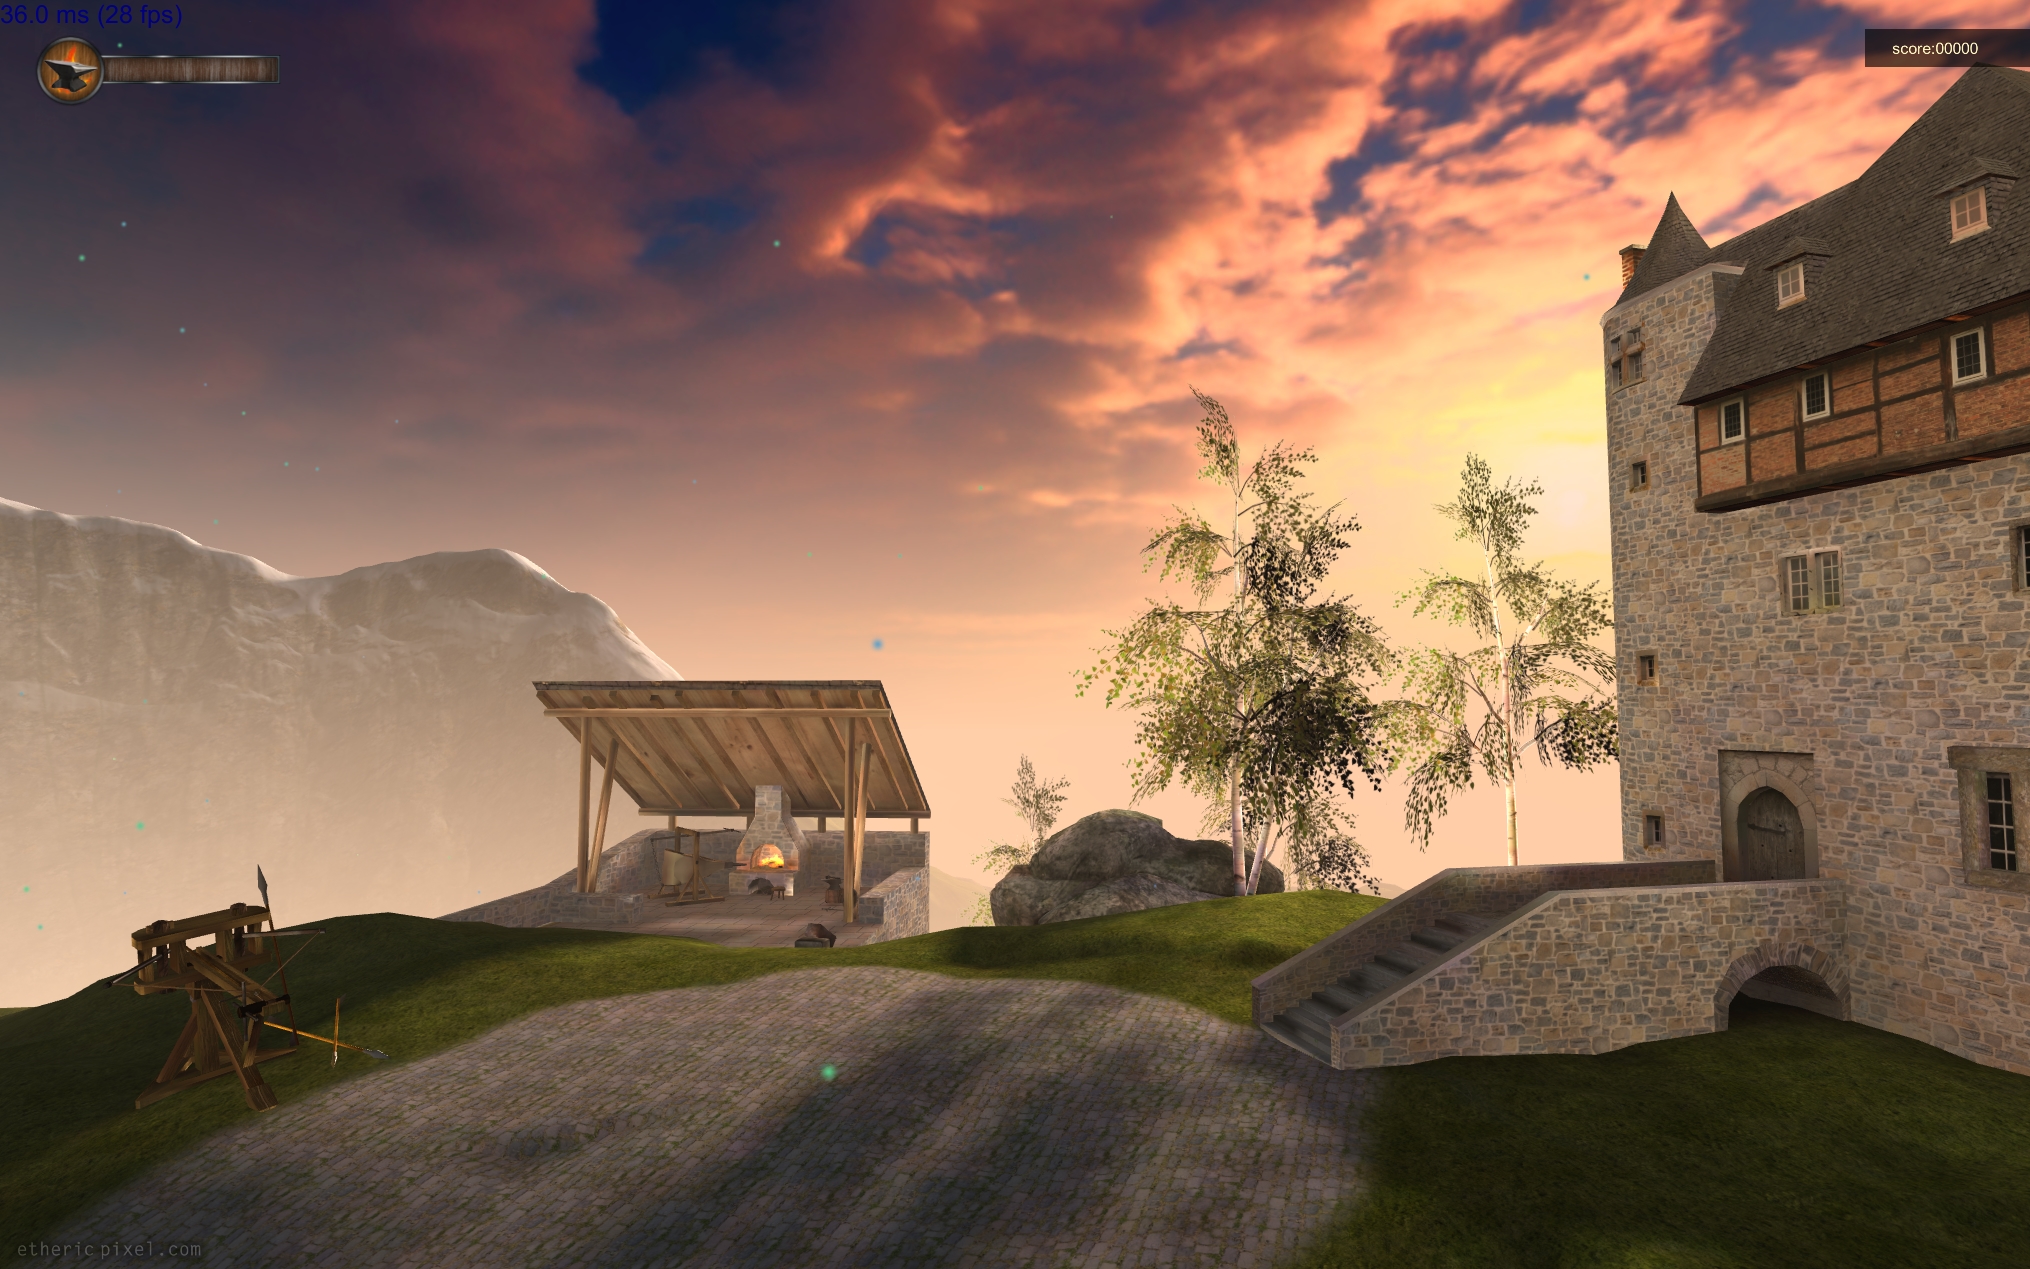
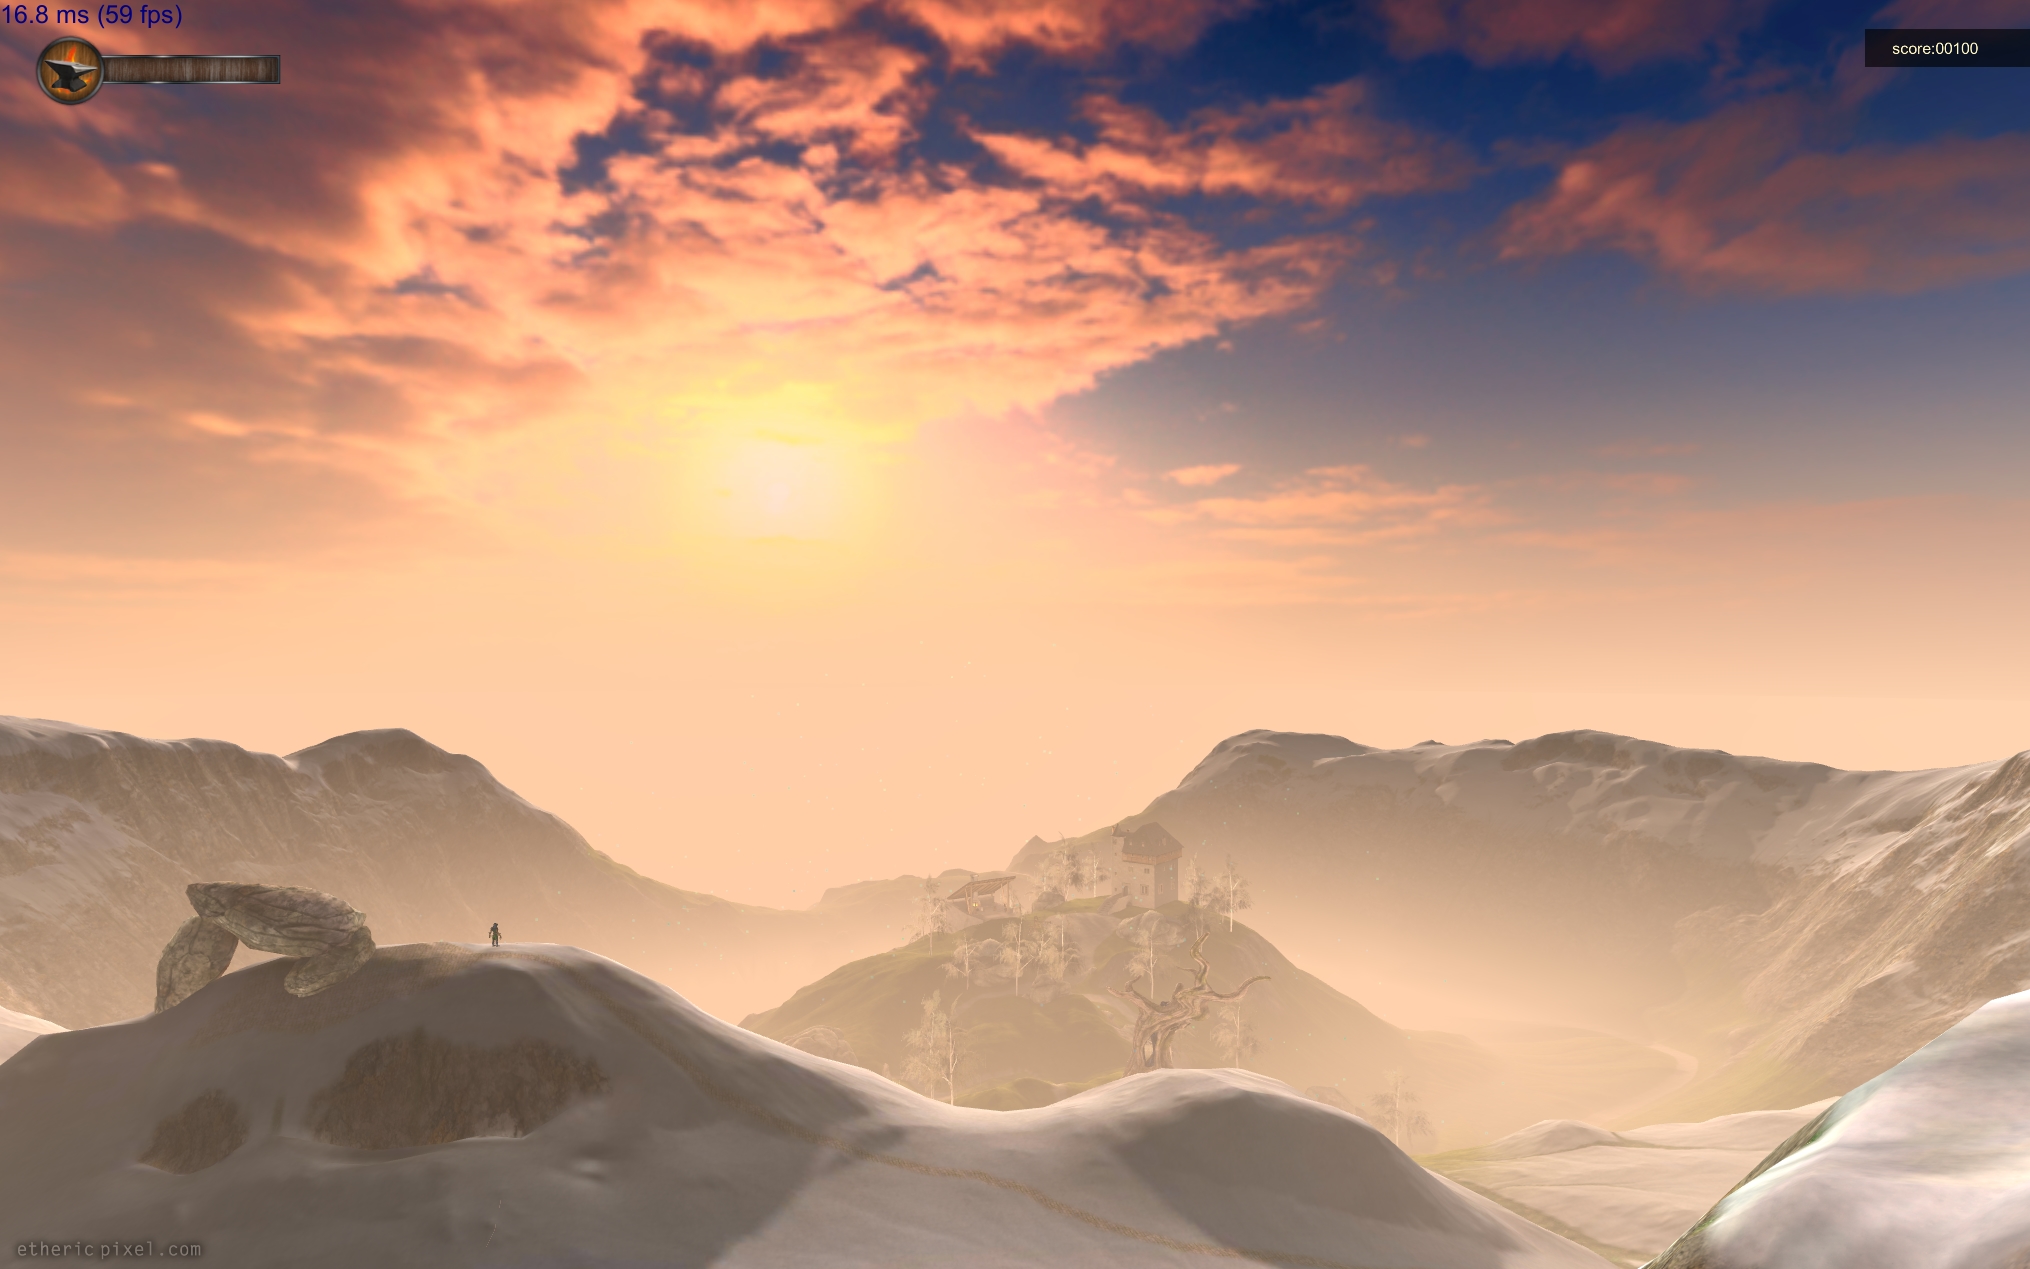
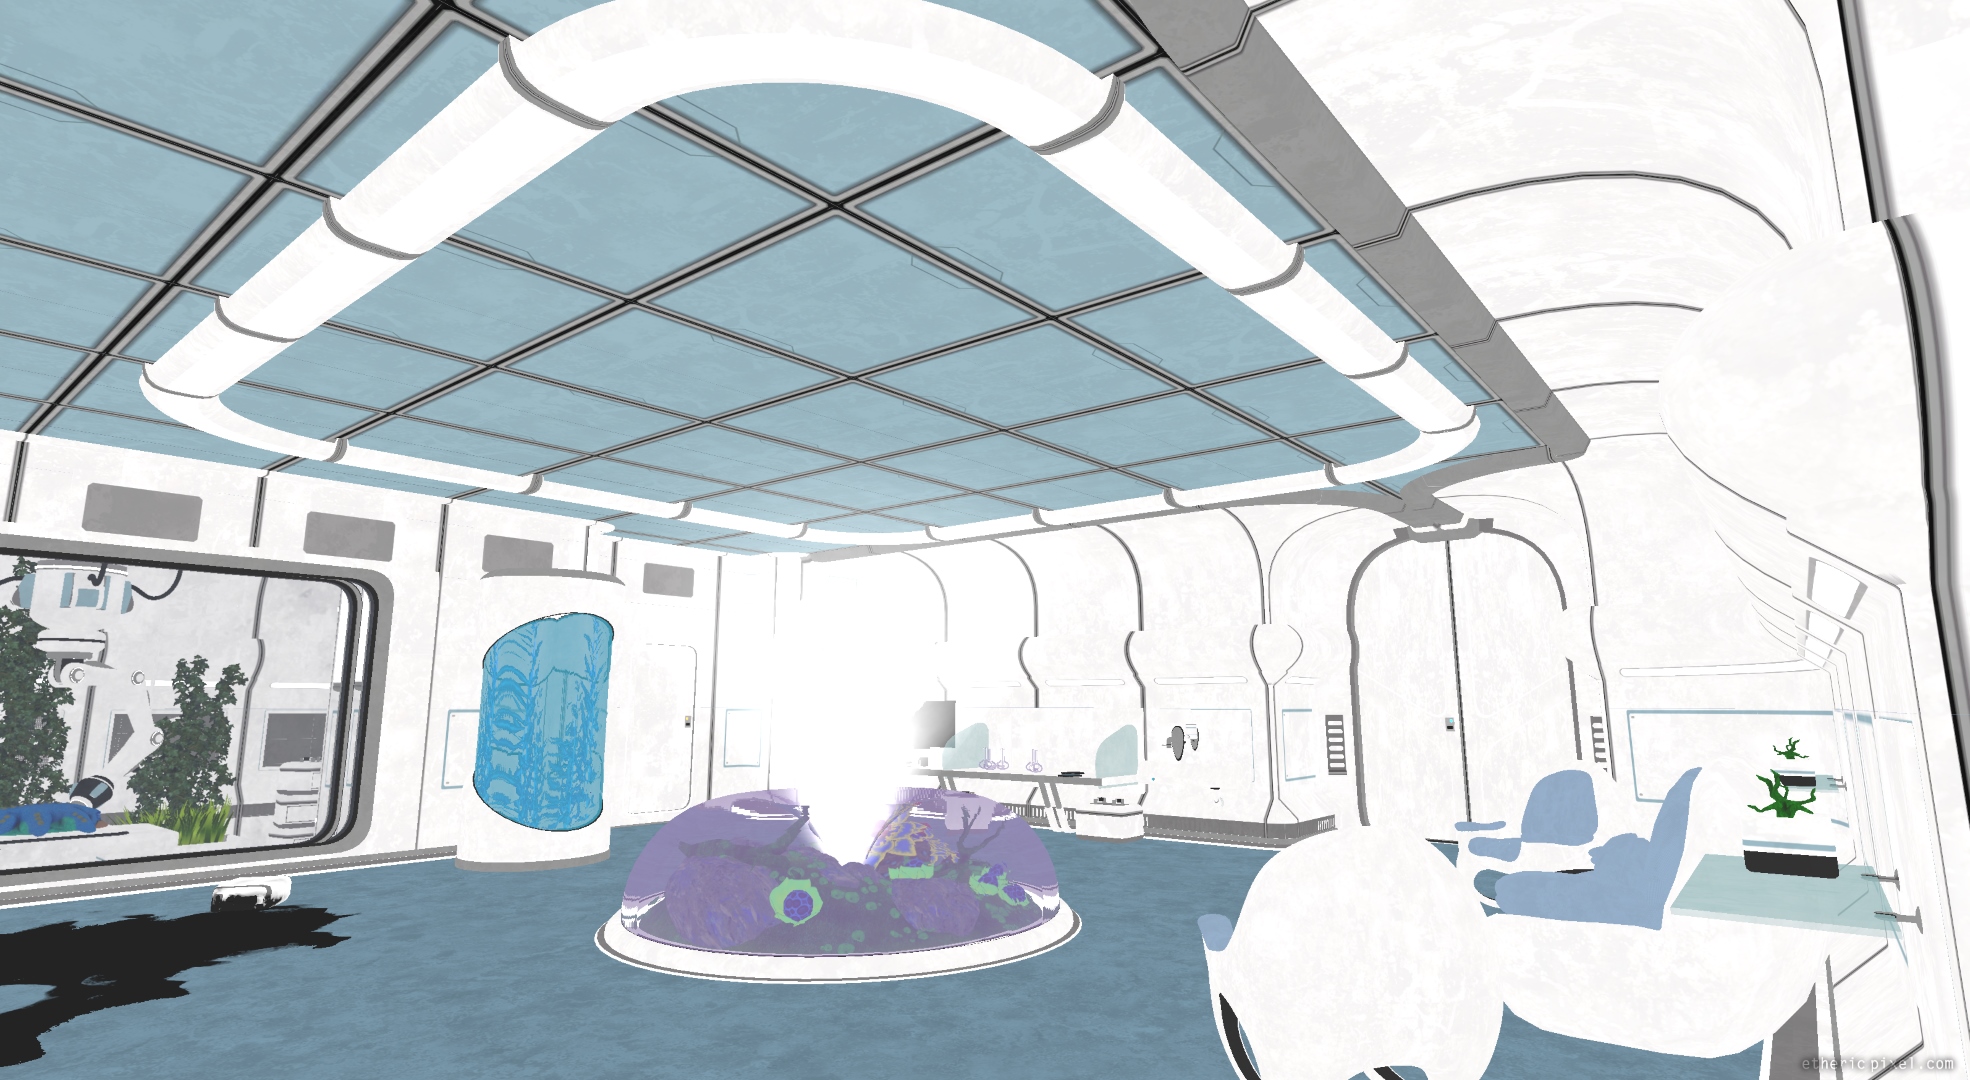
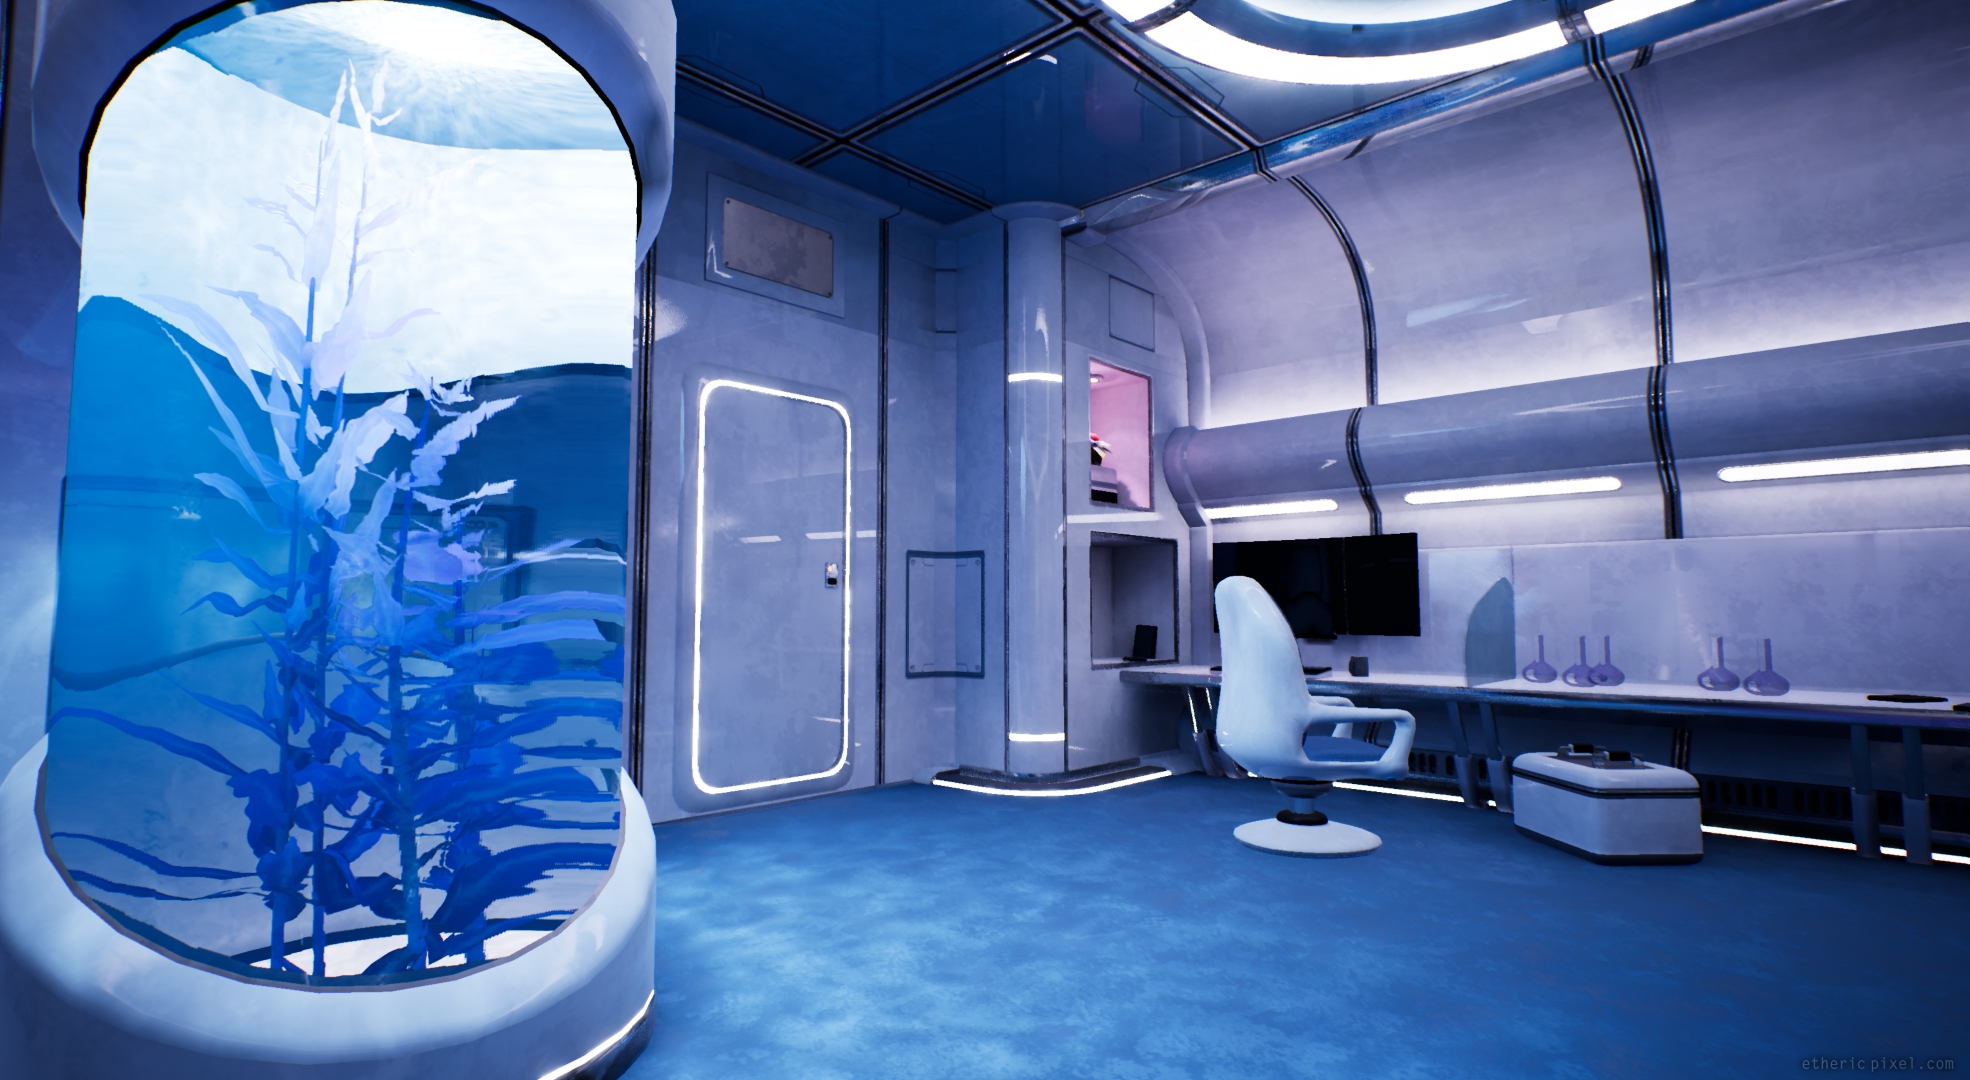
First glimpse of my graduation project, a game demo running on PS4 which we worked on as a team of four people.

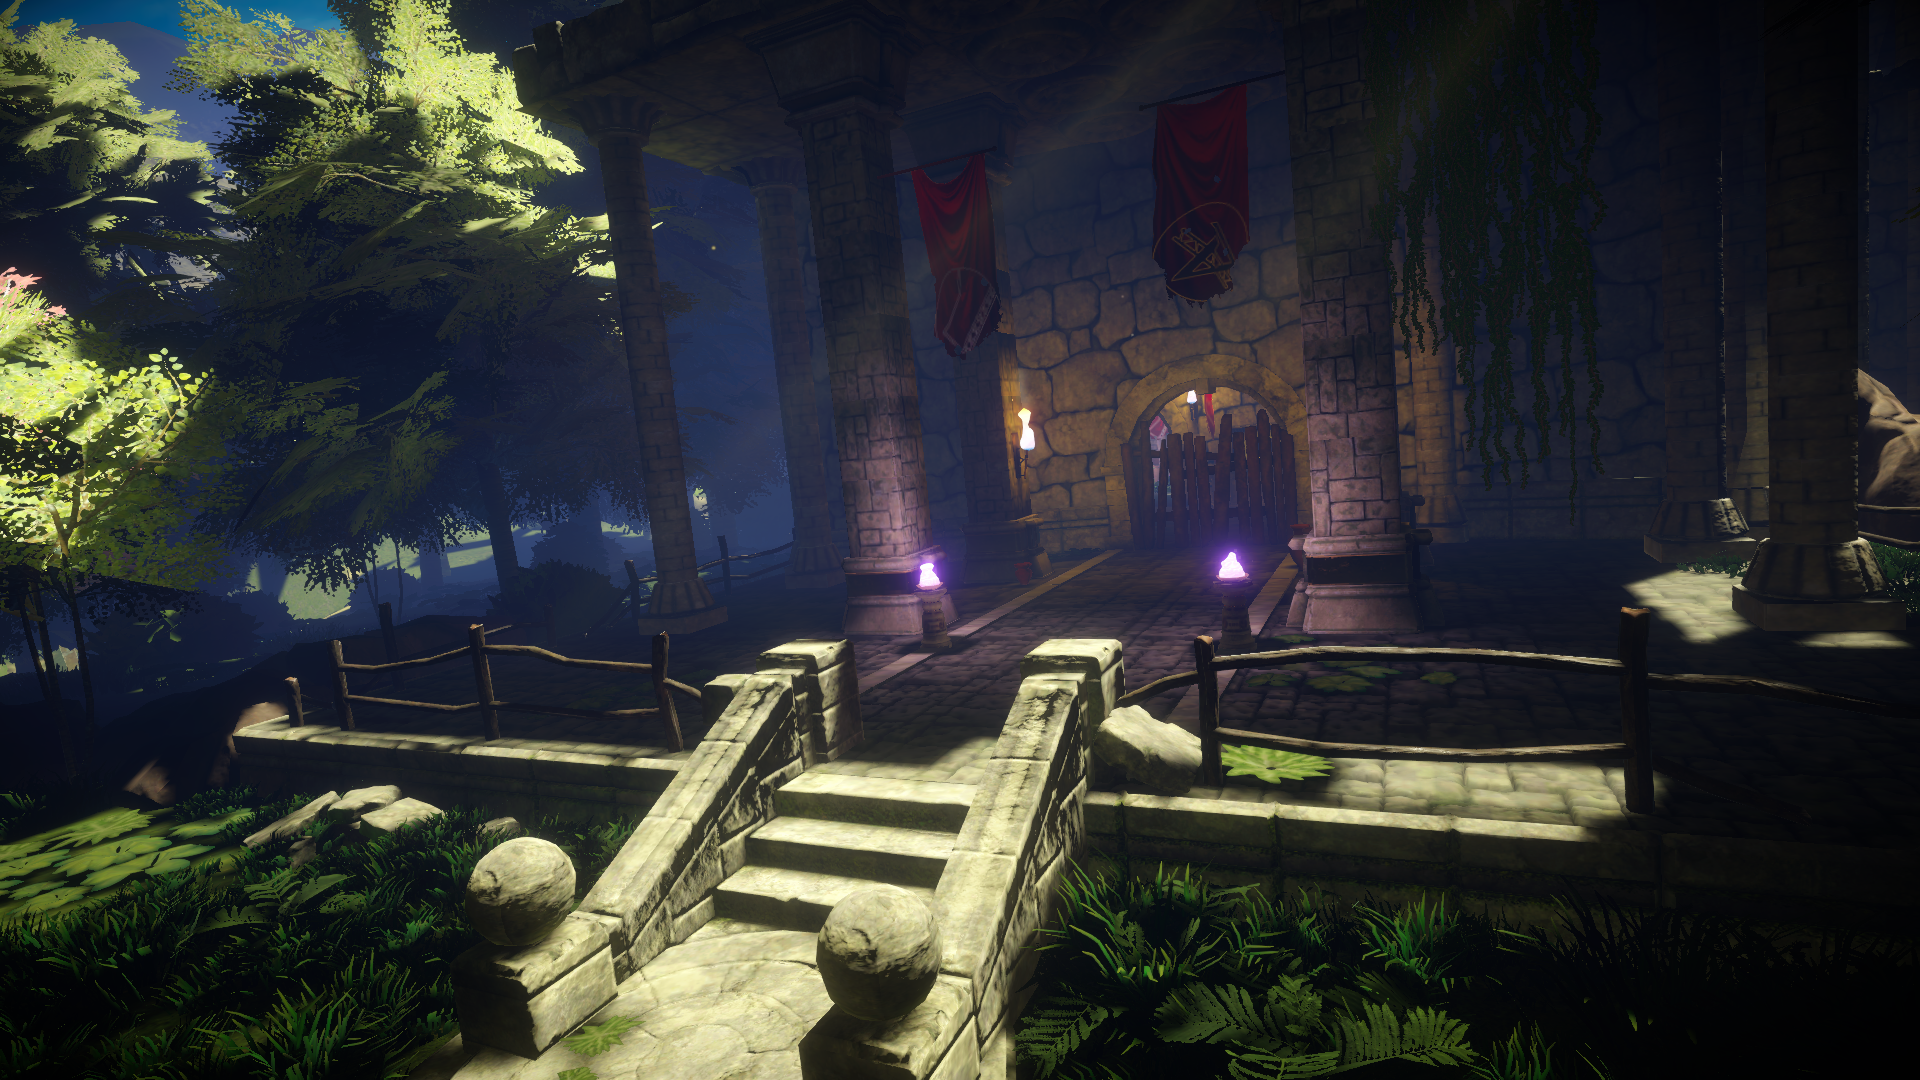
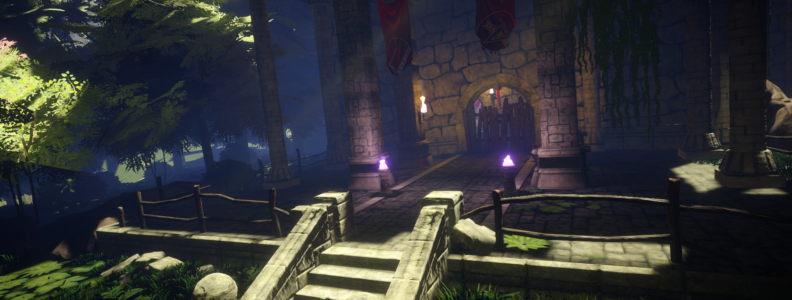
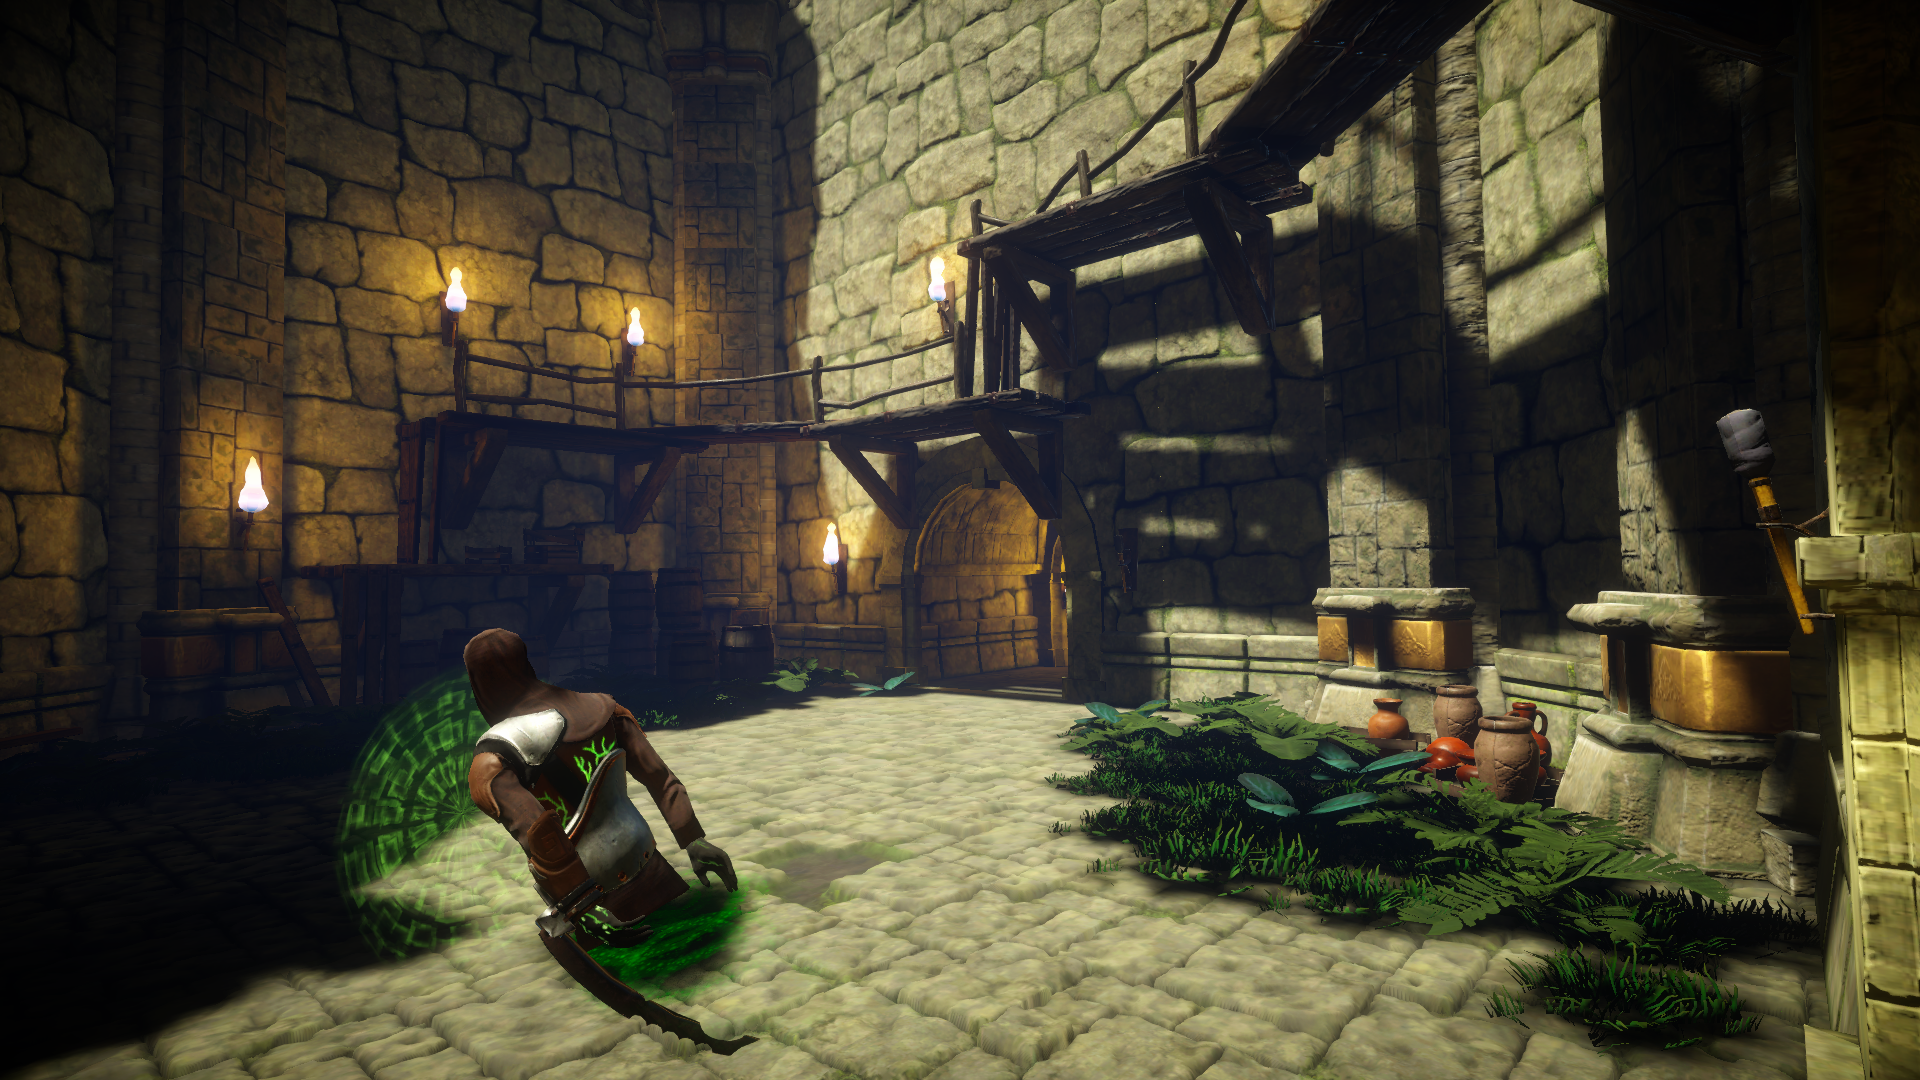
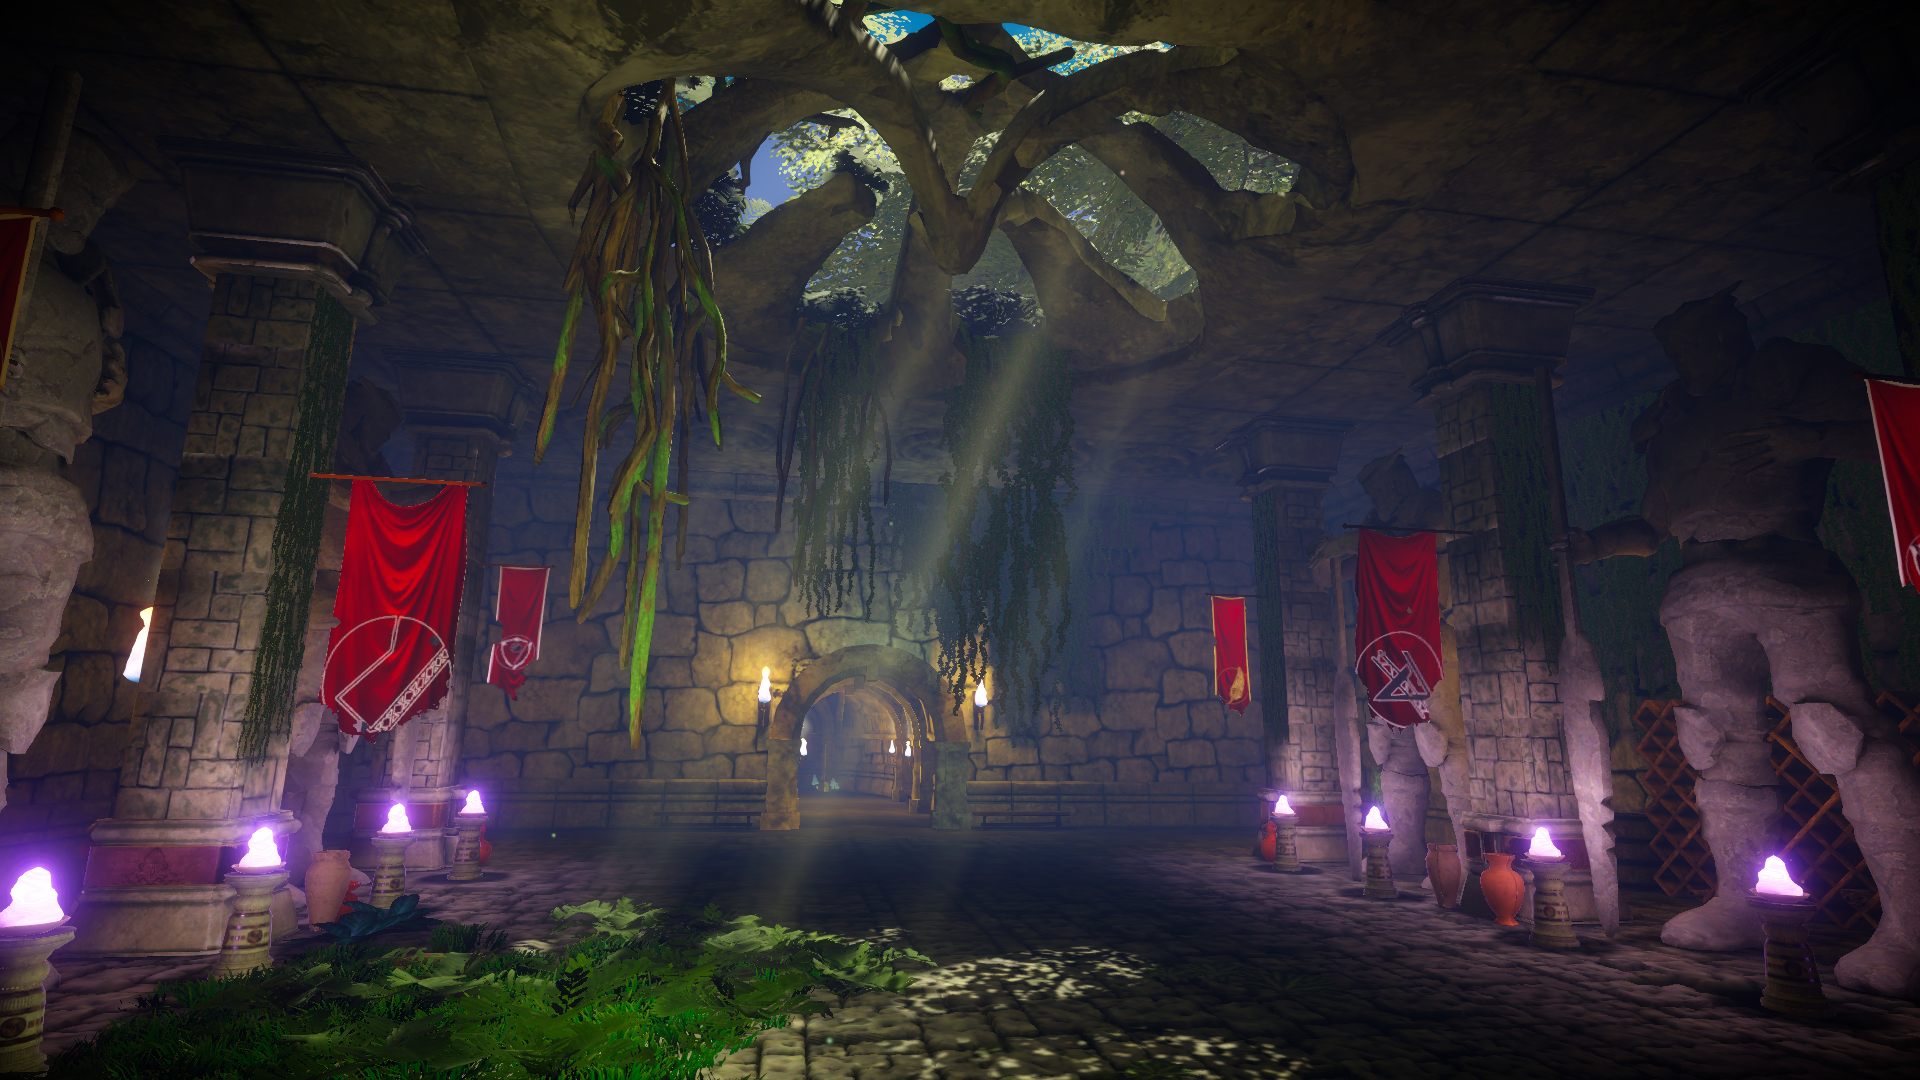
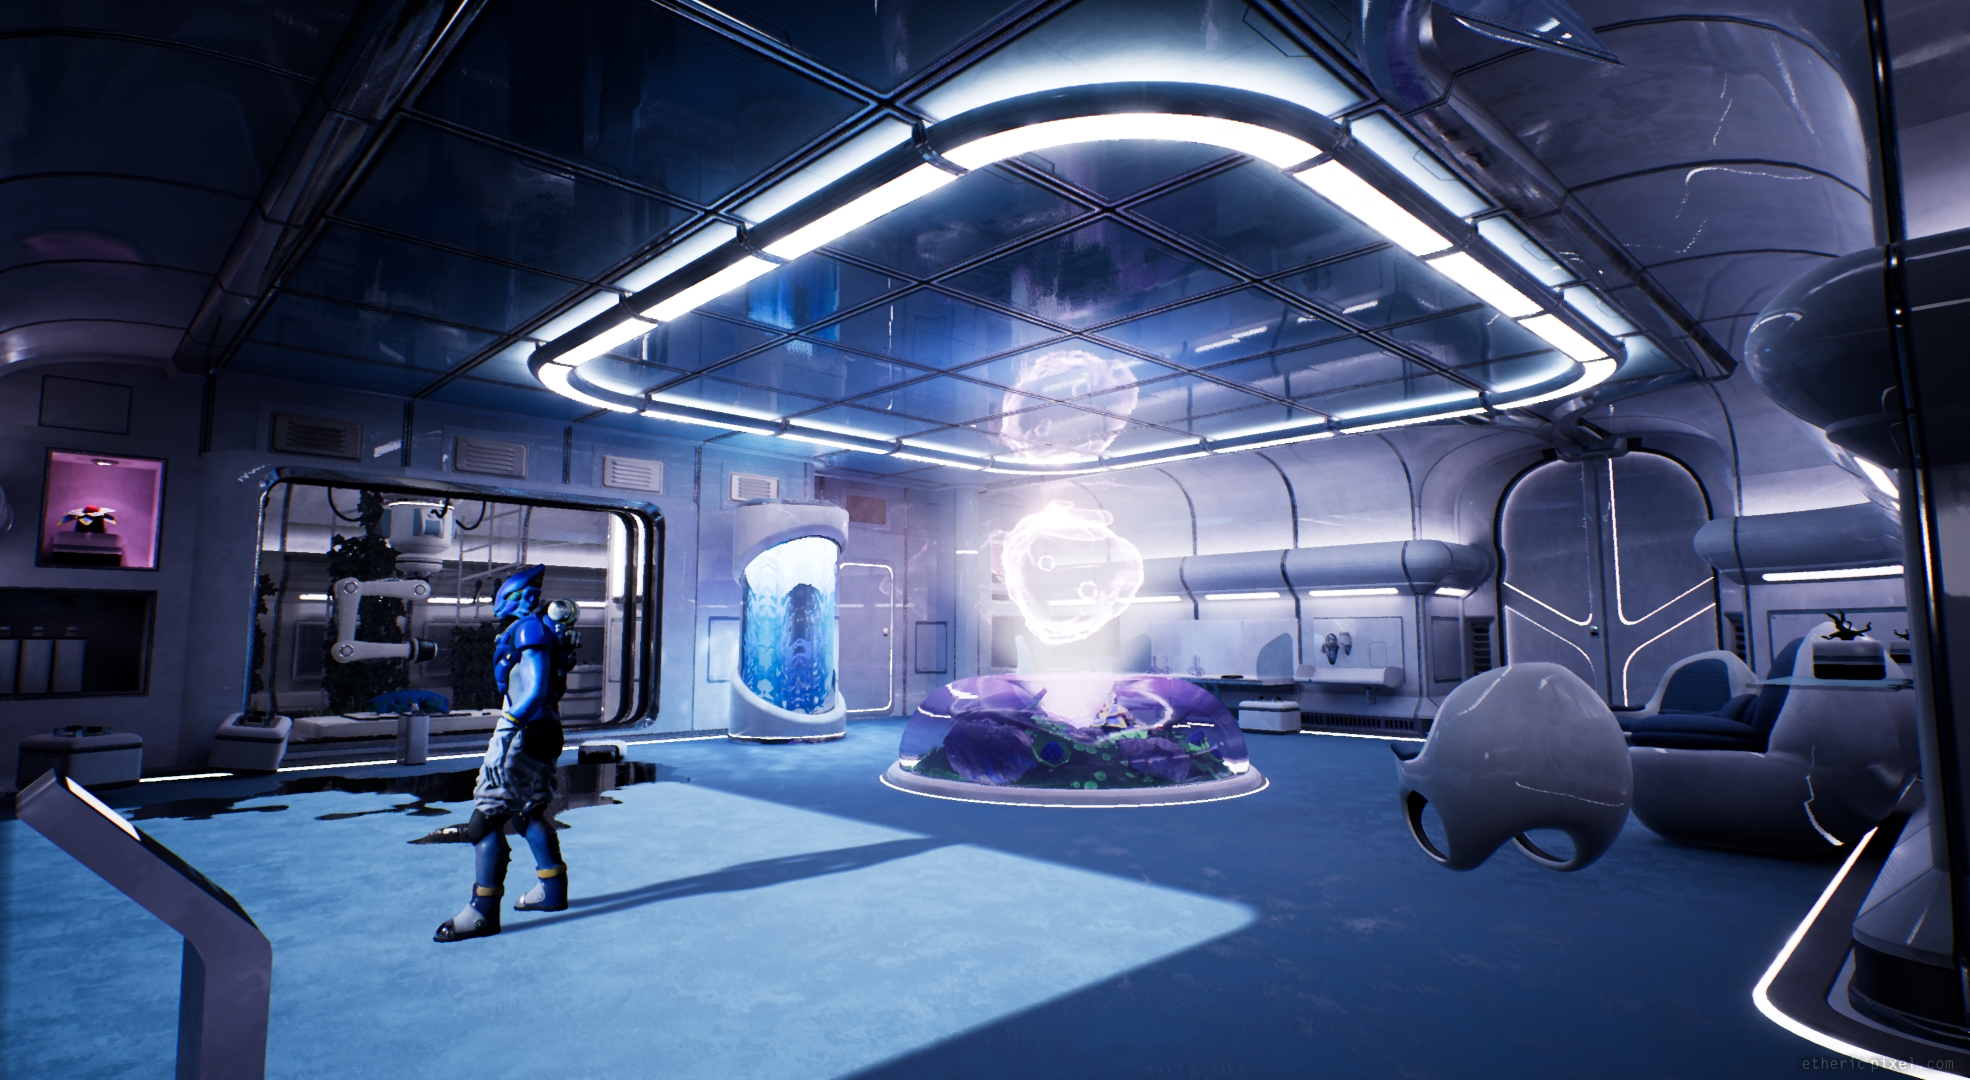
This is a third person adventure game featuring live combats against otherworldly creatures. The player is invited to explore an old temple from which these creatures first appeared and unveil the mystery of their origin.

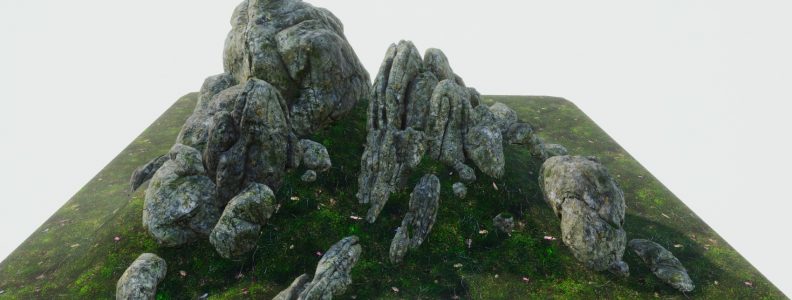
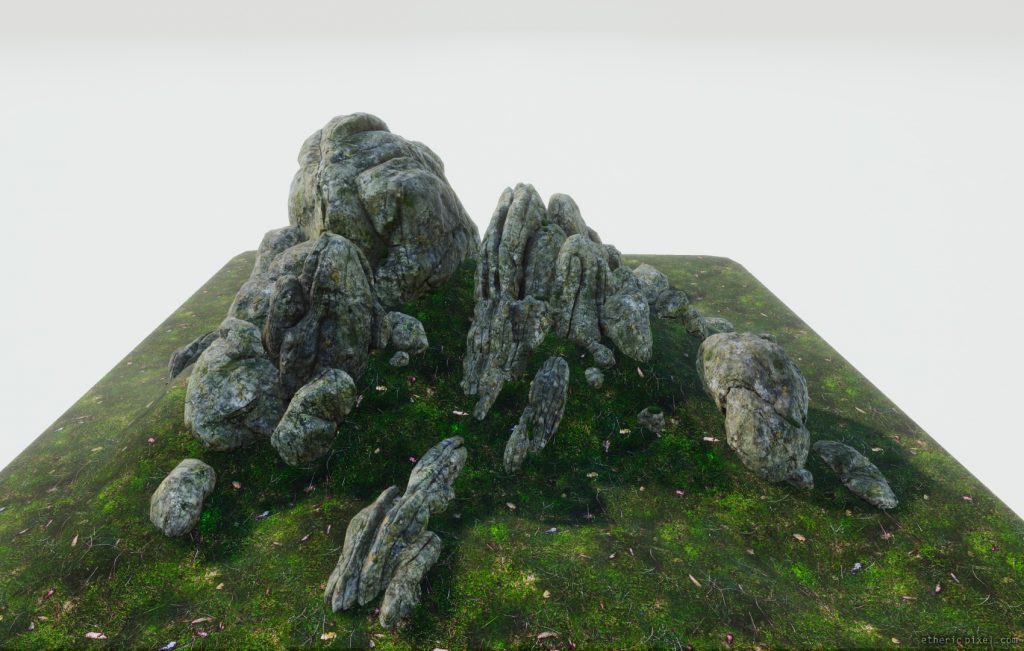
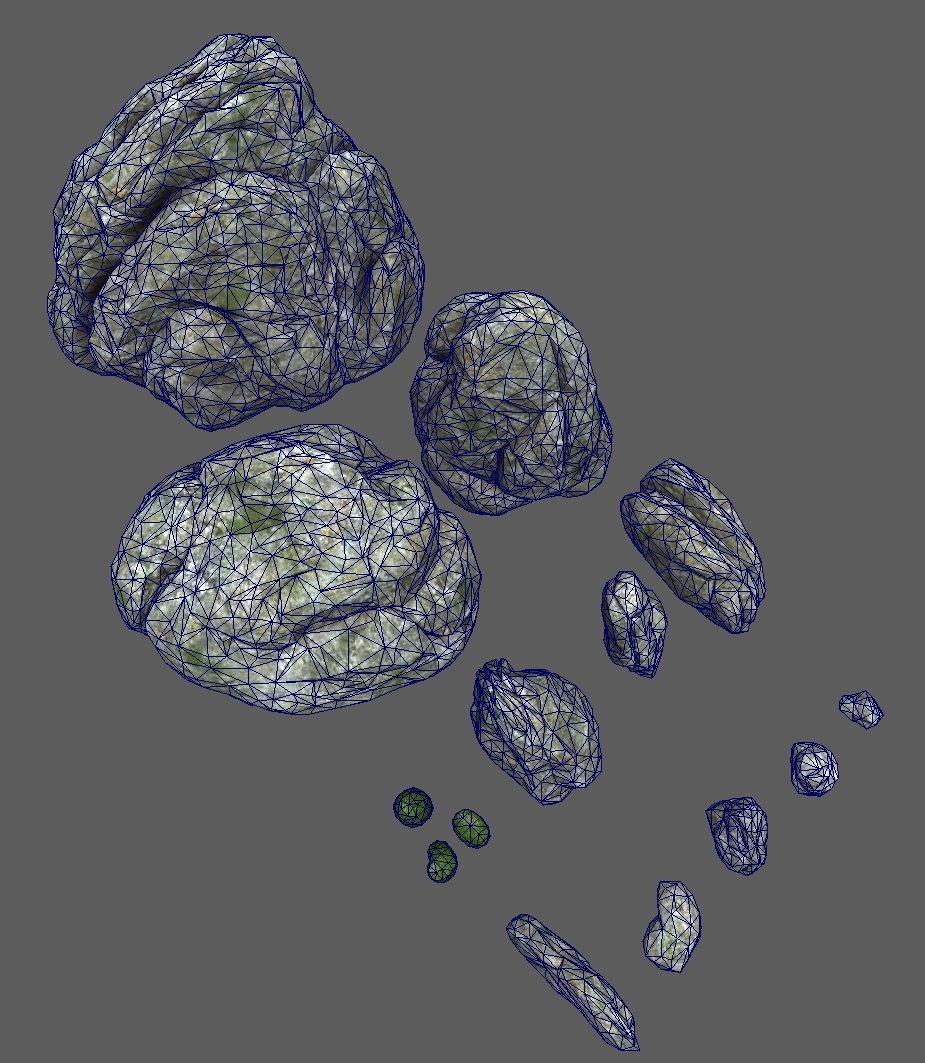
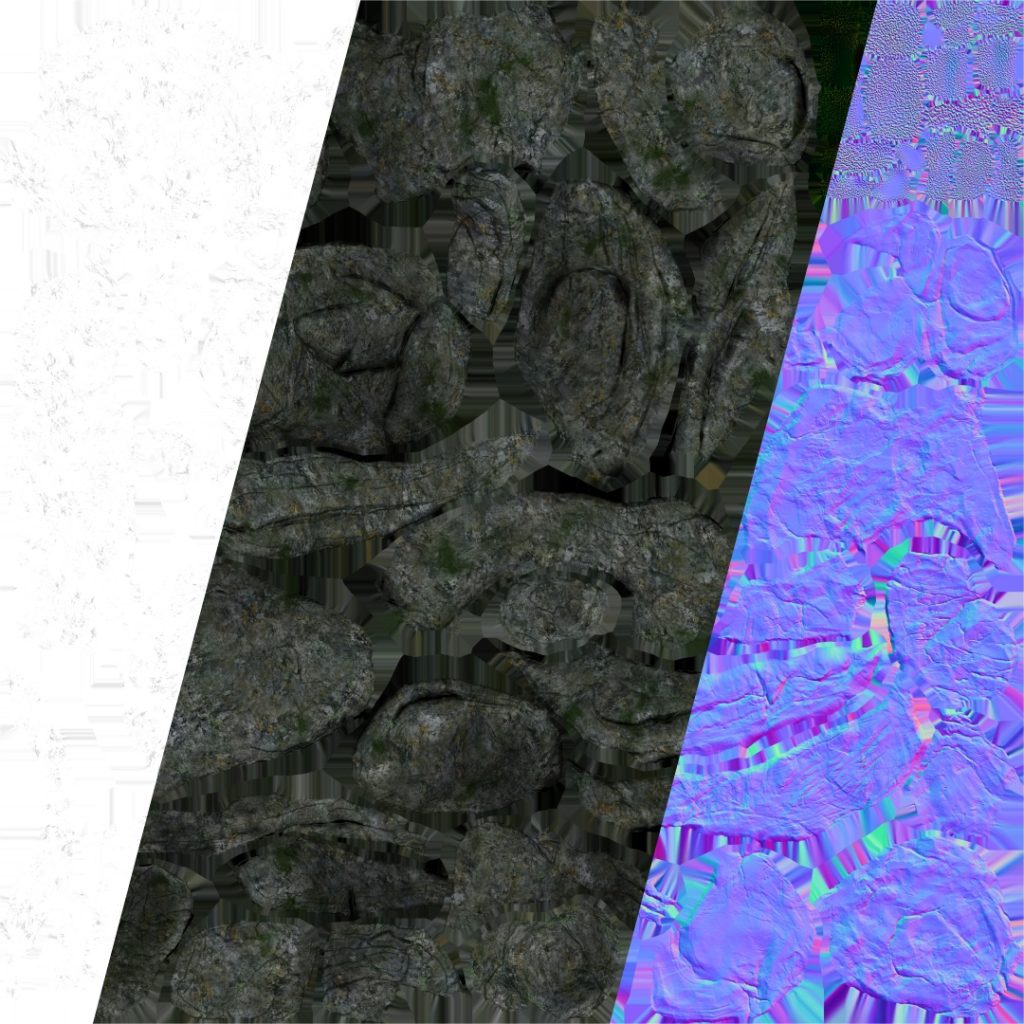
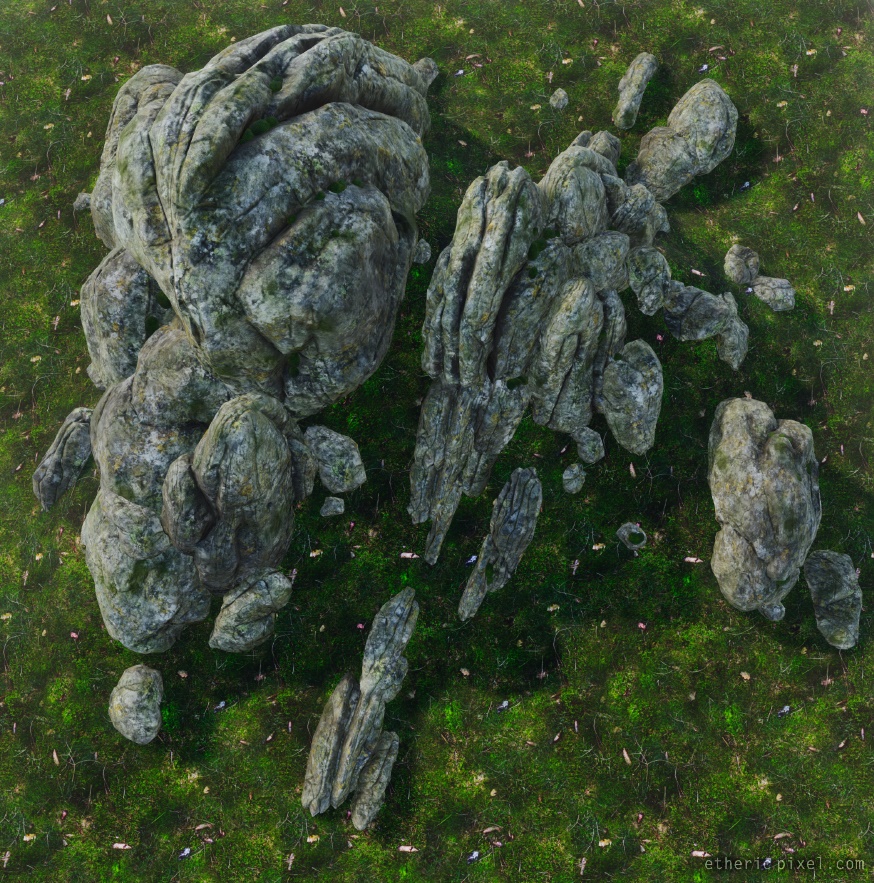
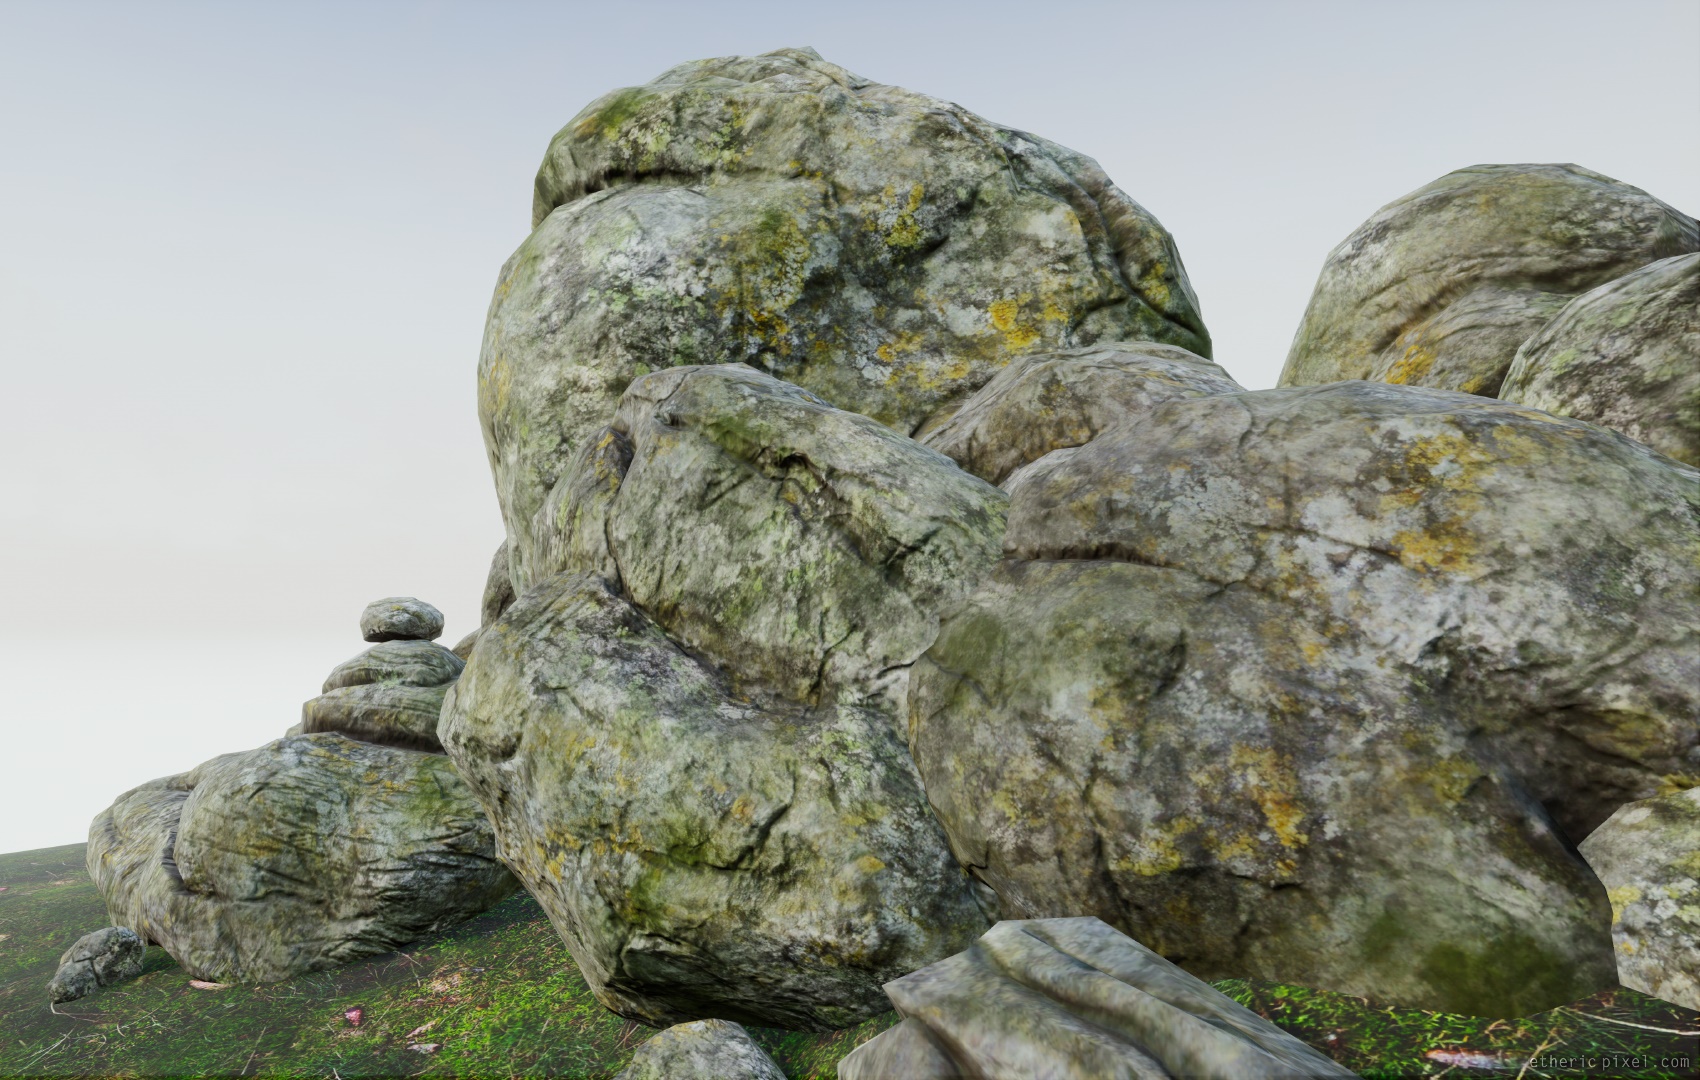
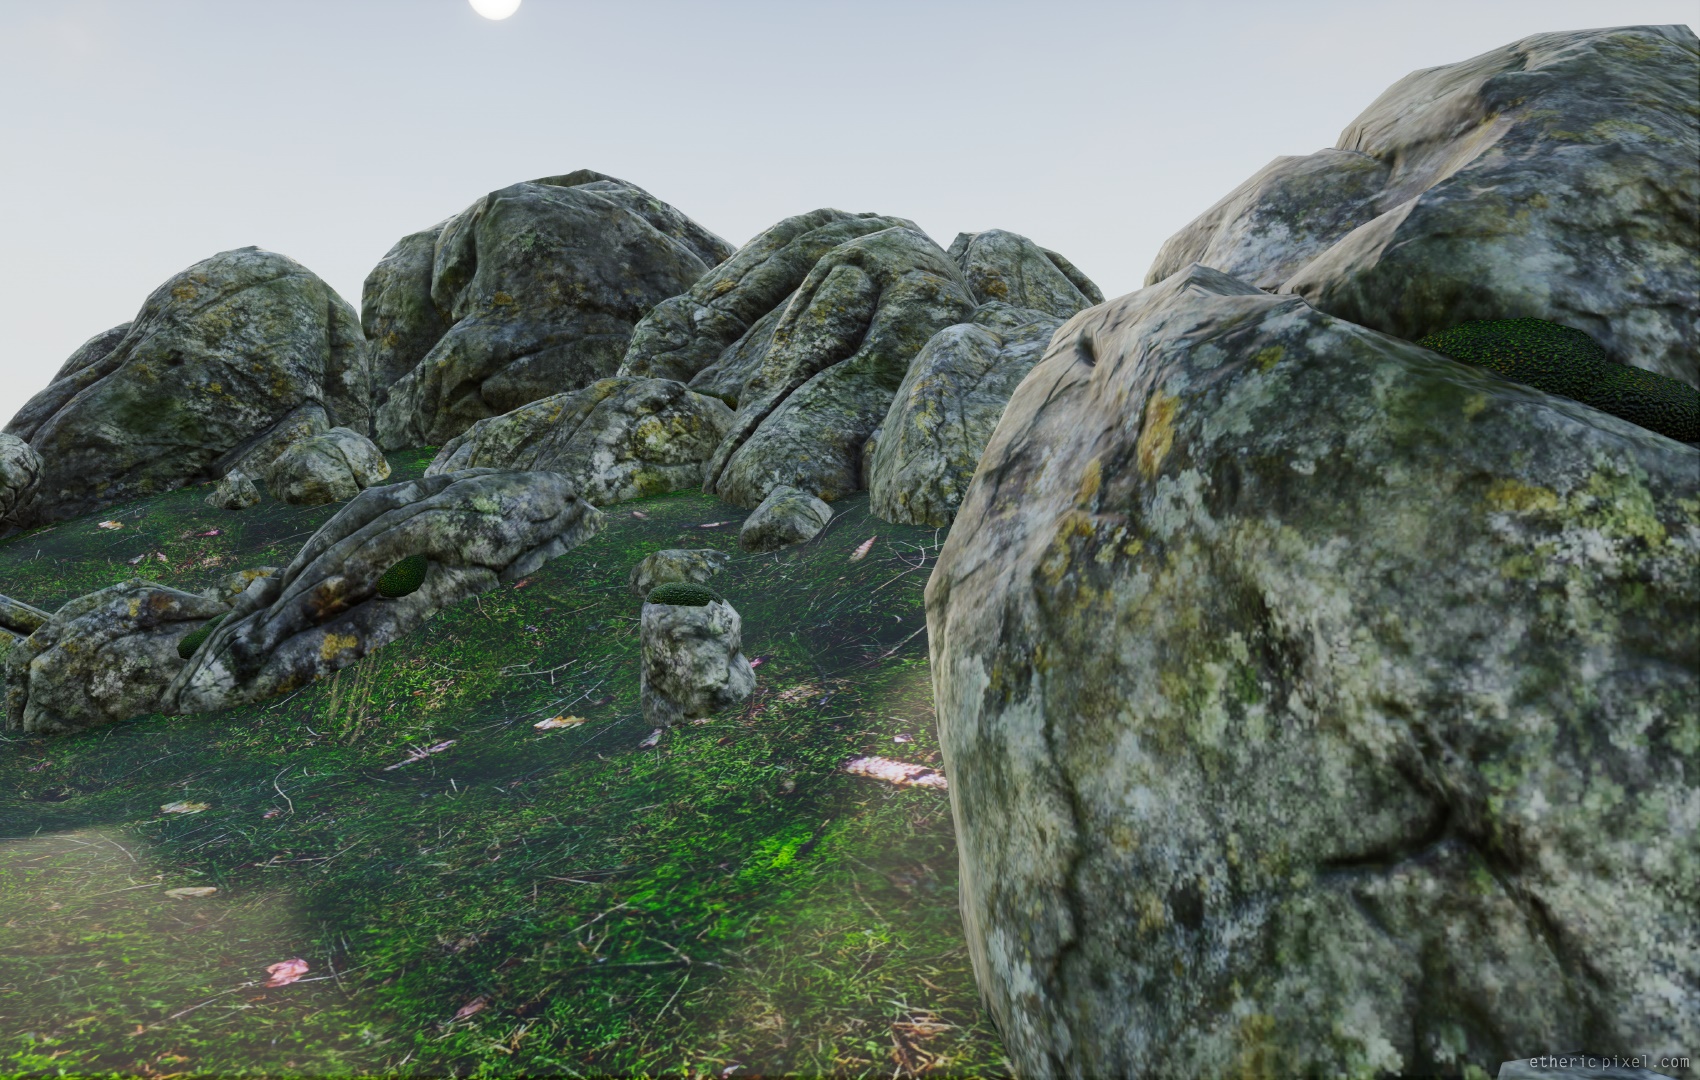
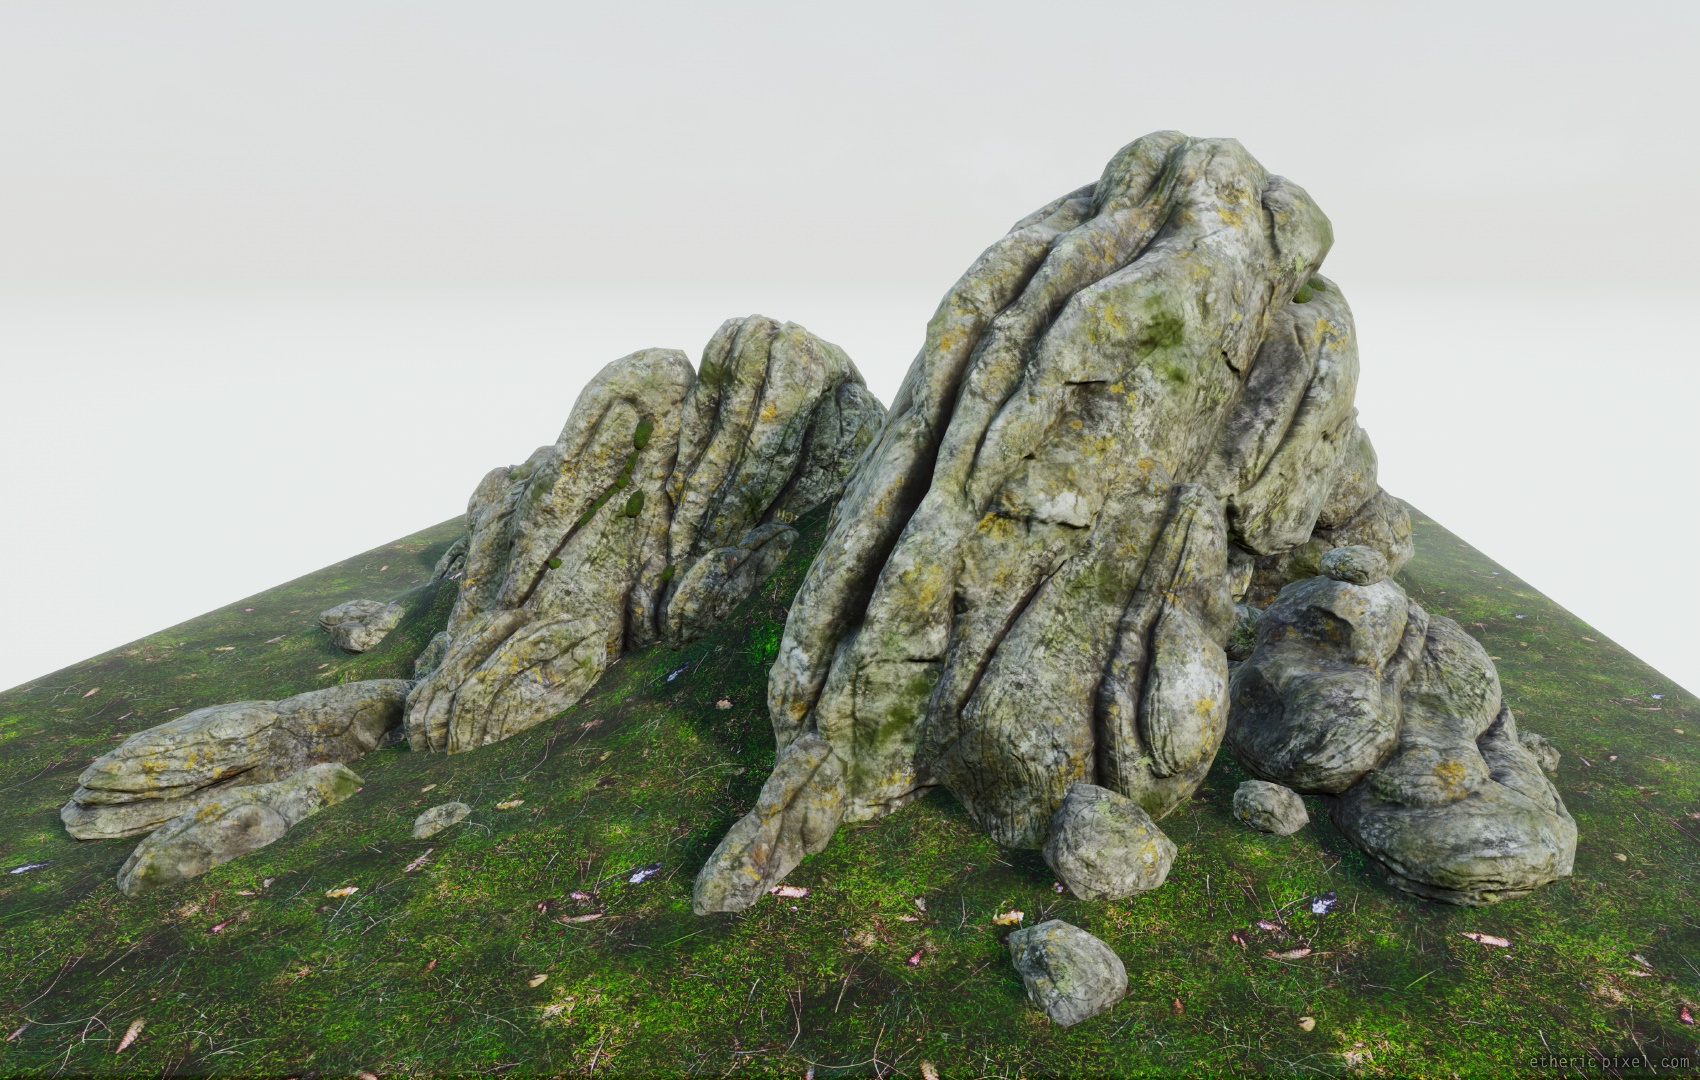
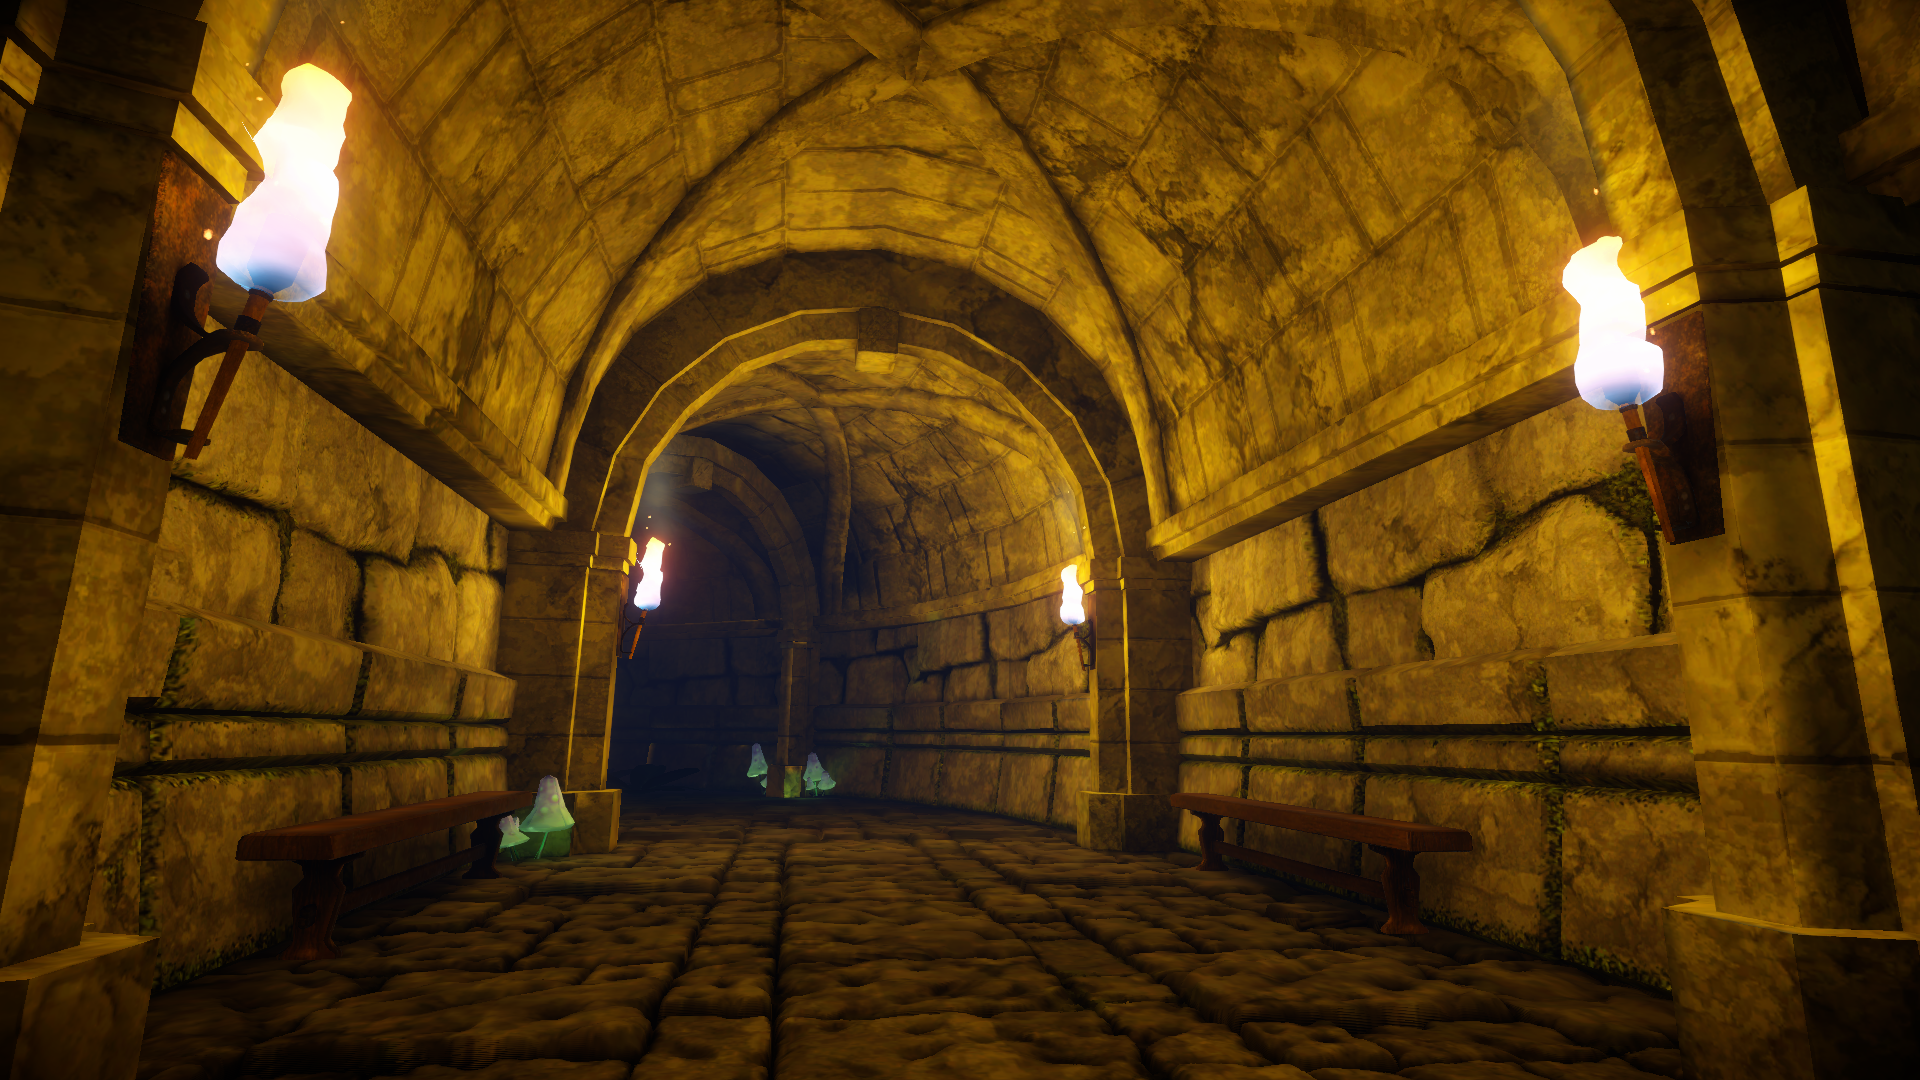
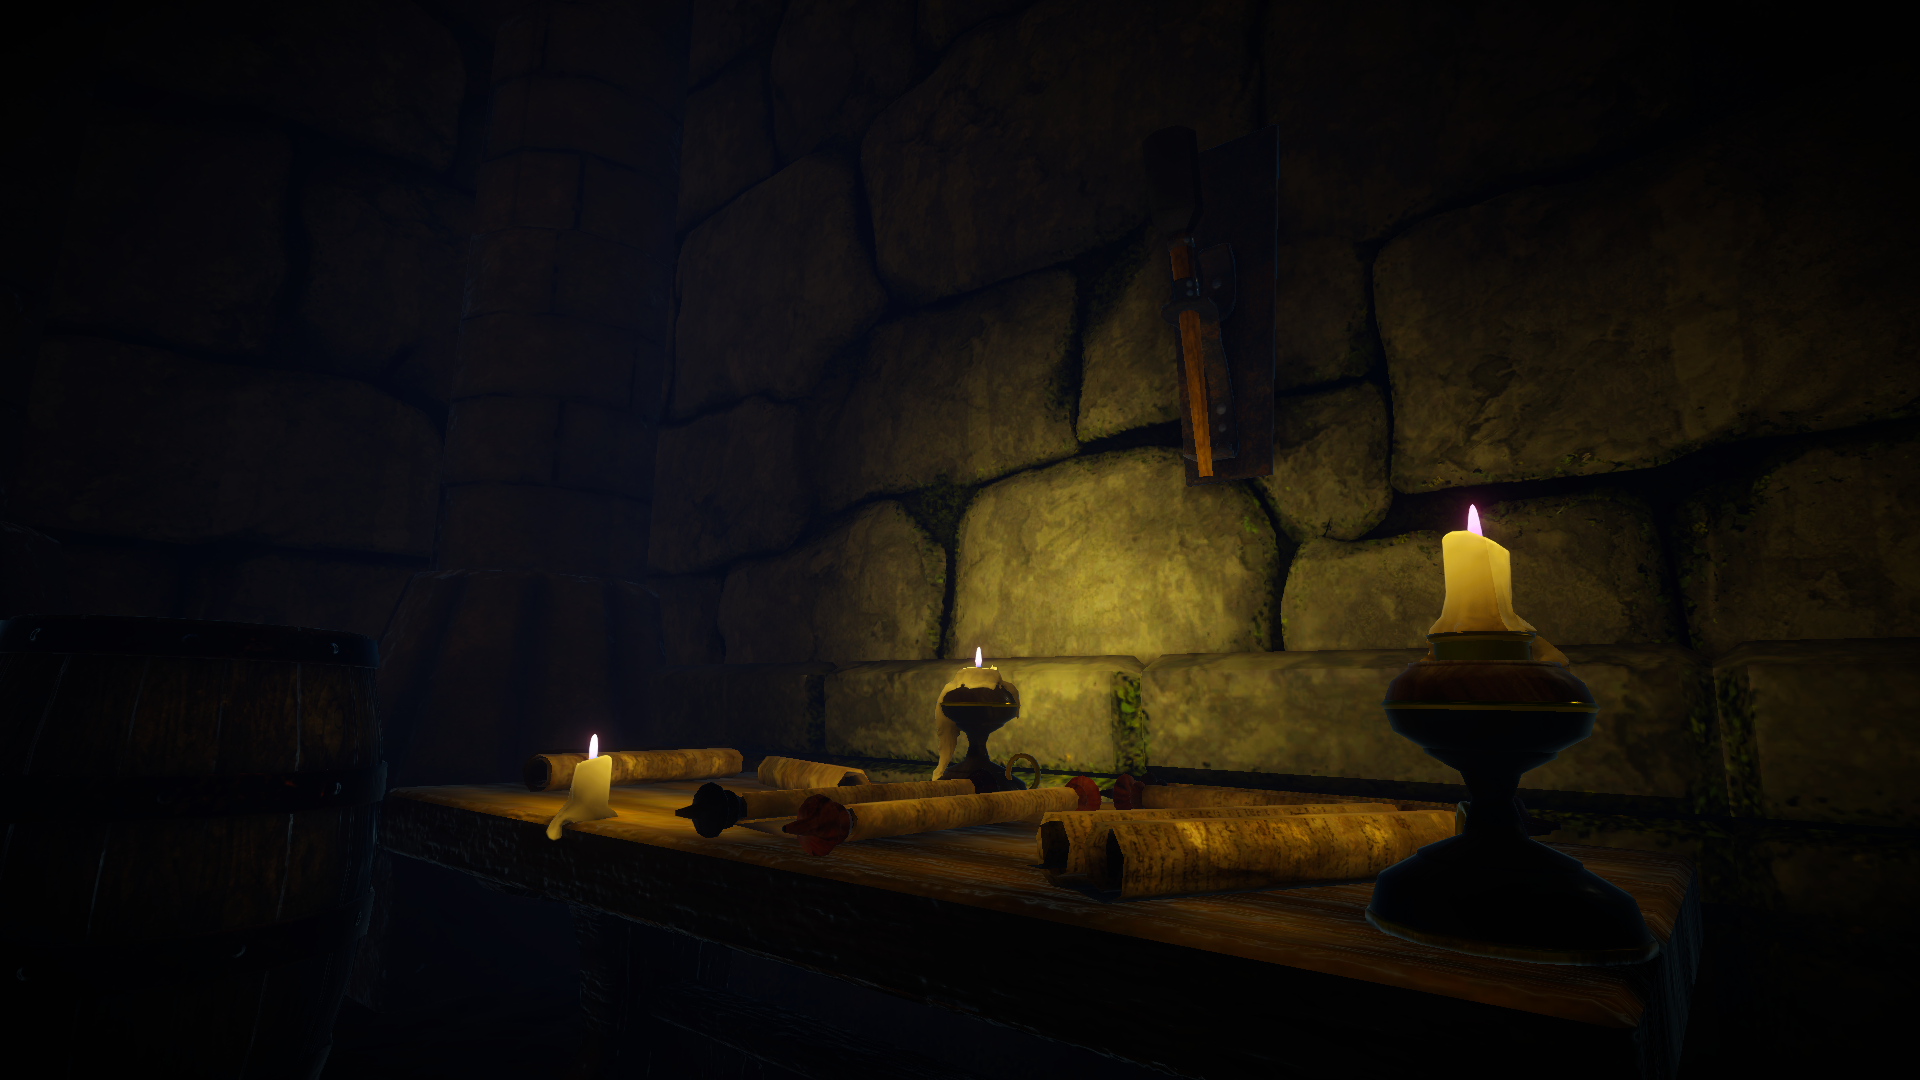
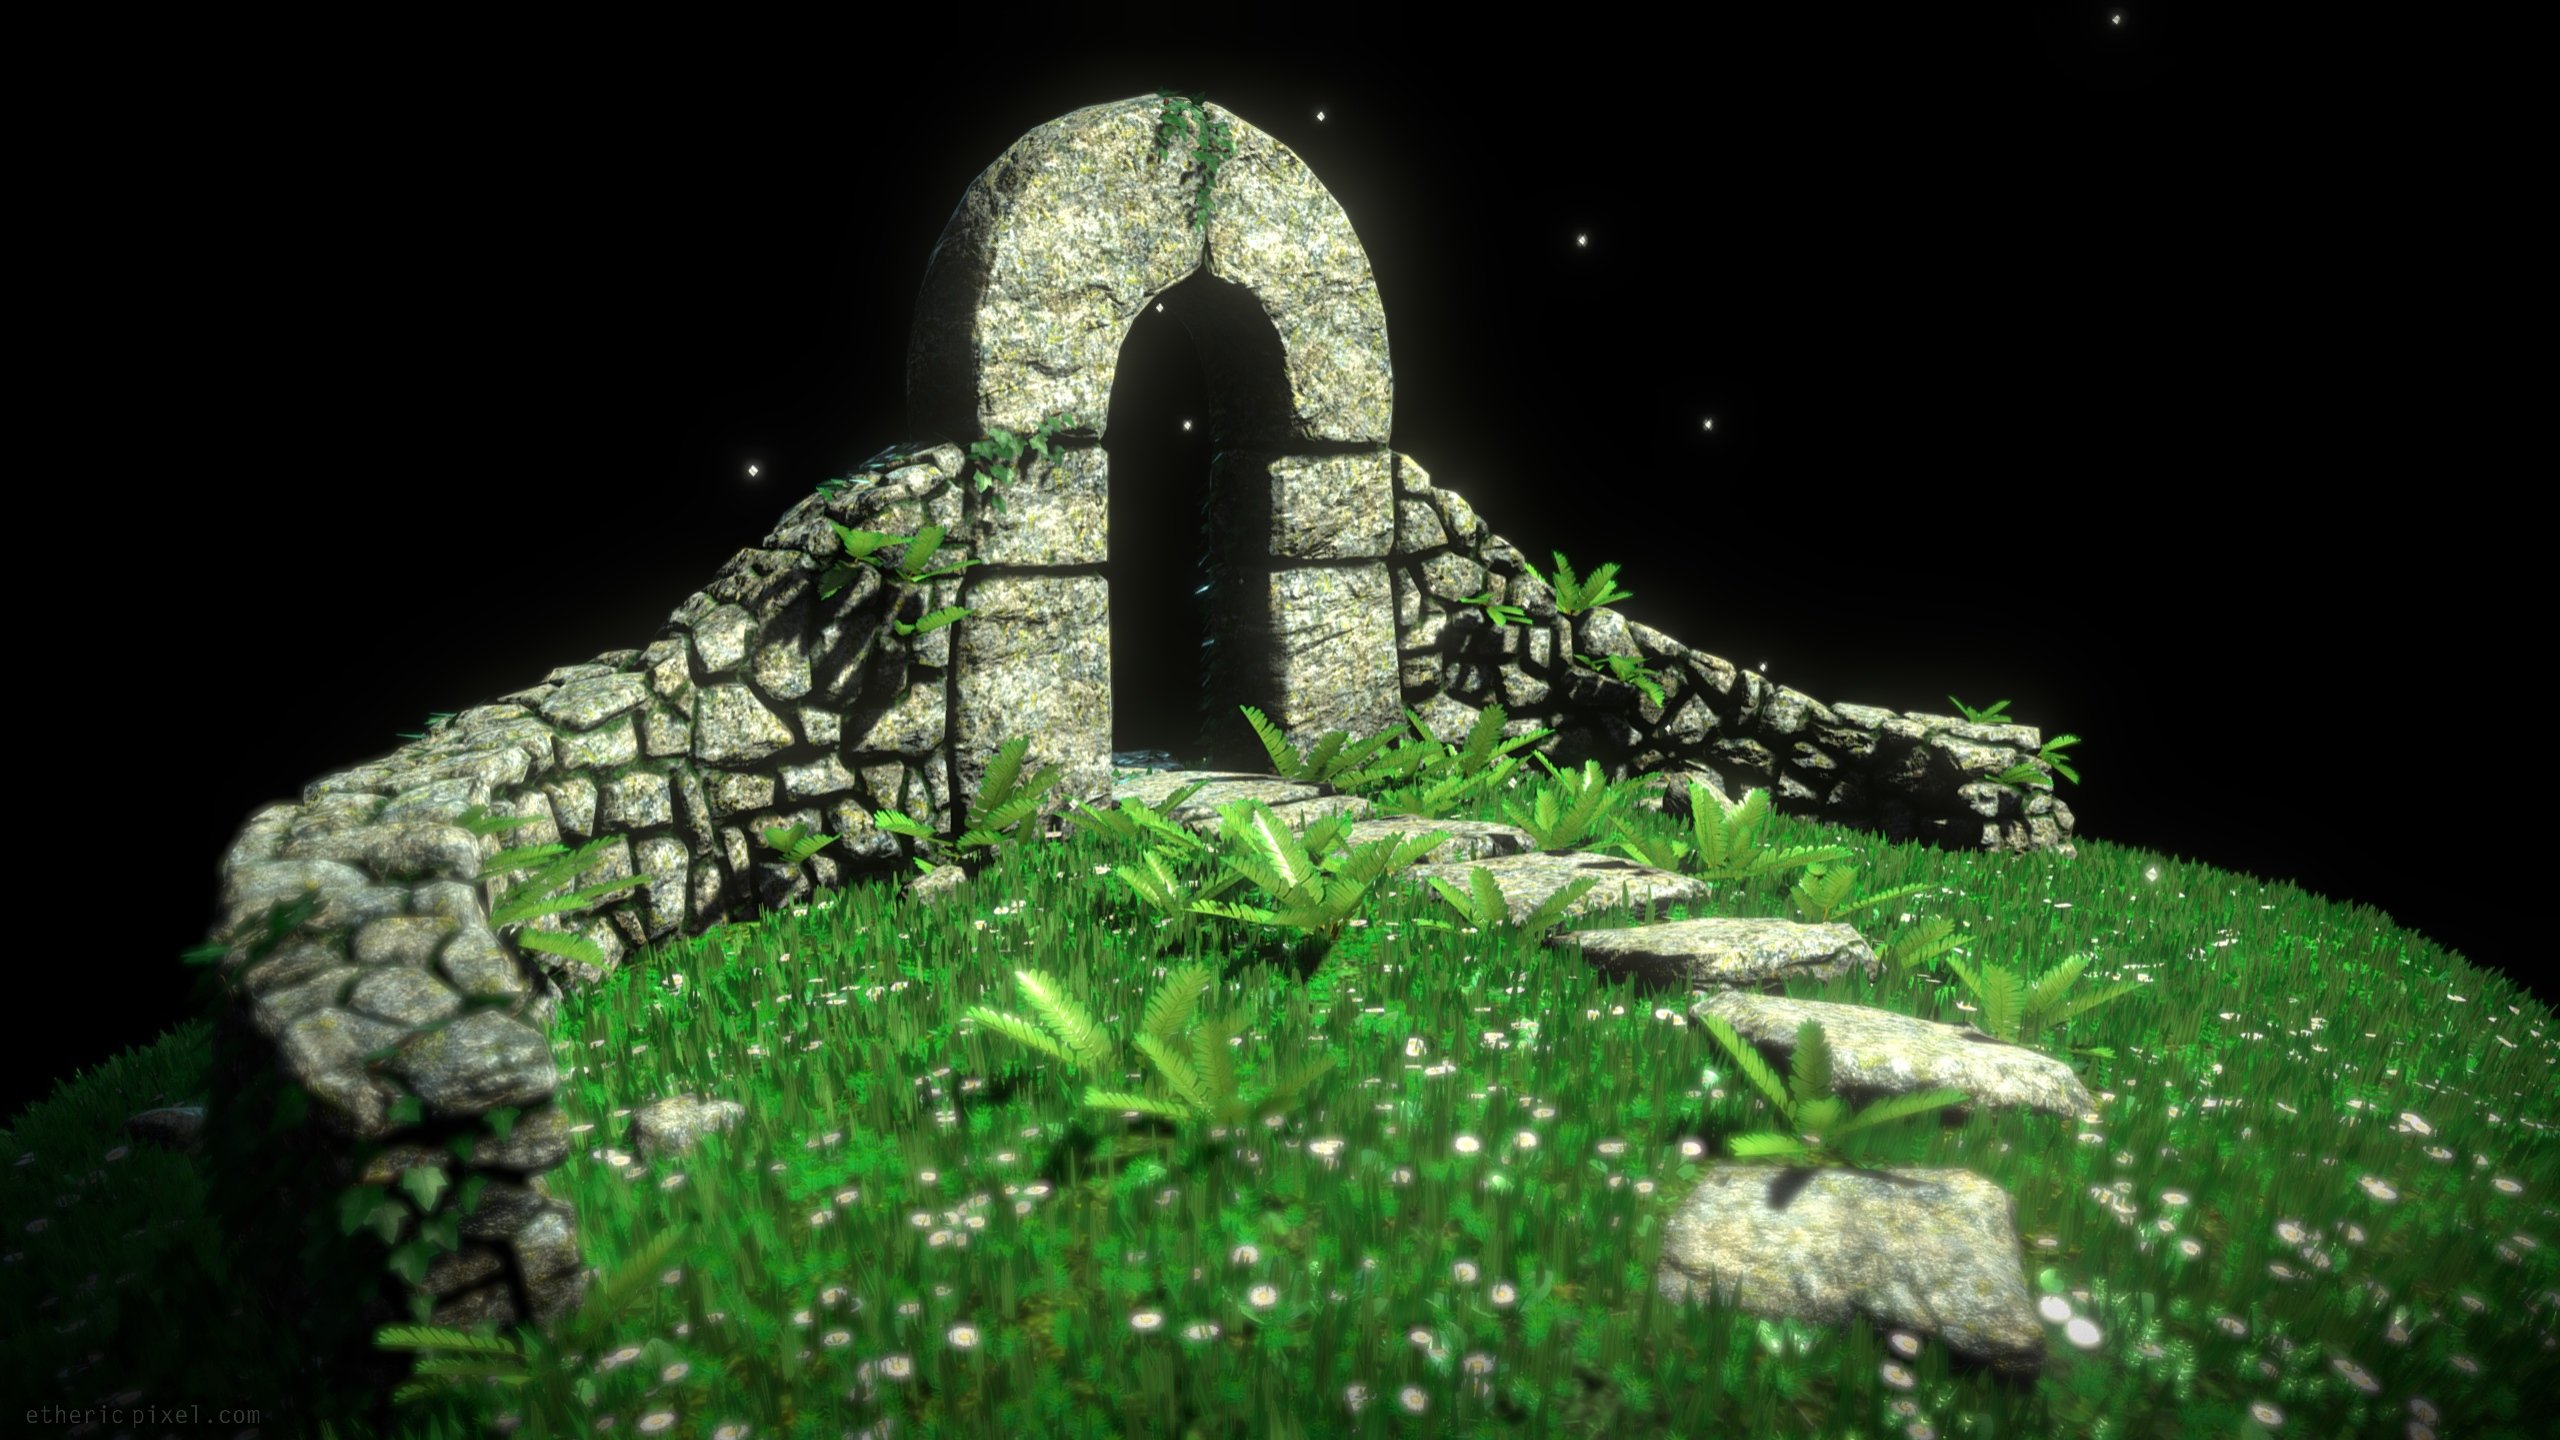
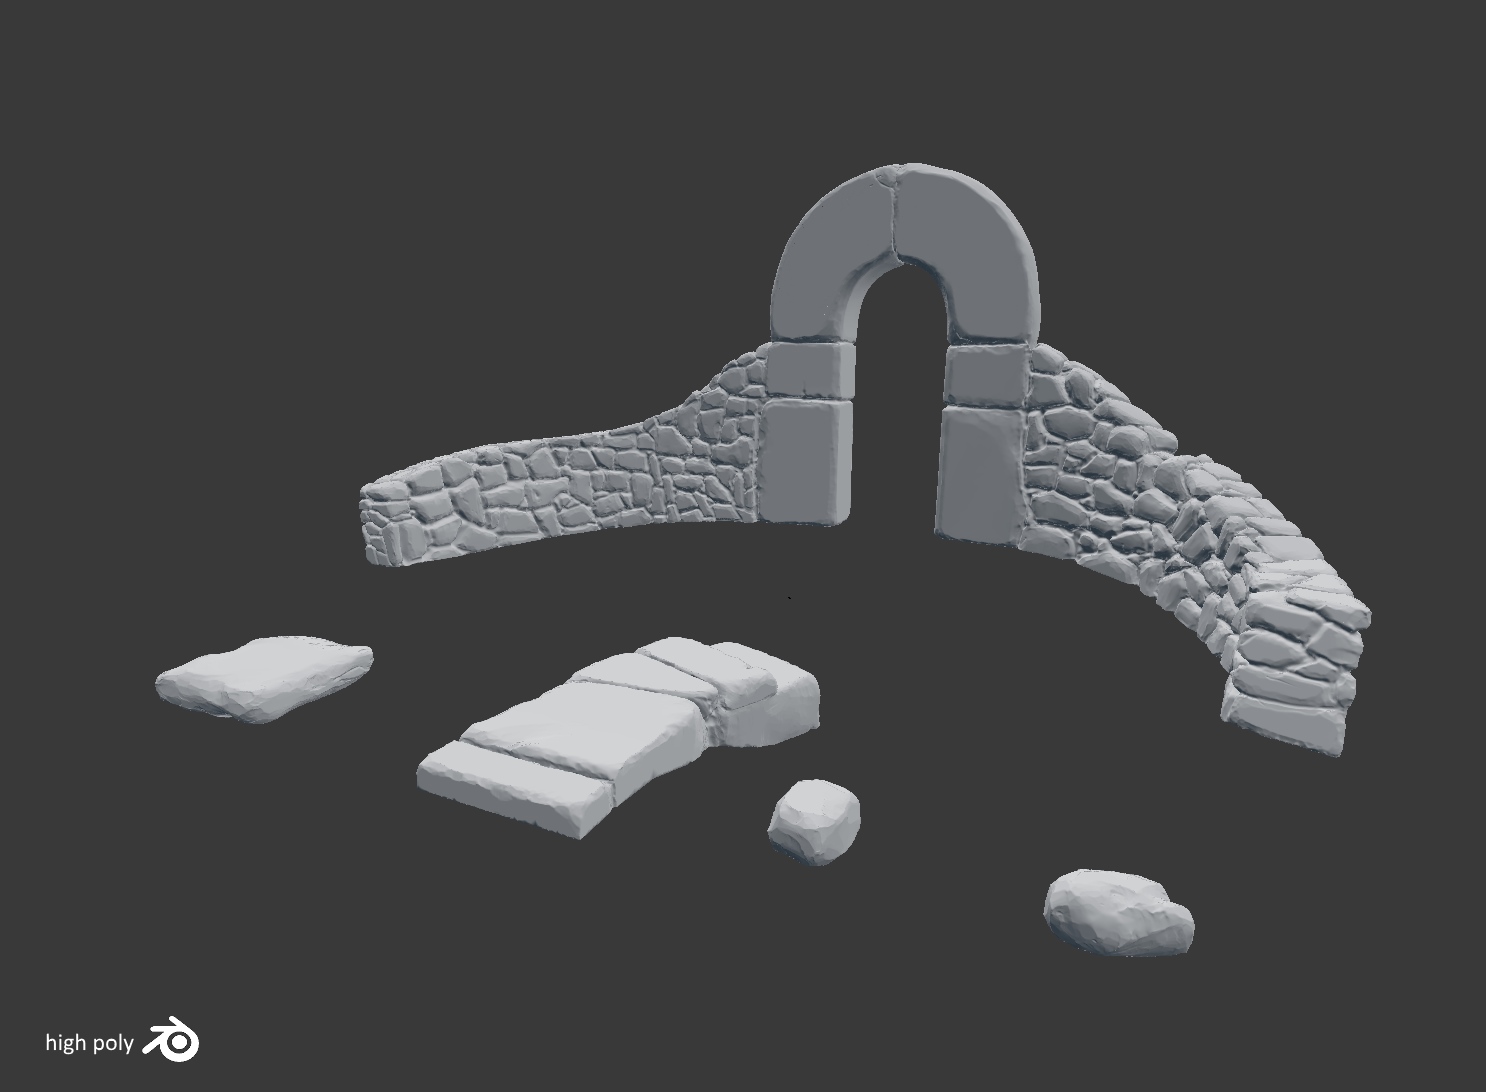
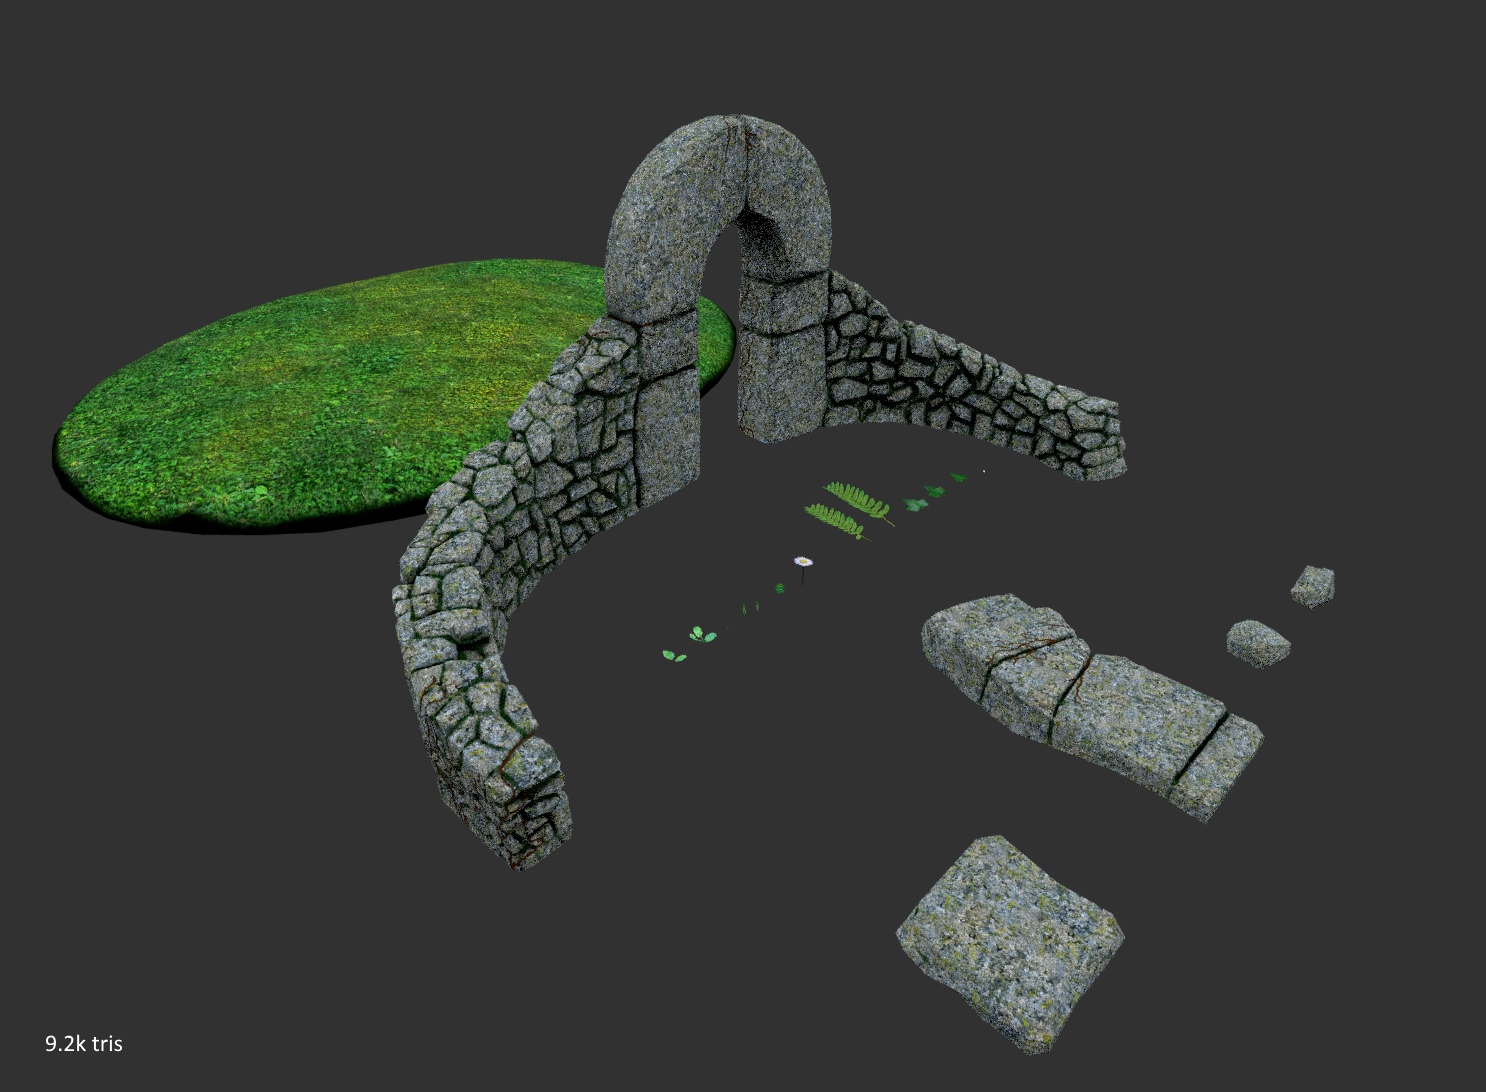
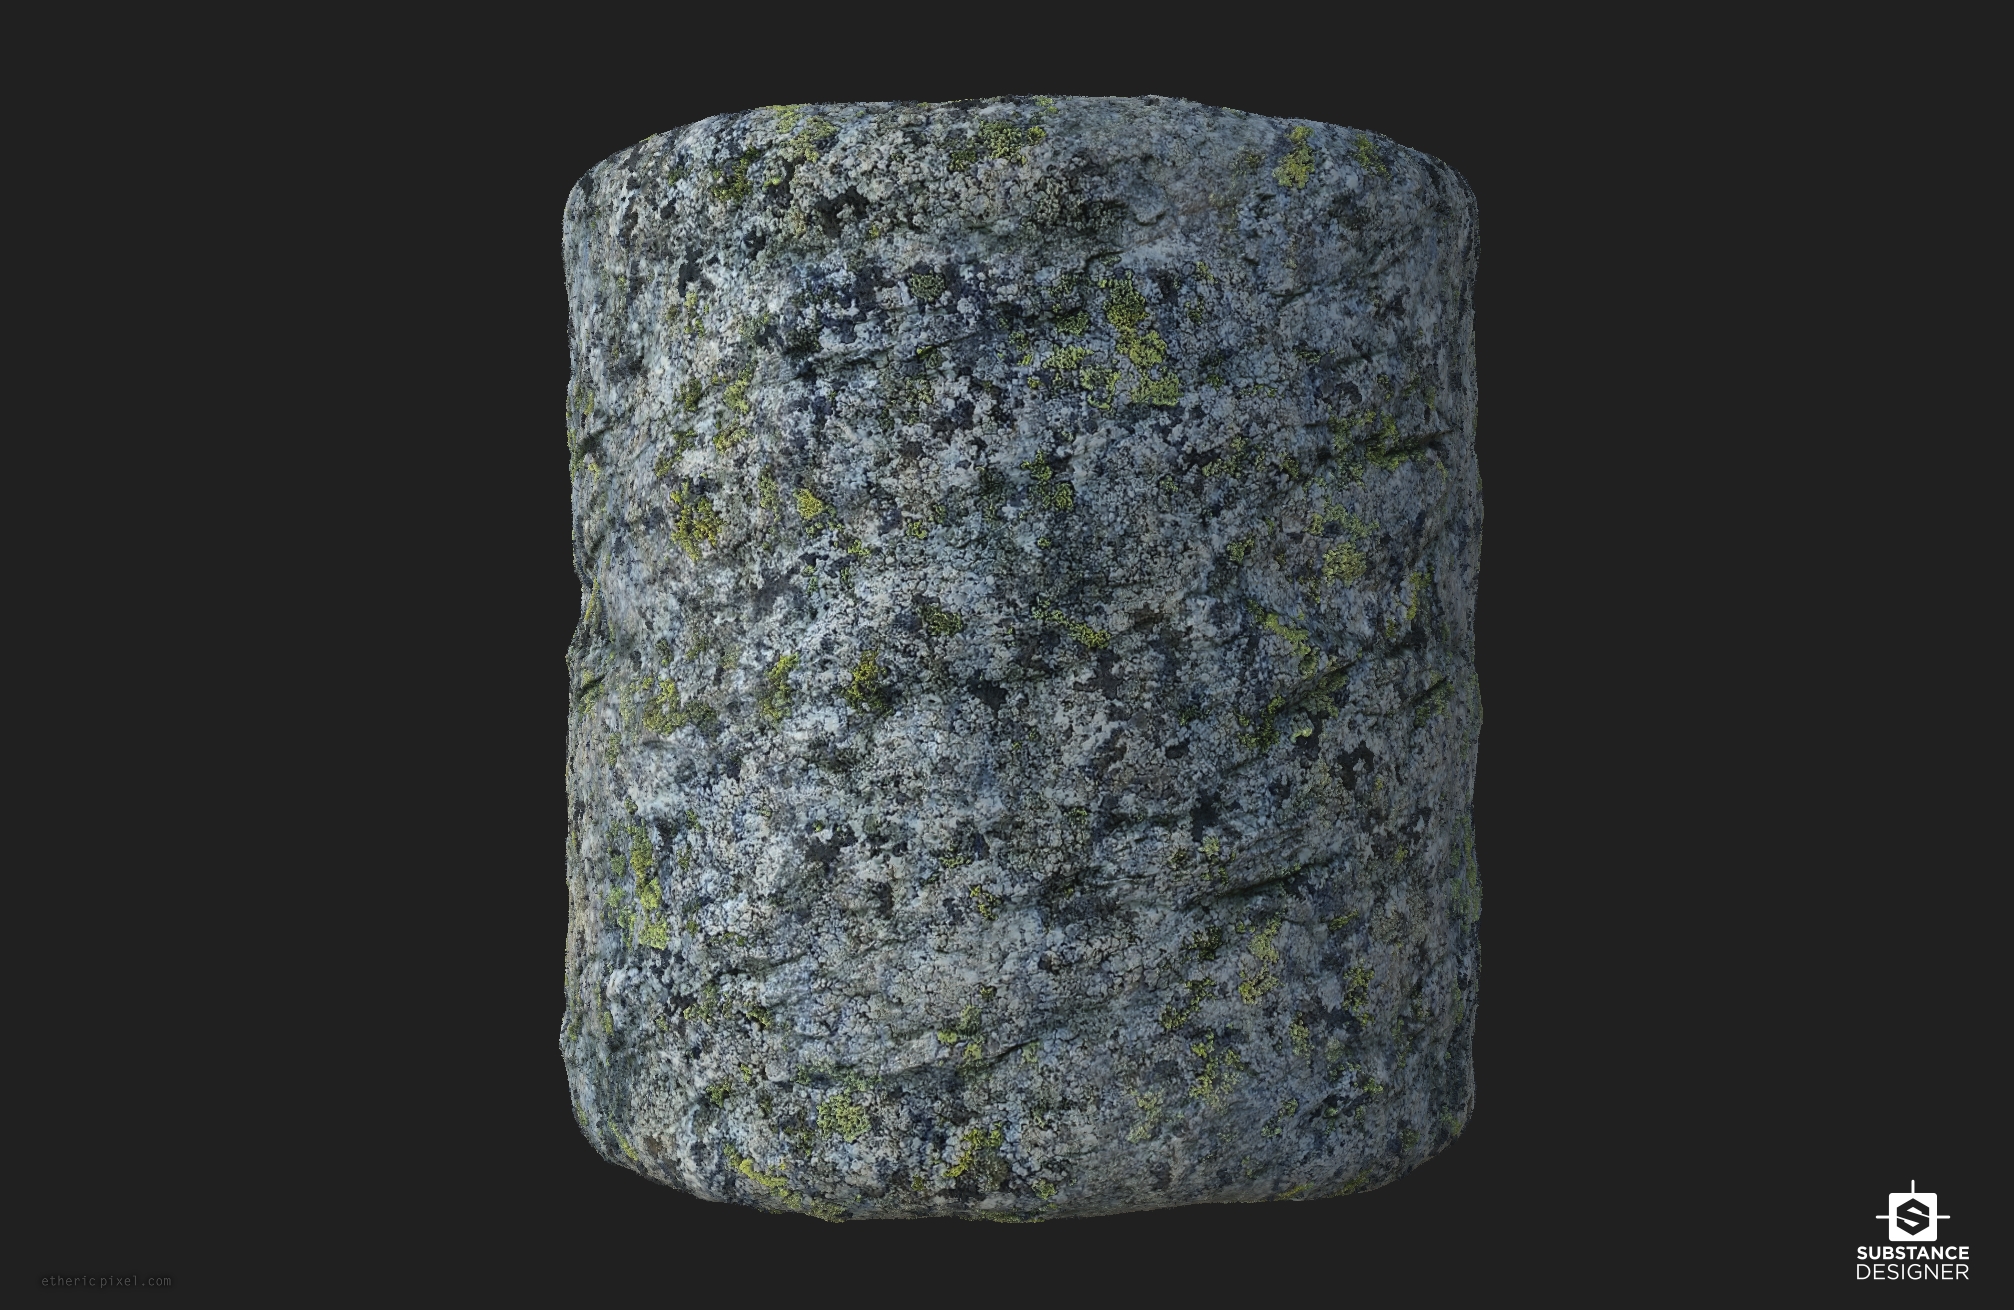
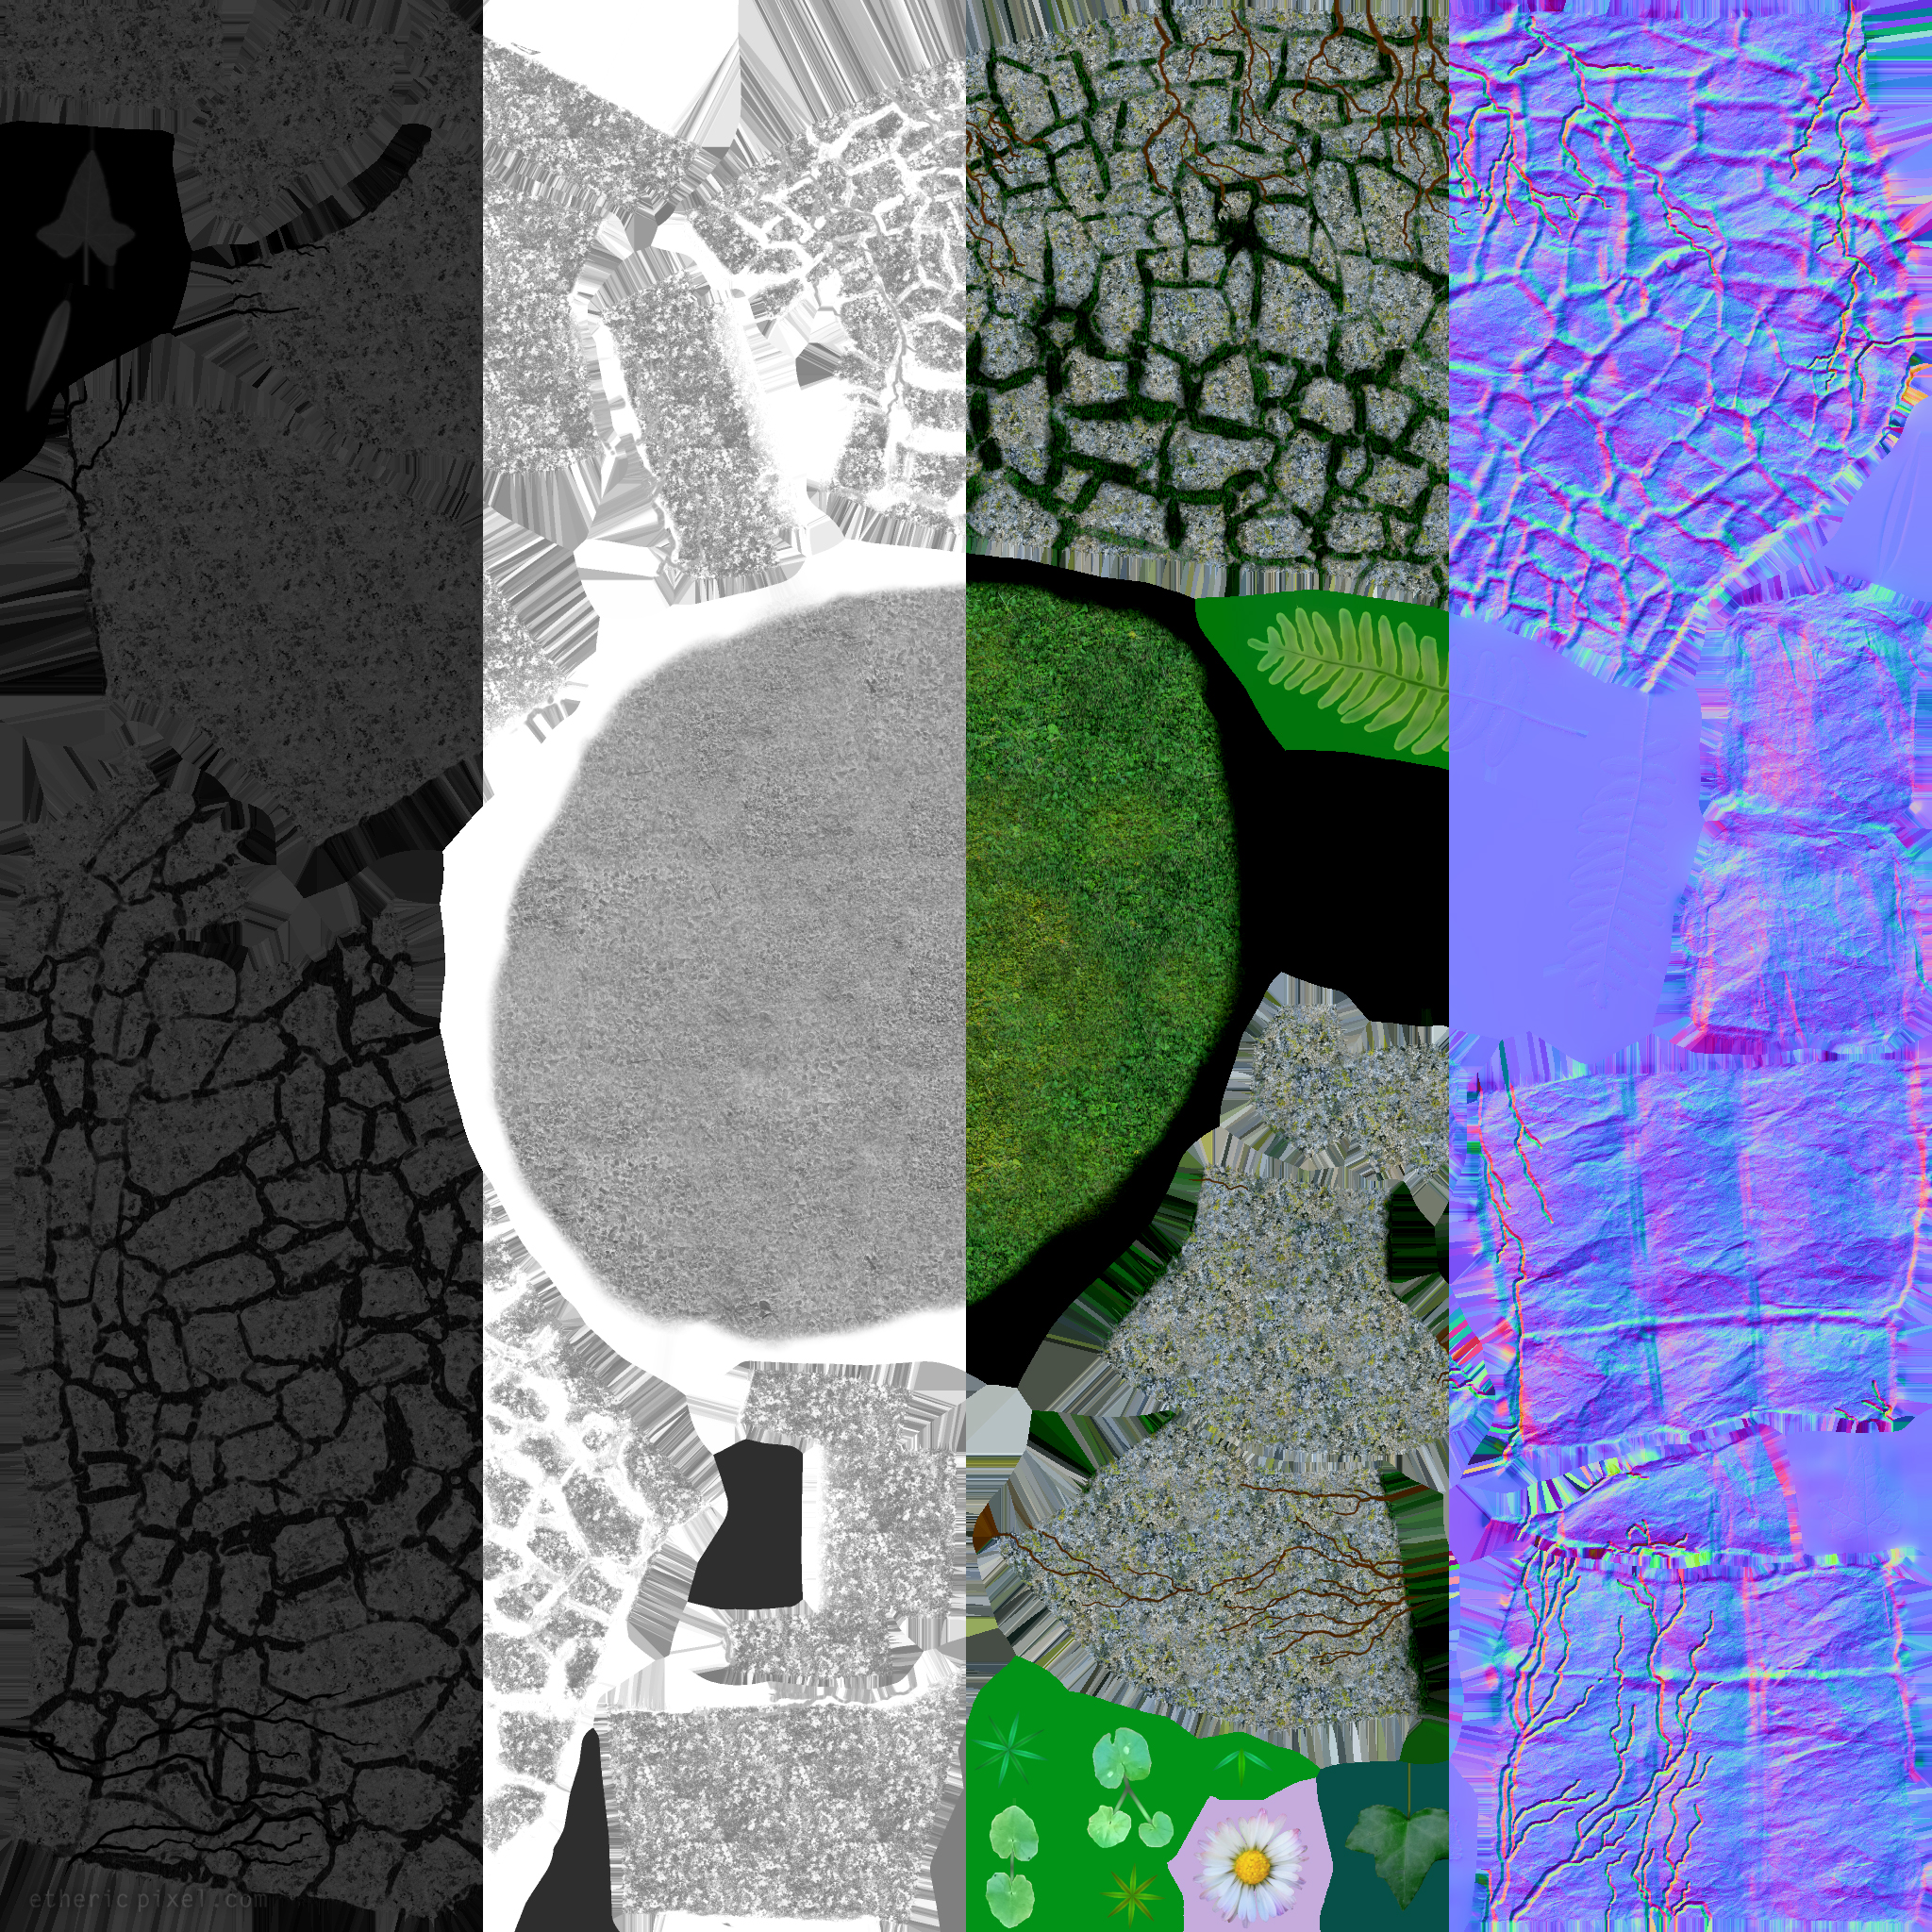
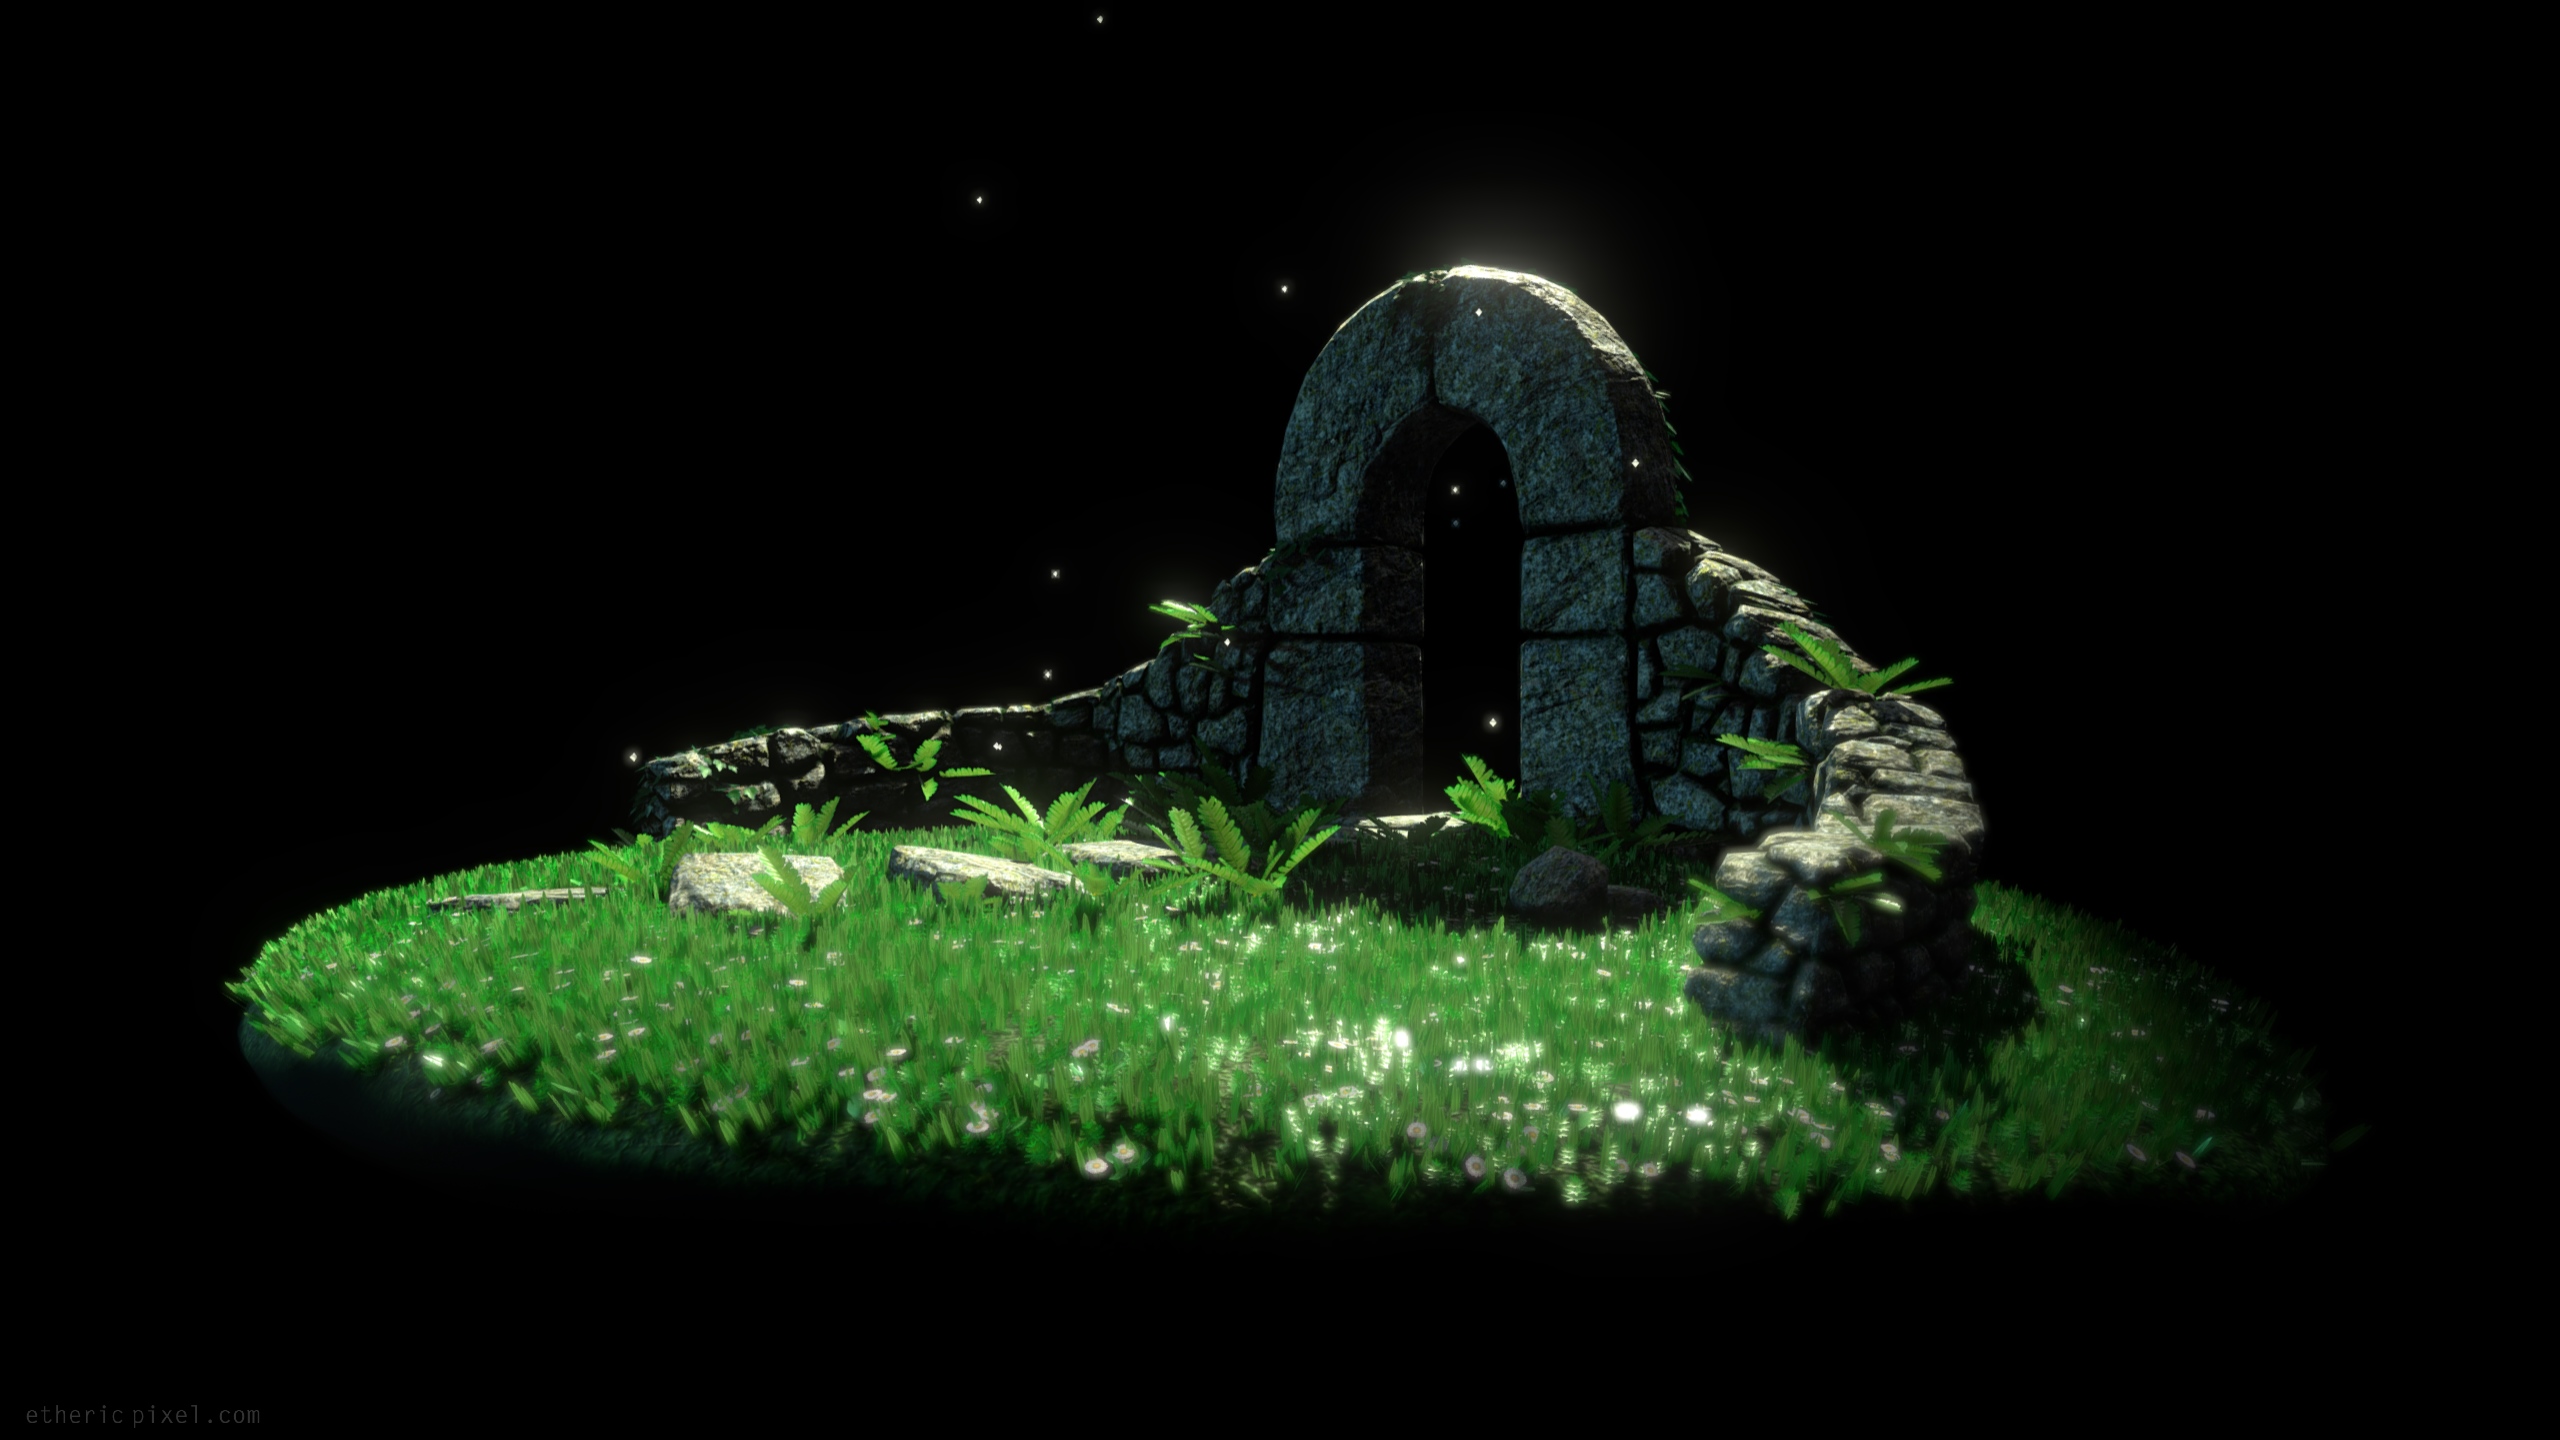
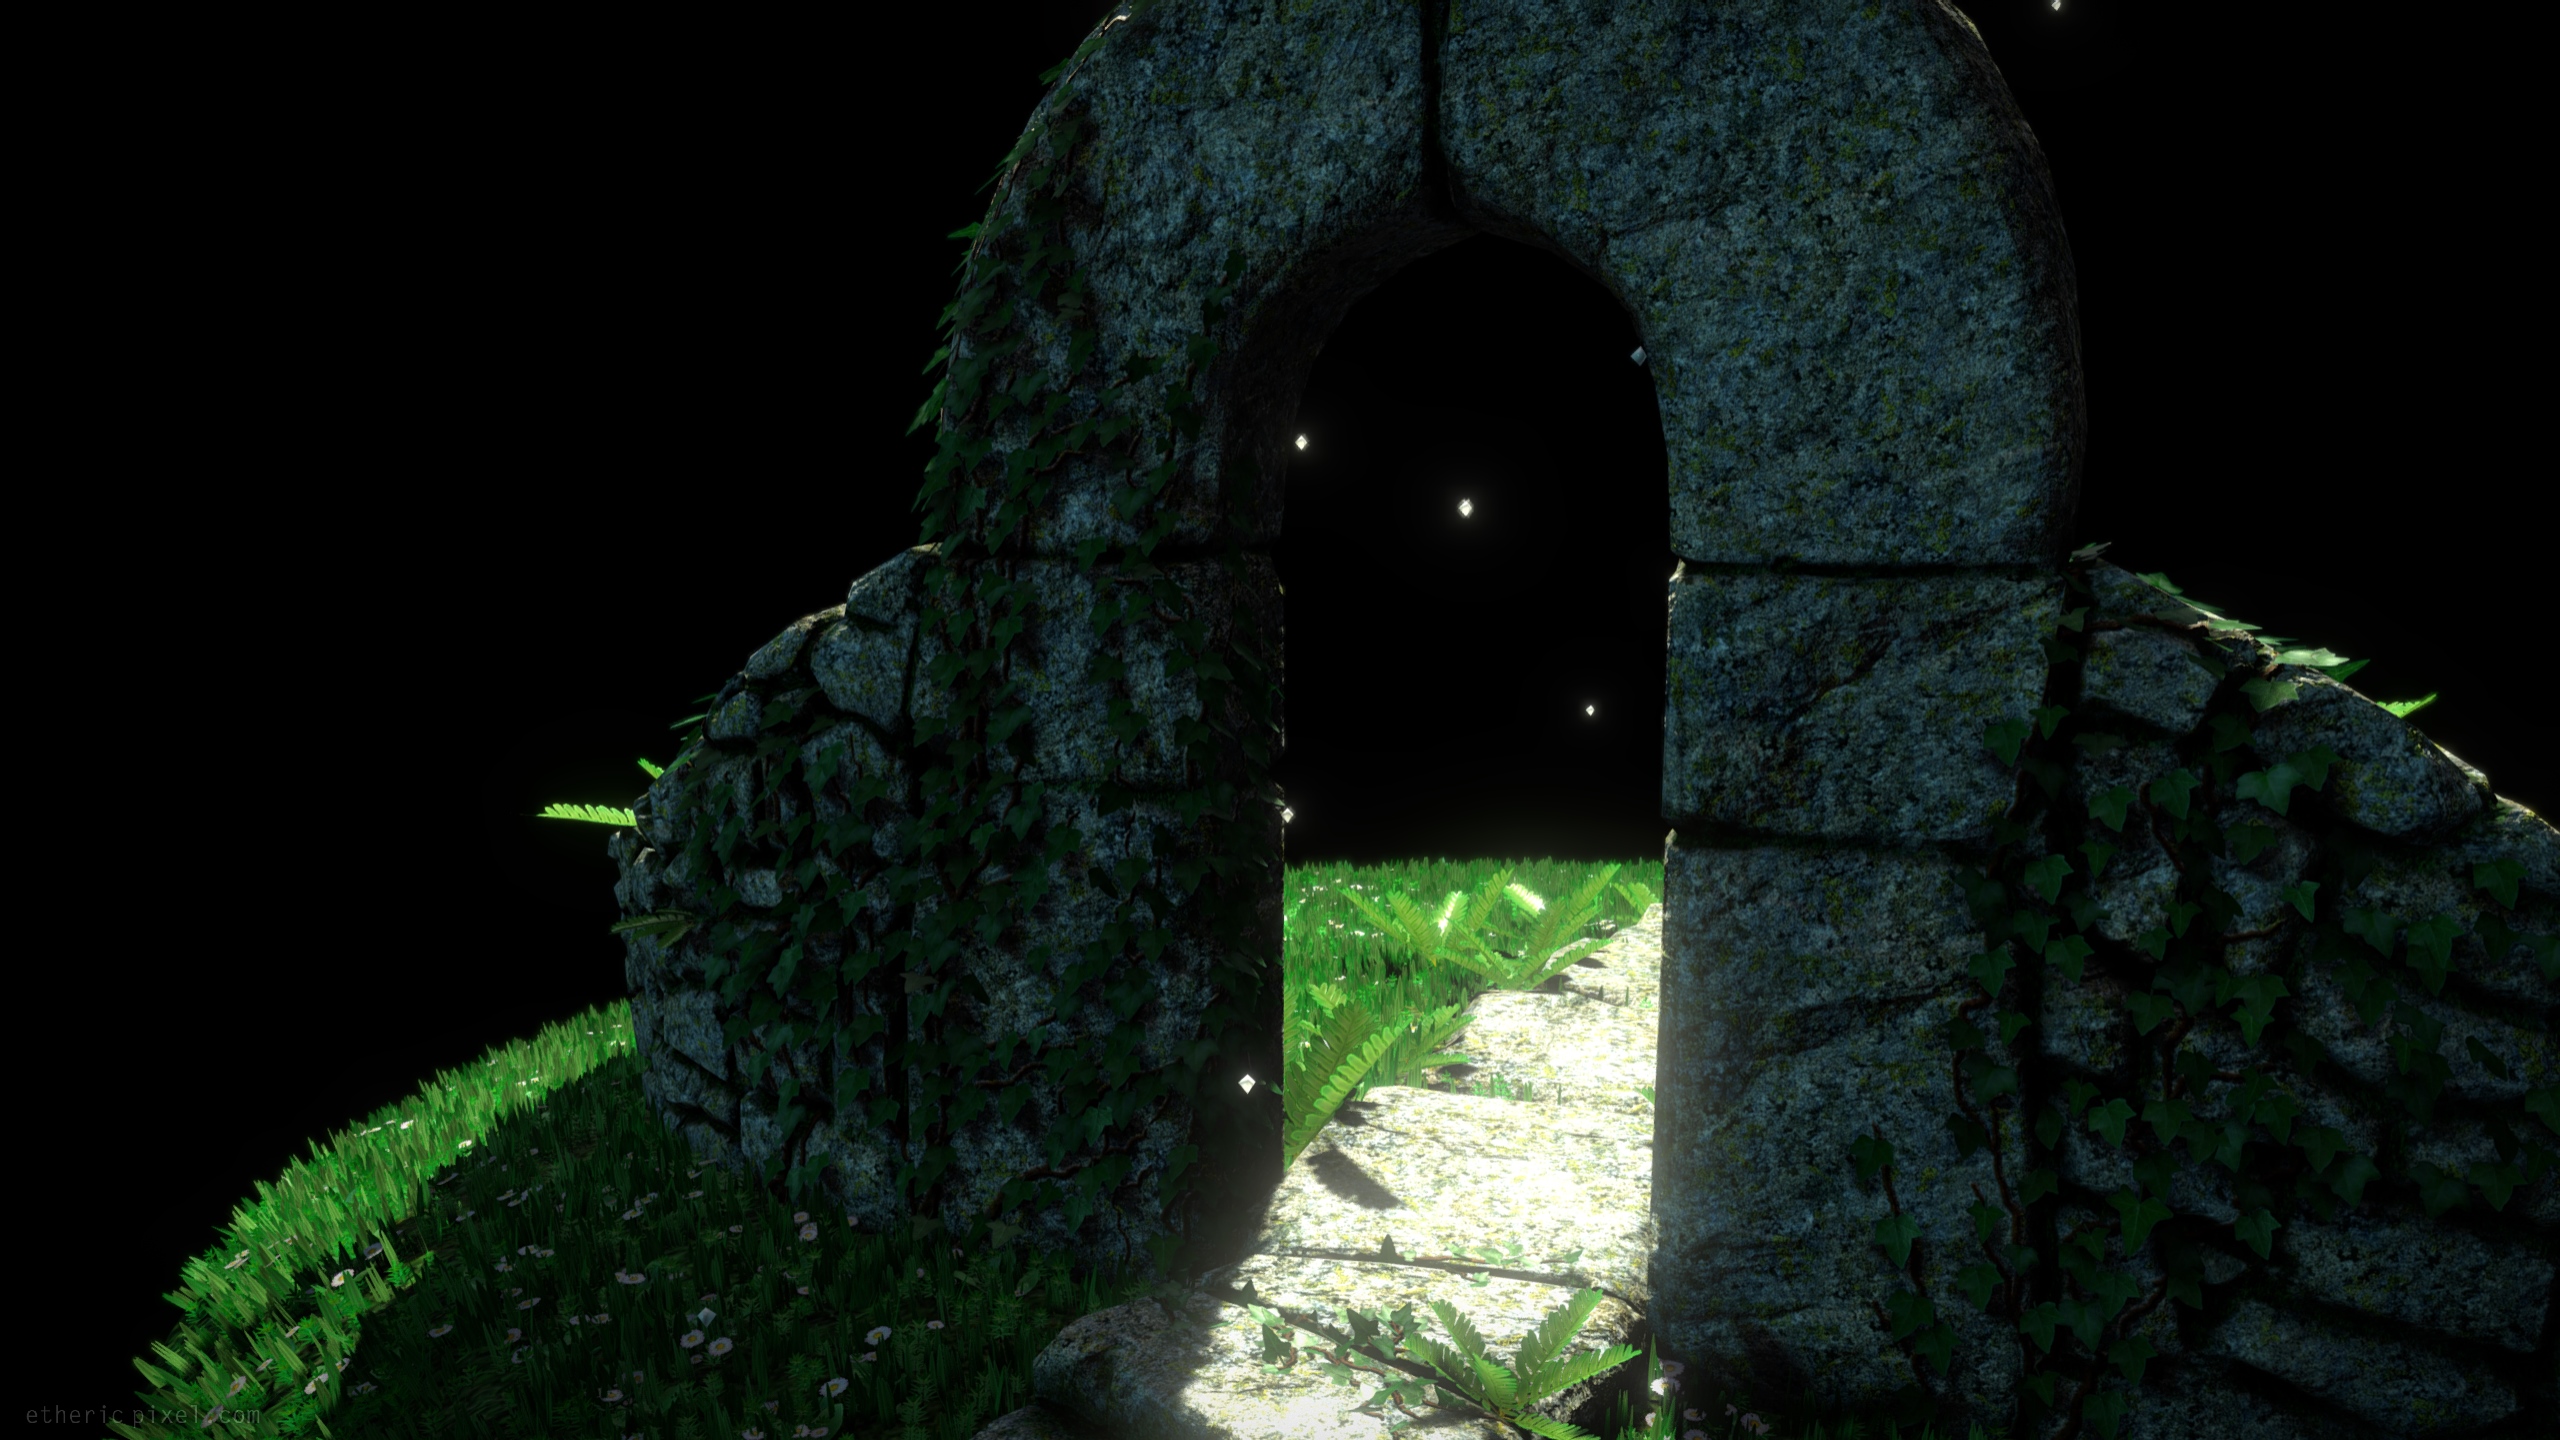
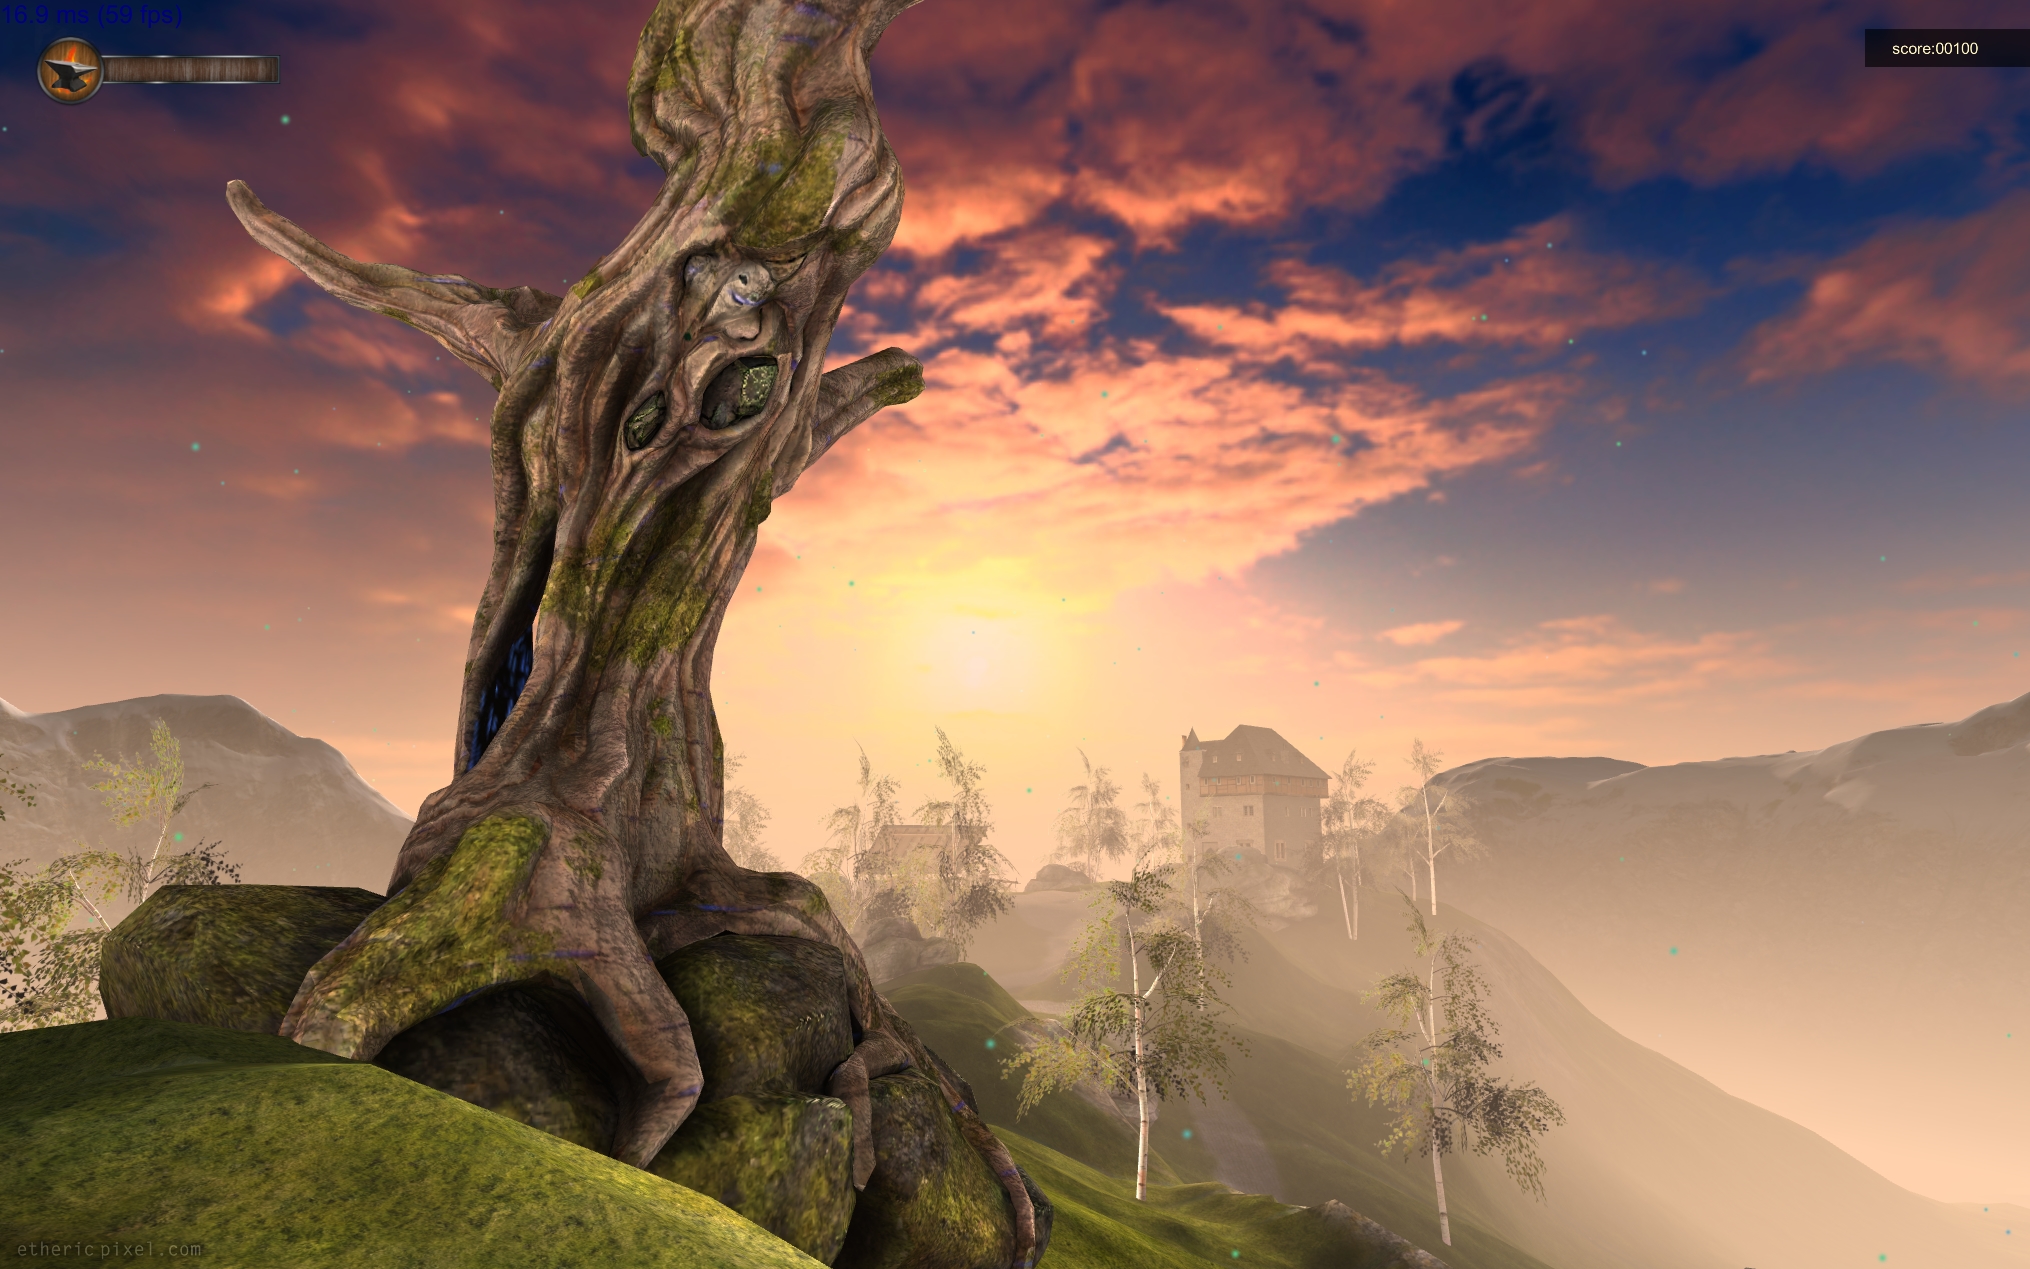
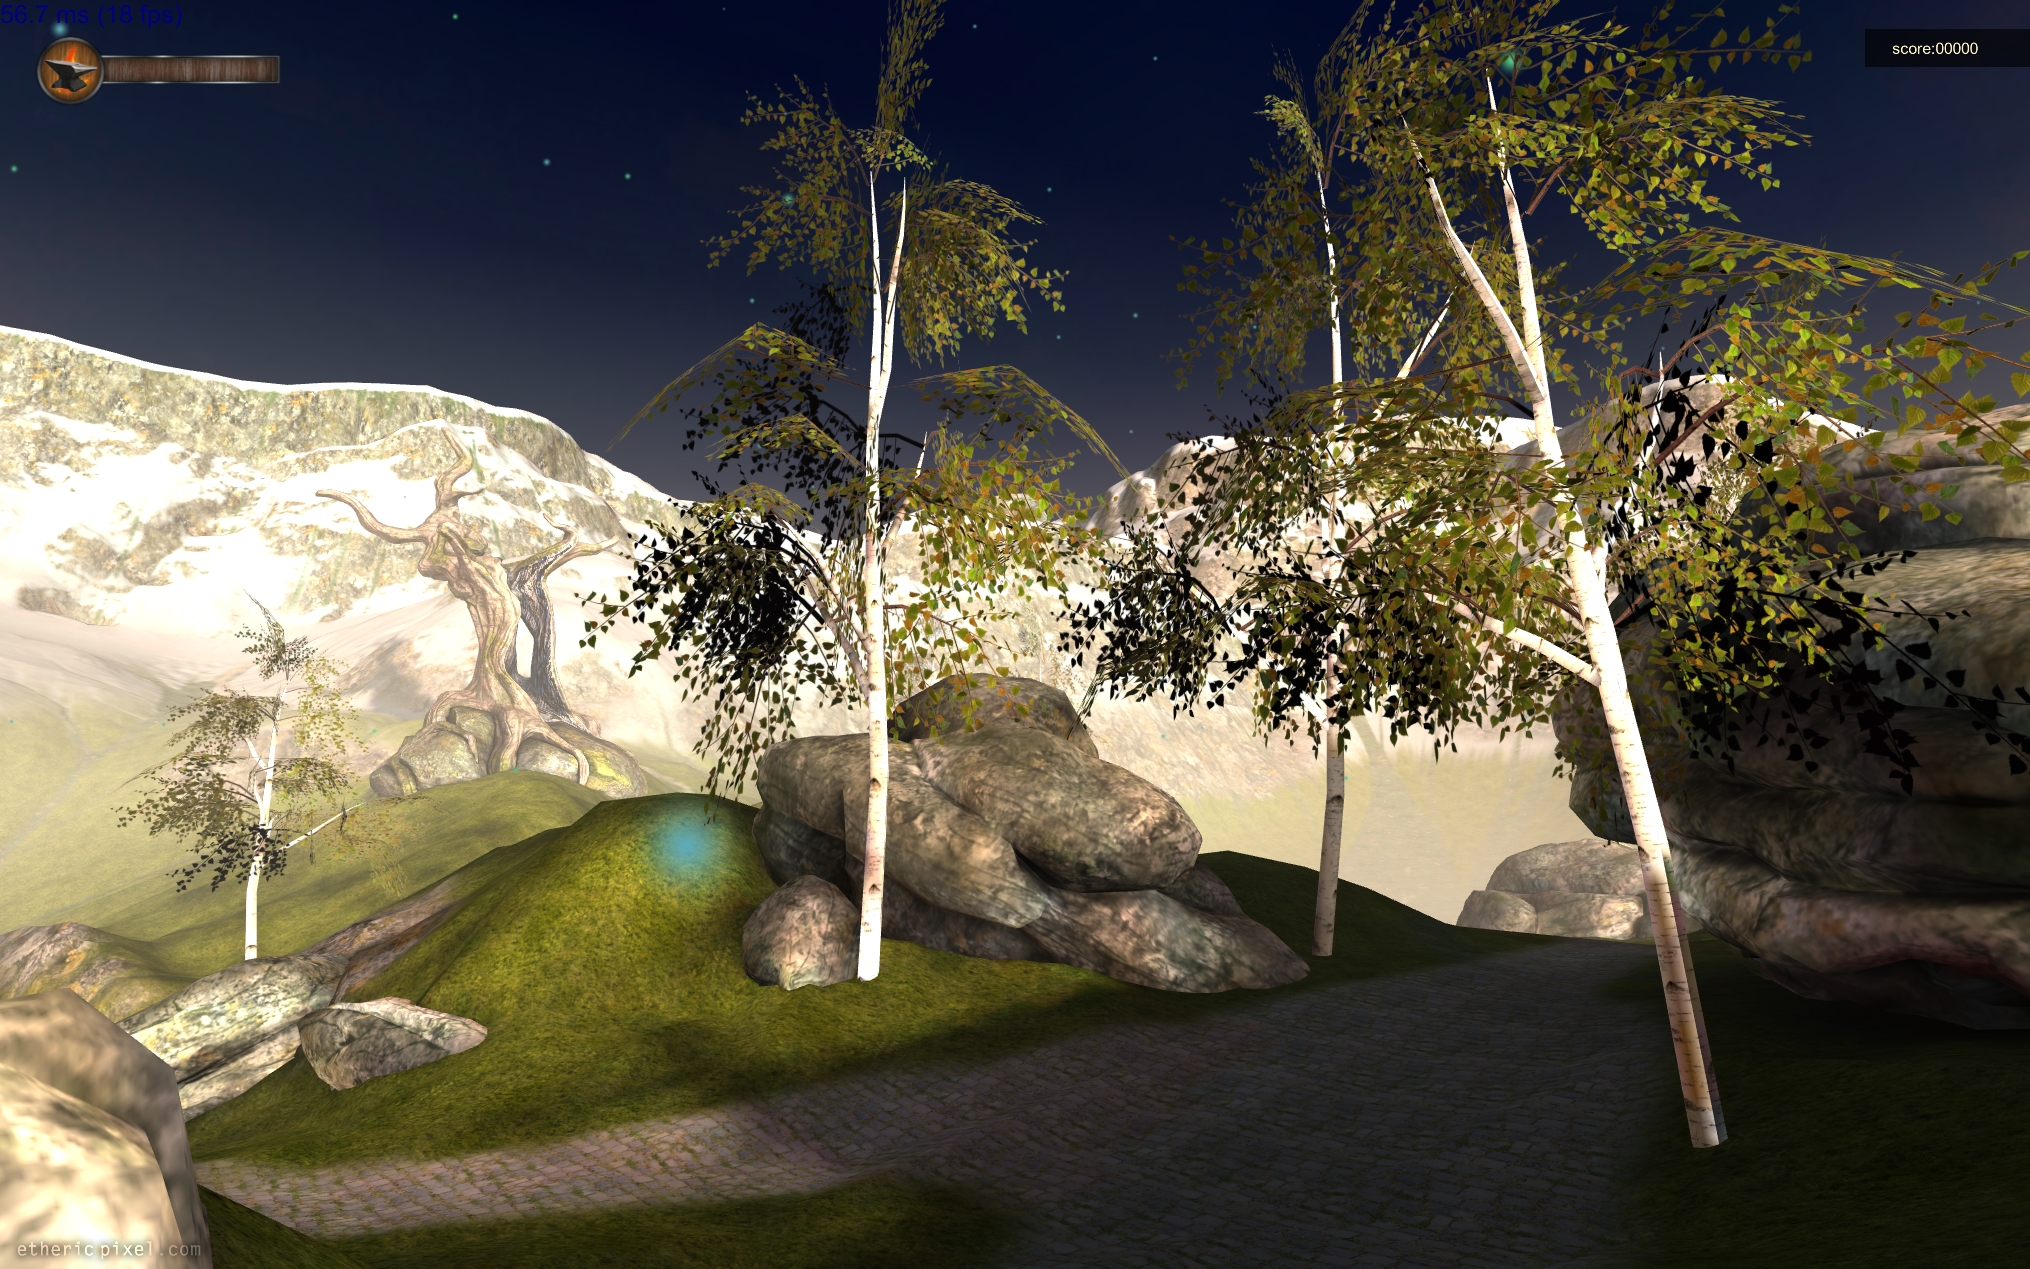
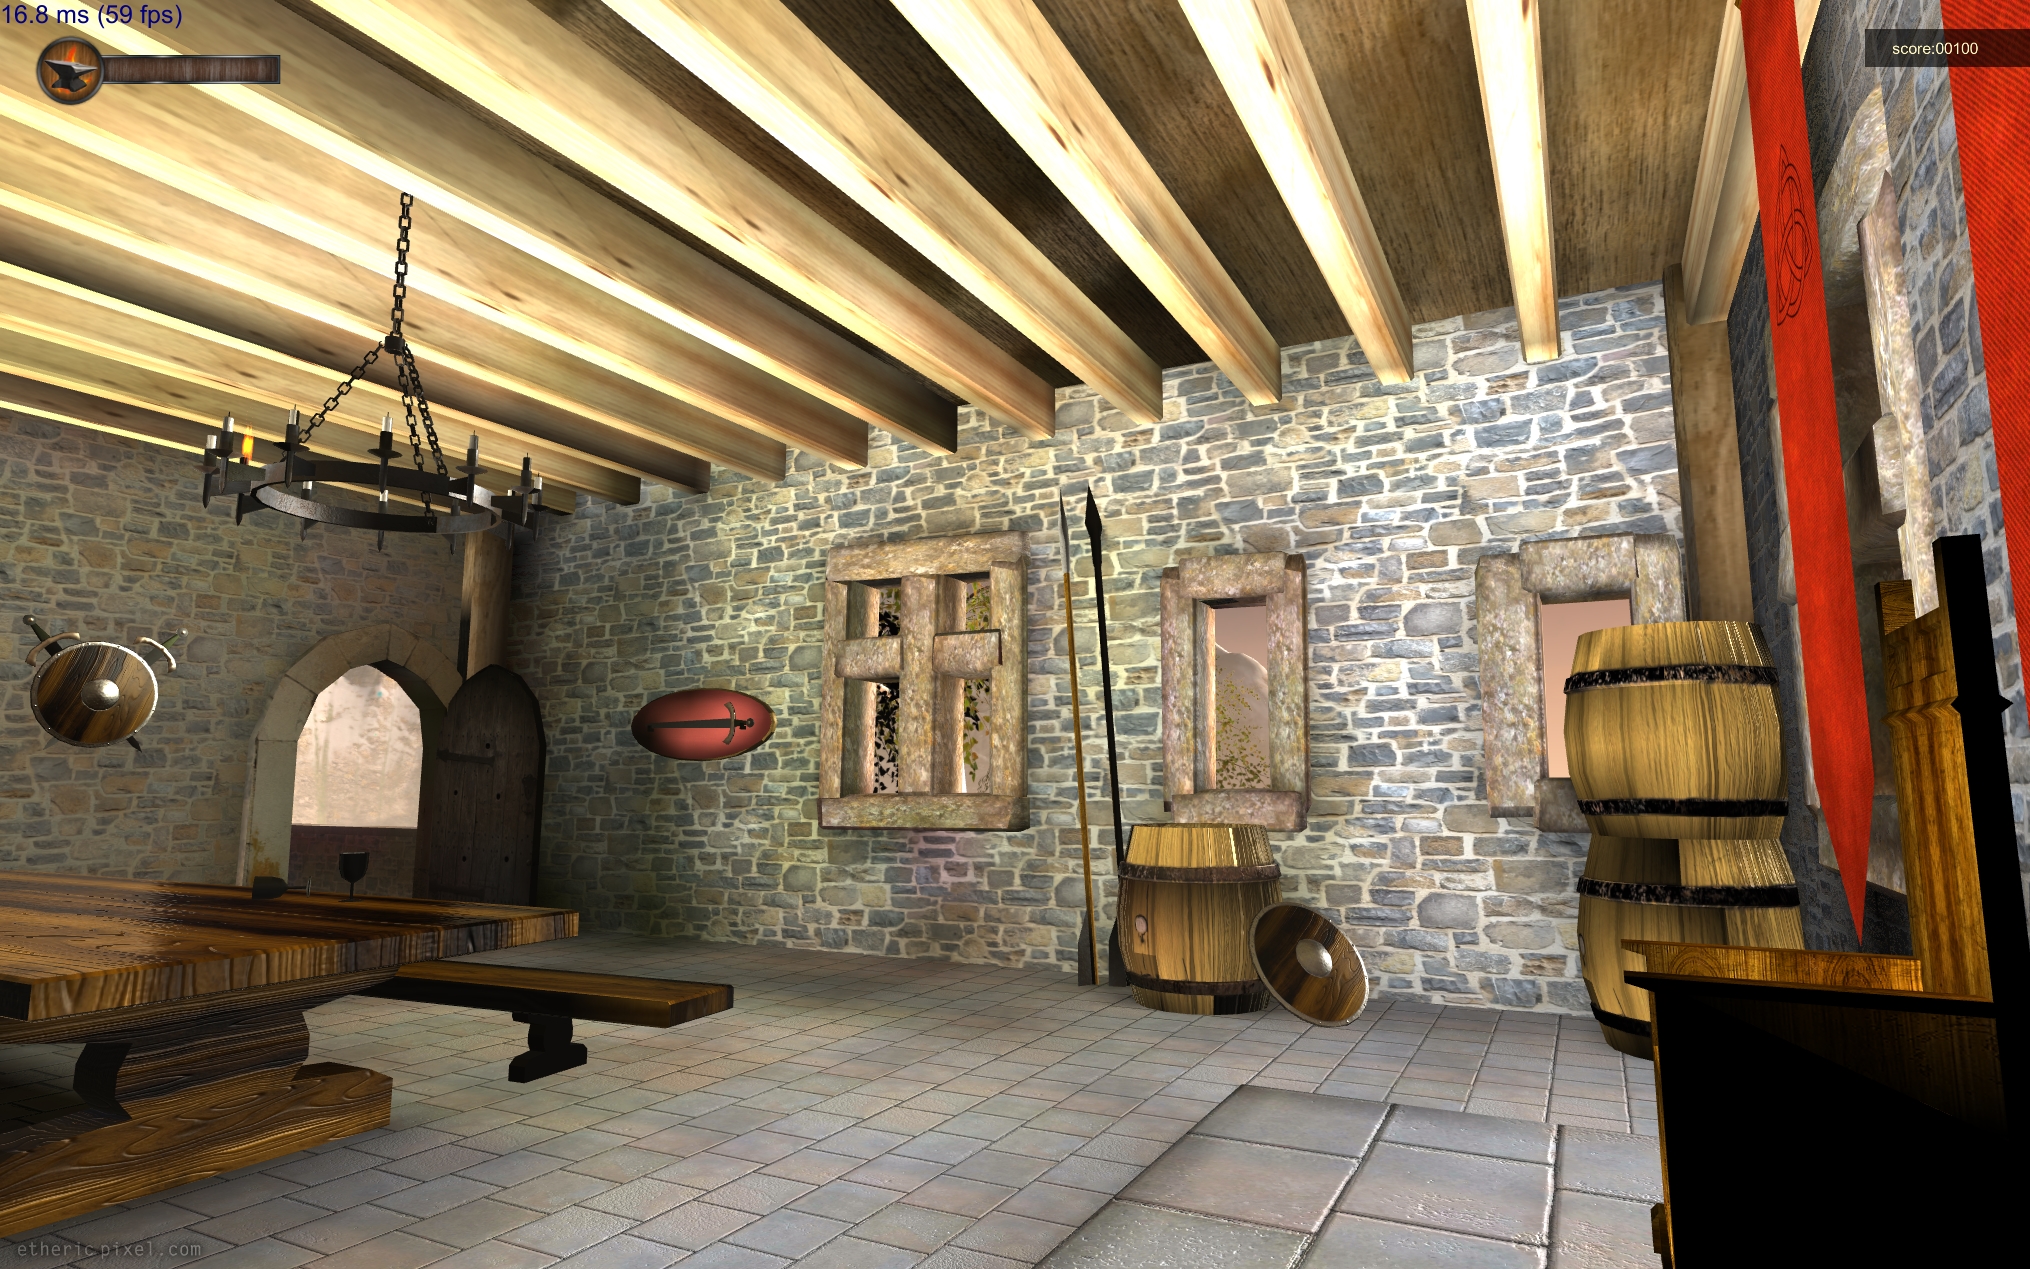
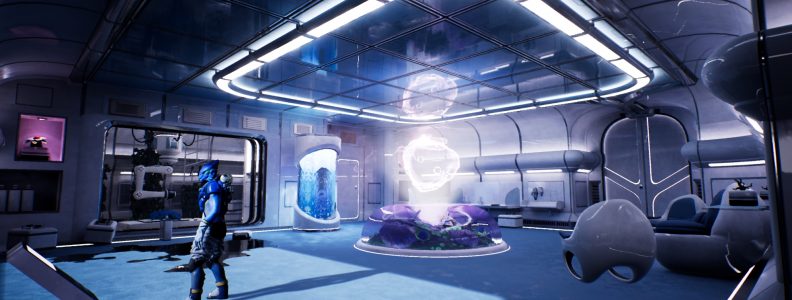
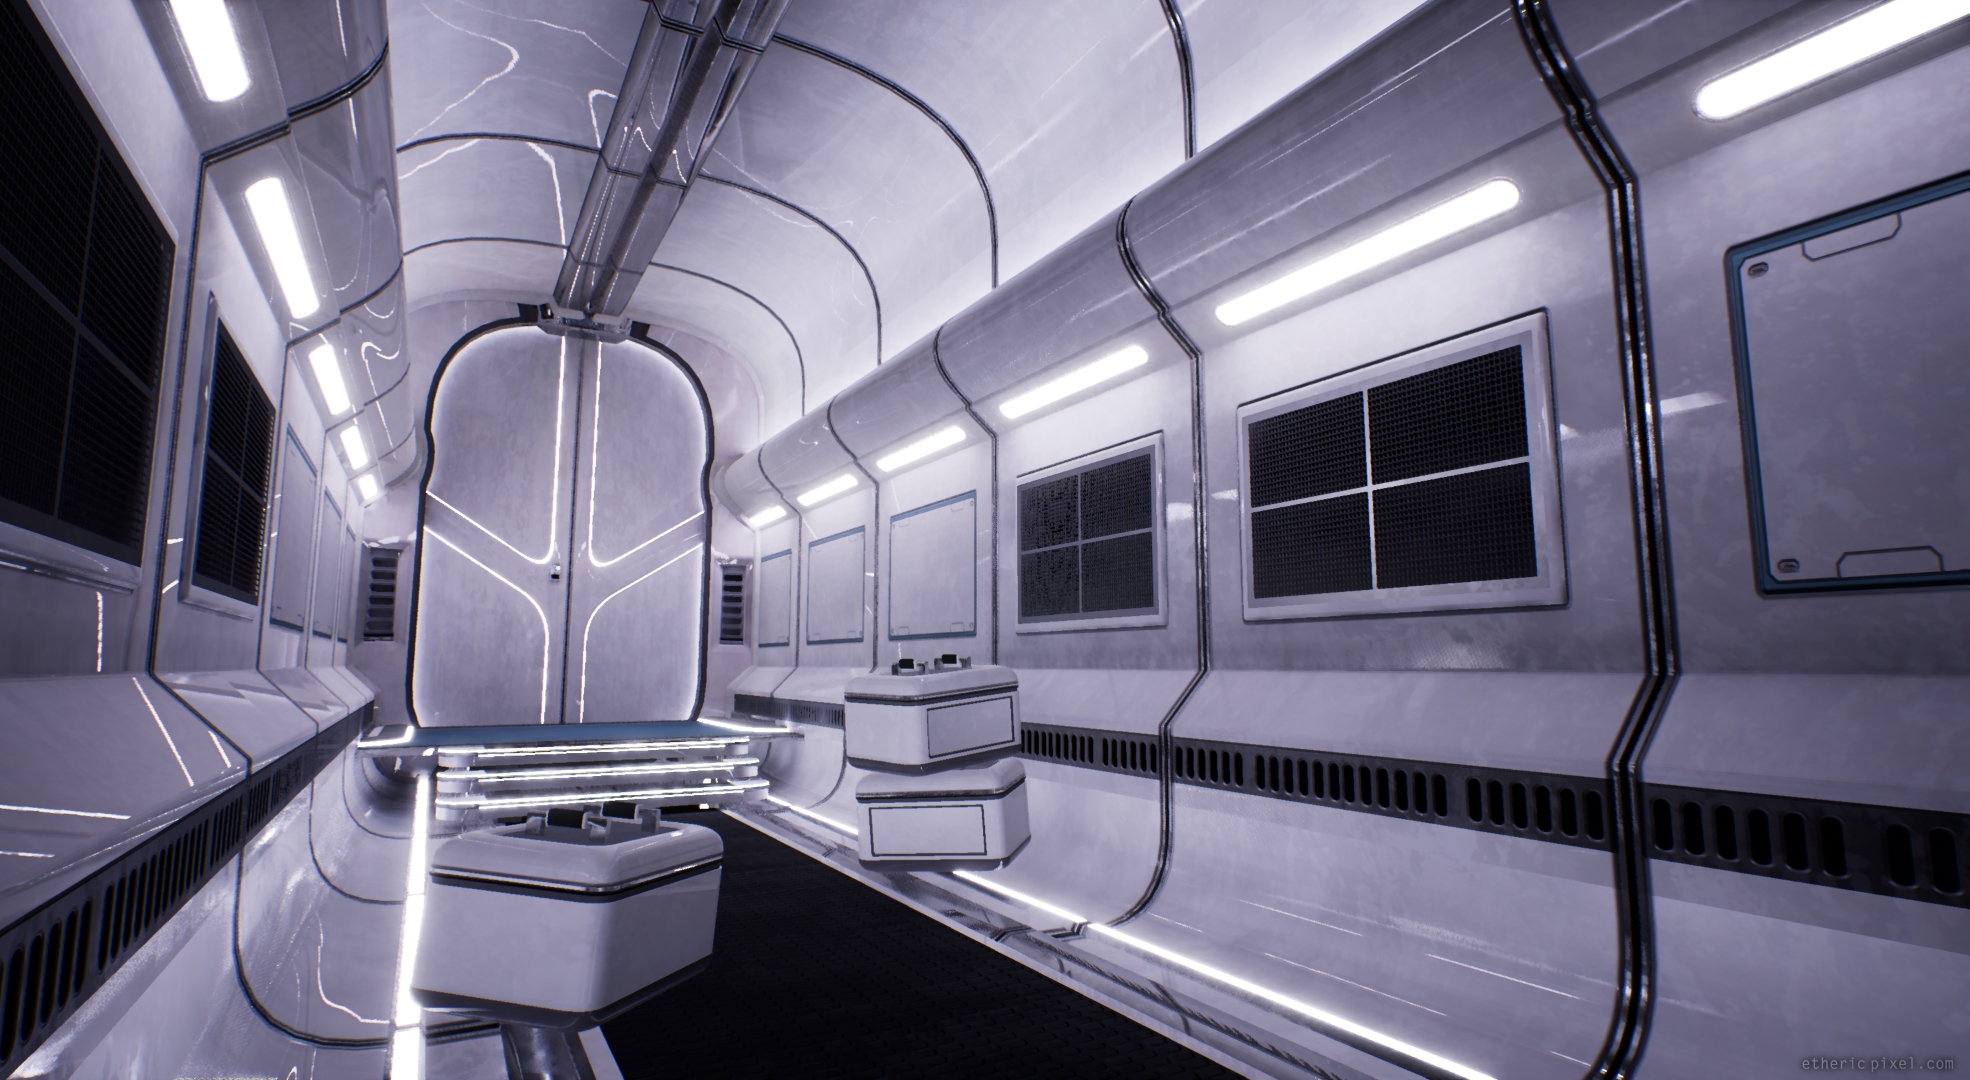
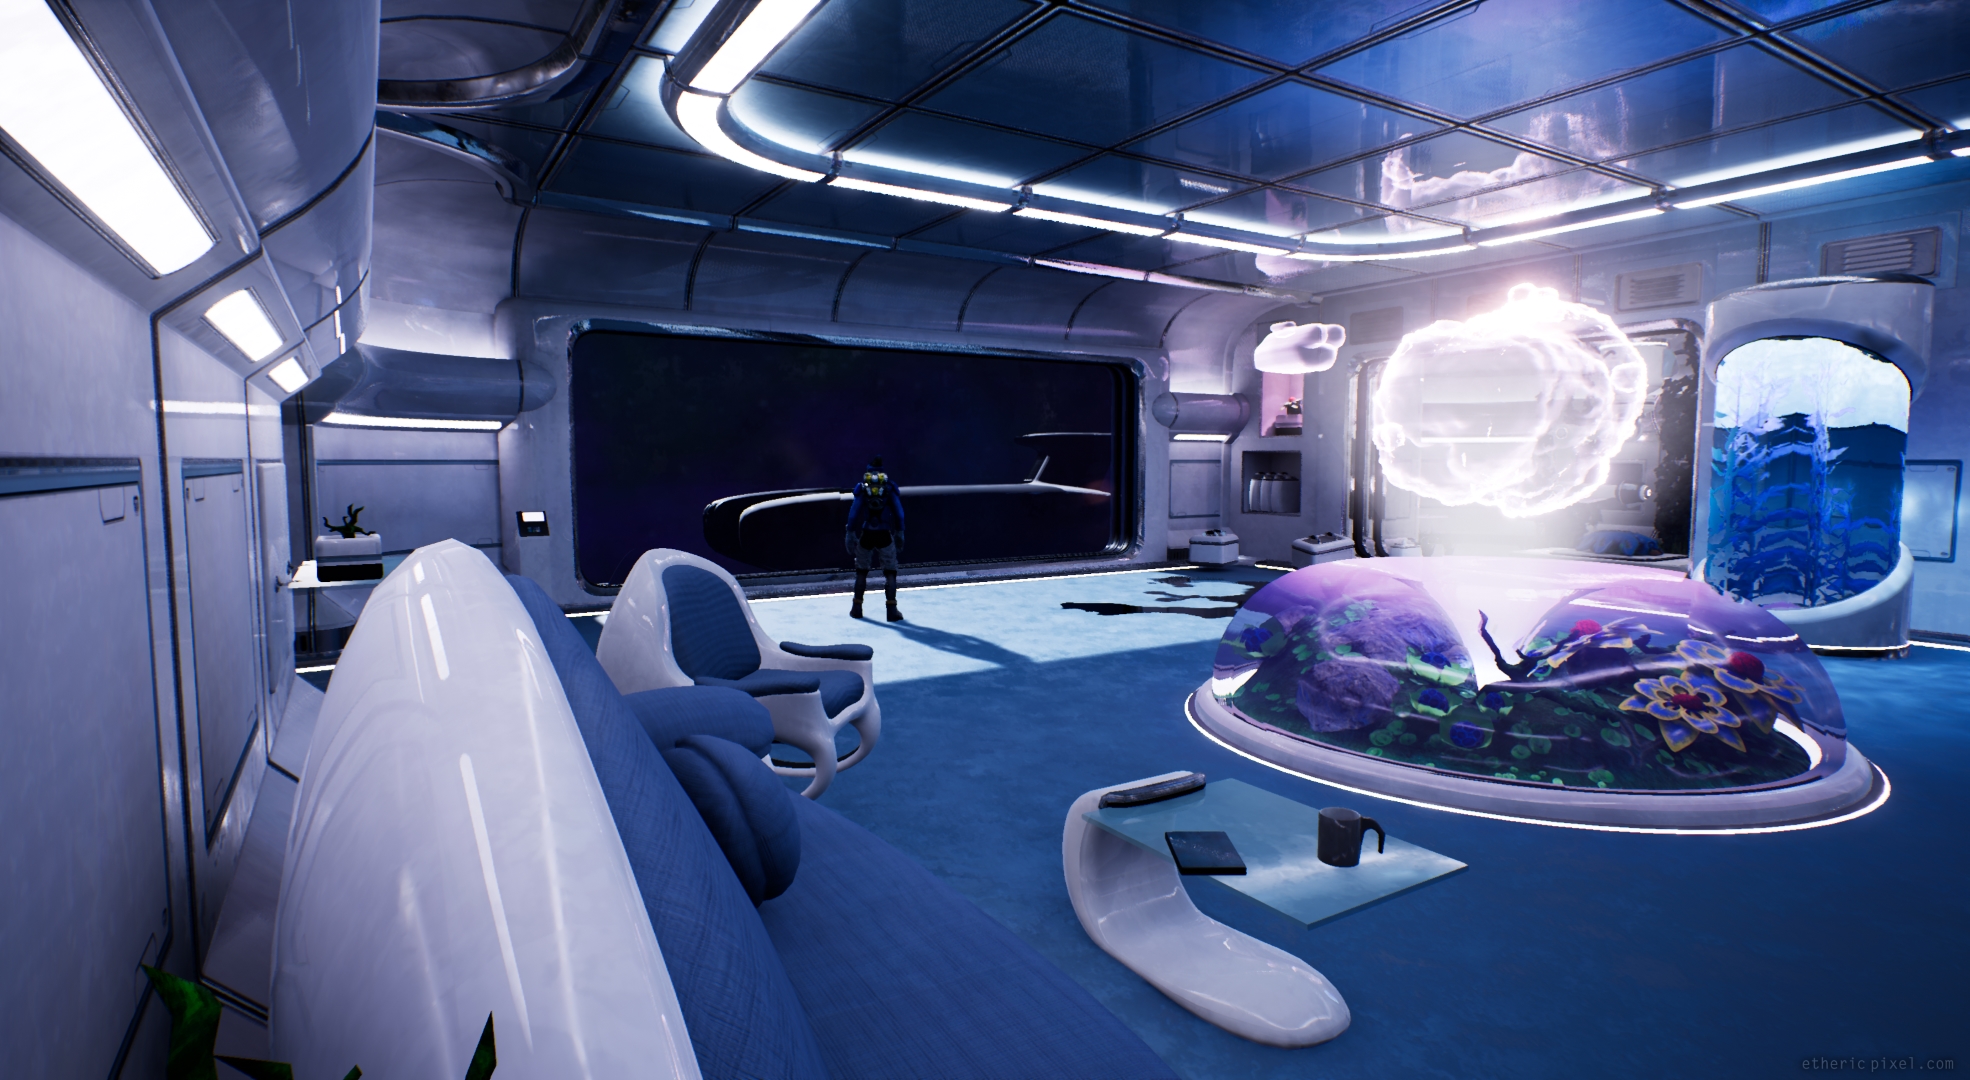
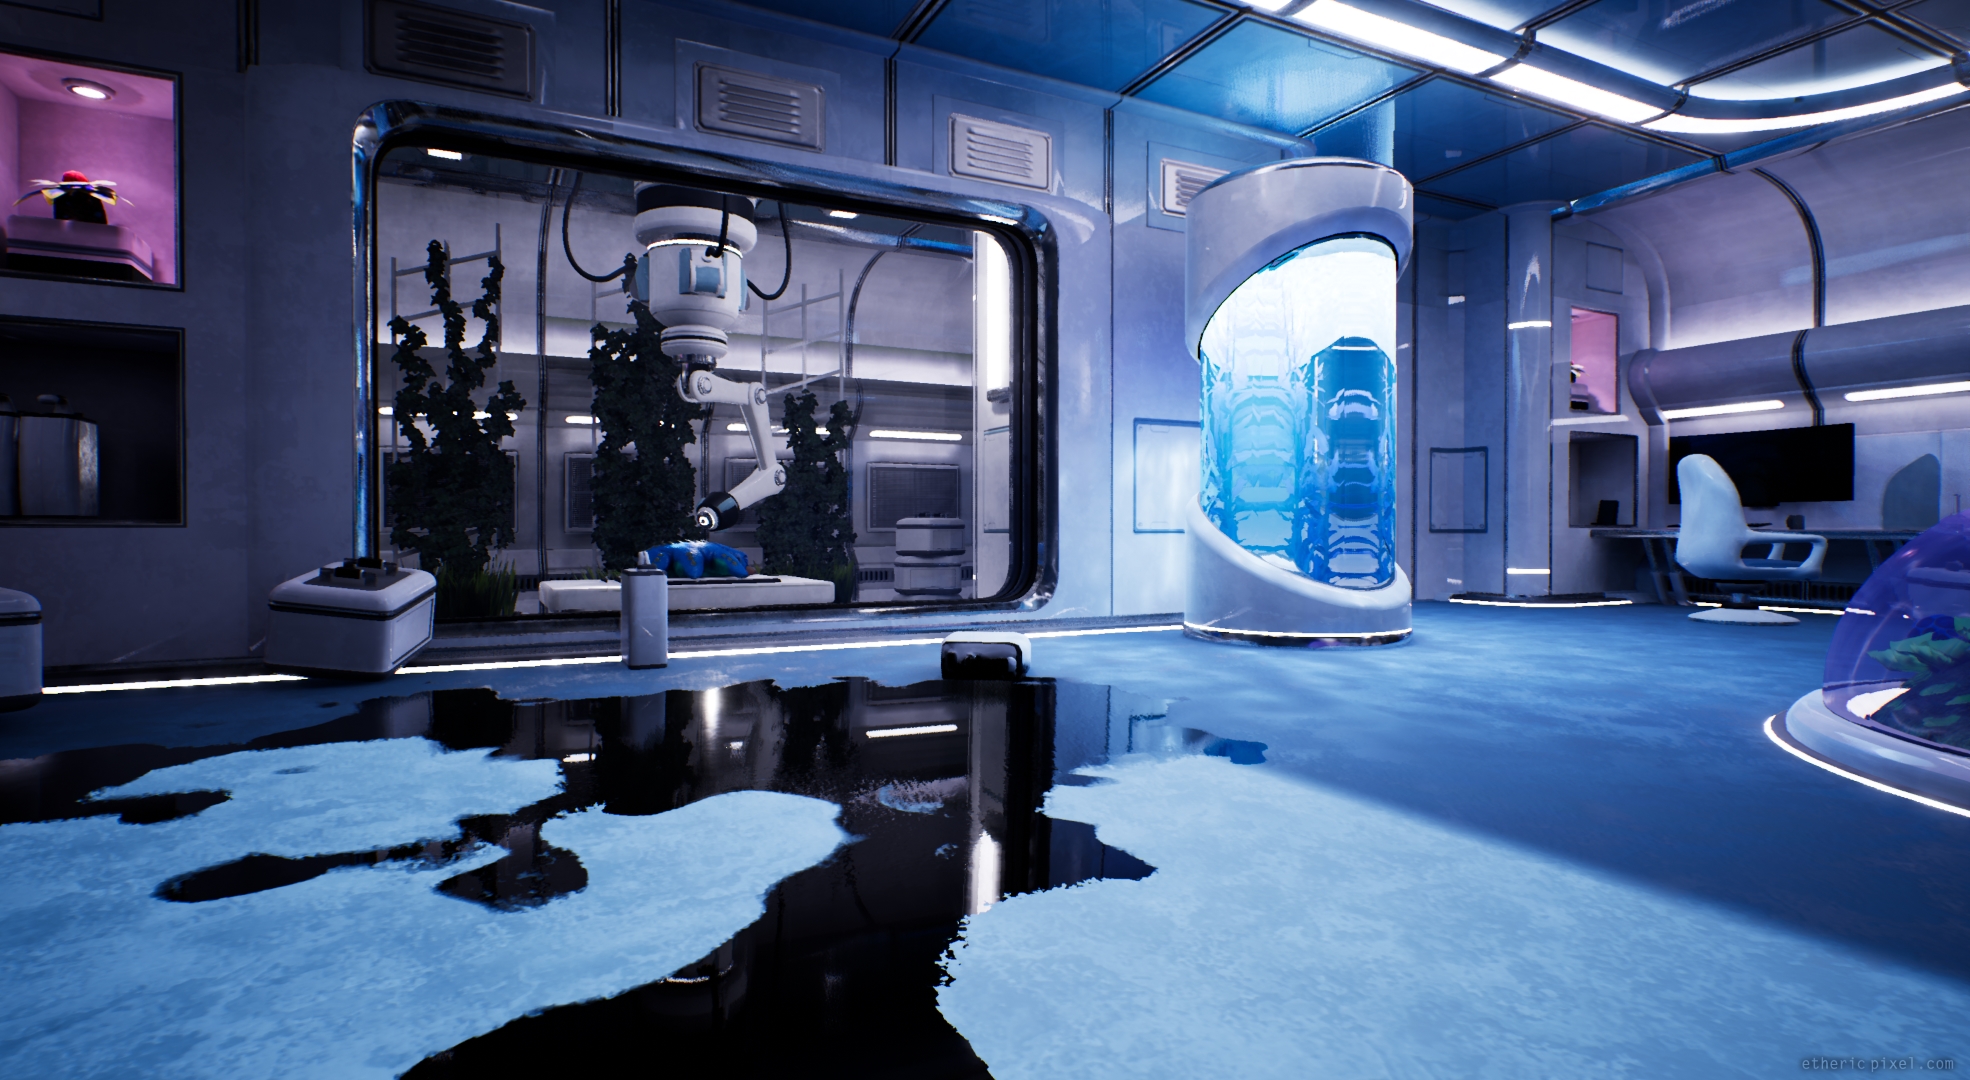
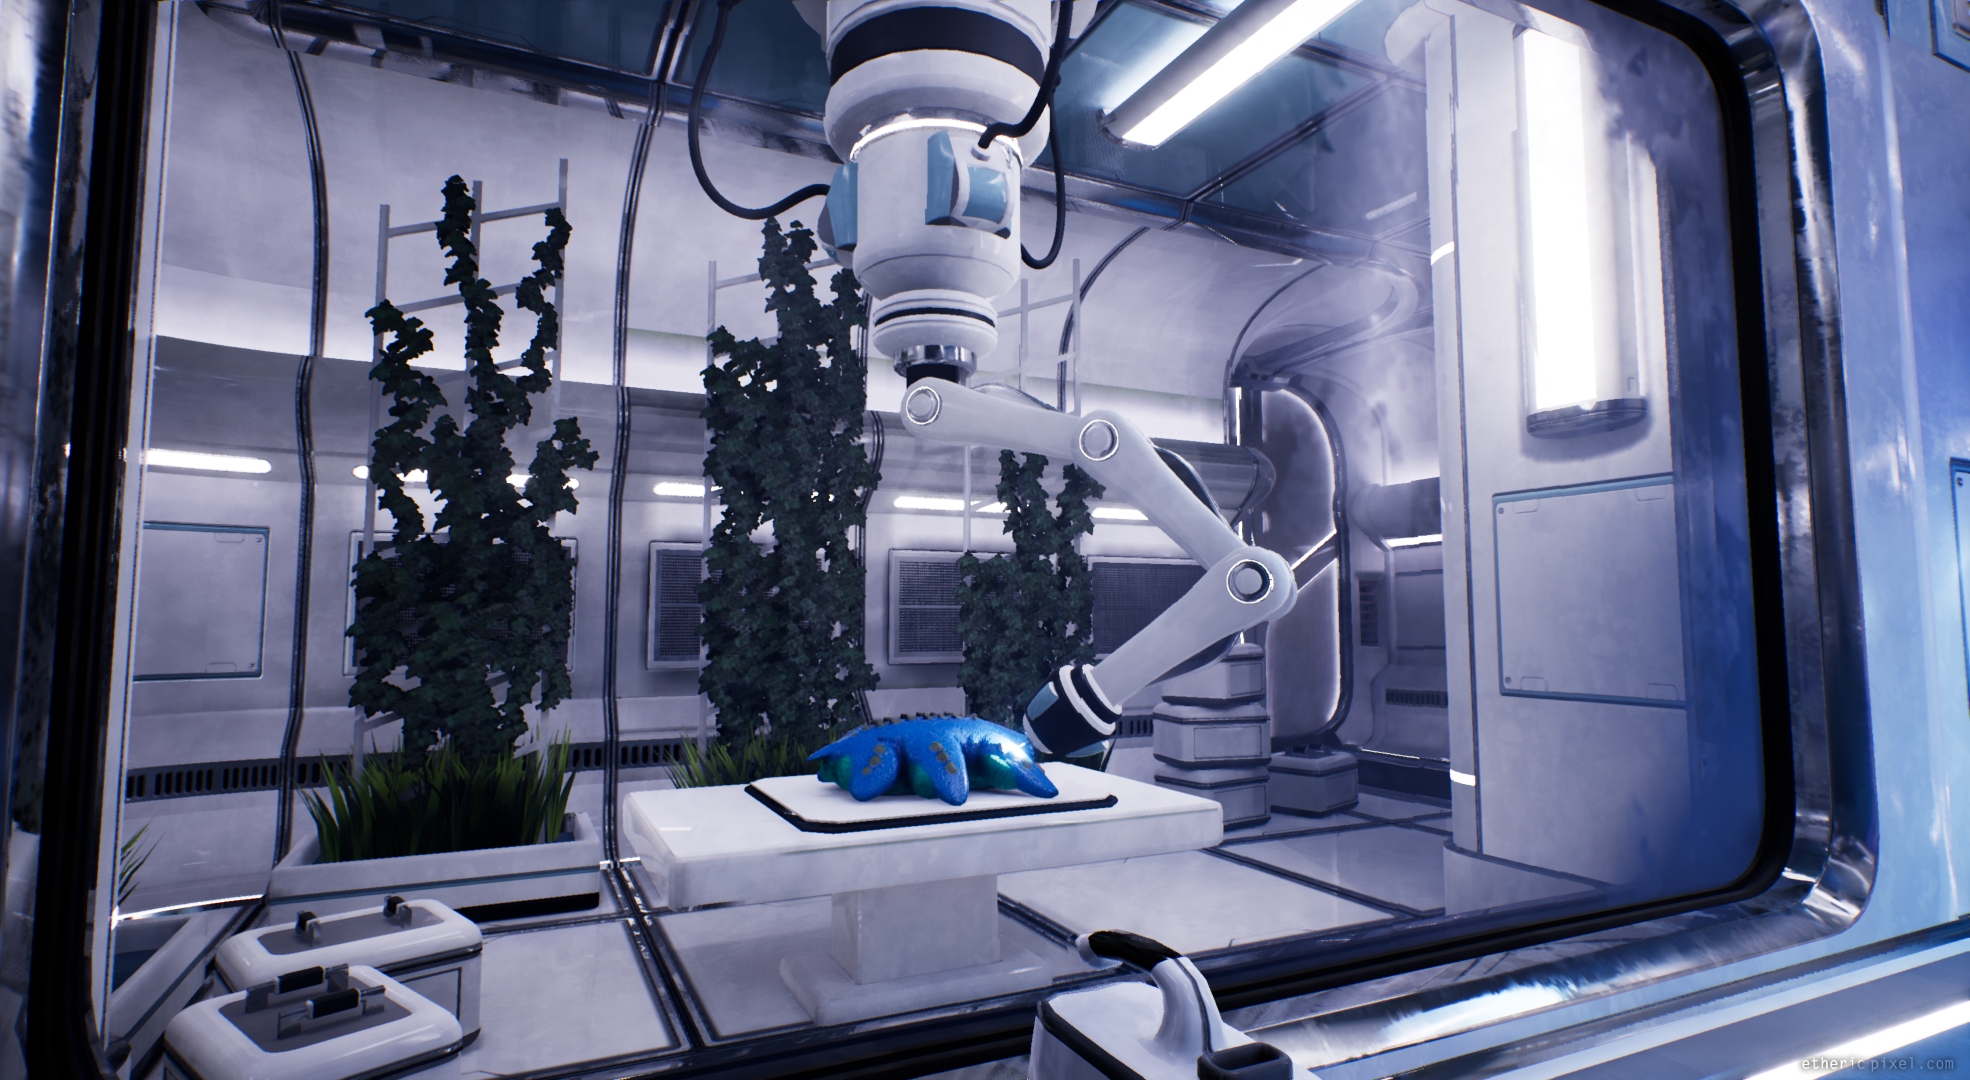
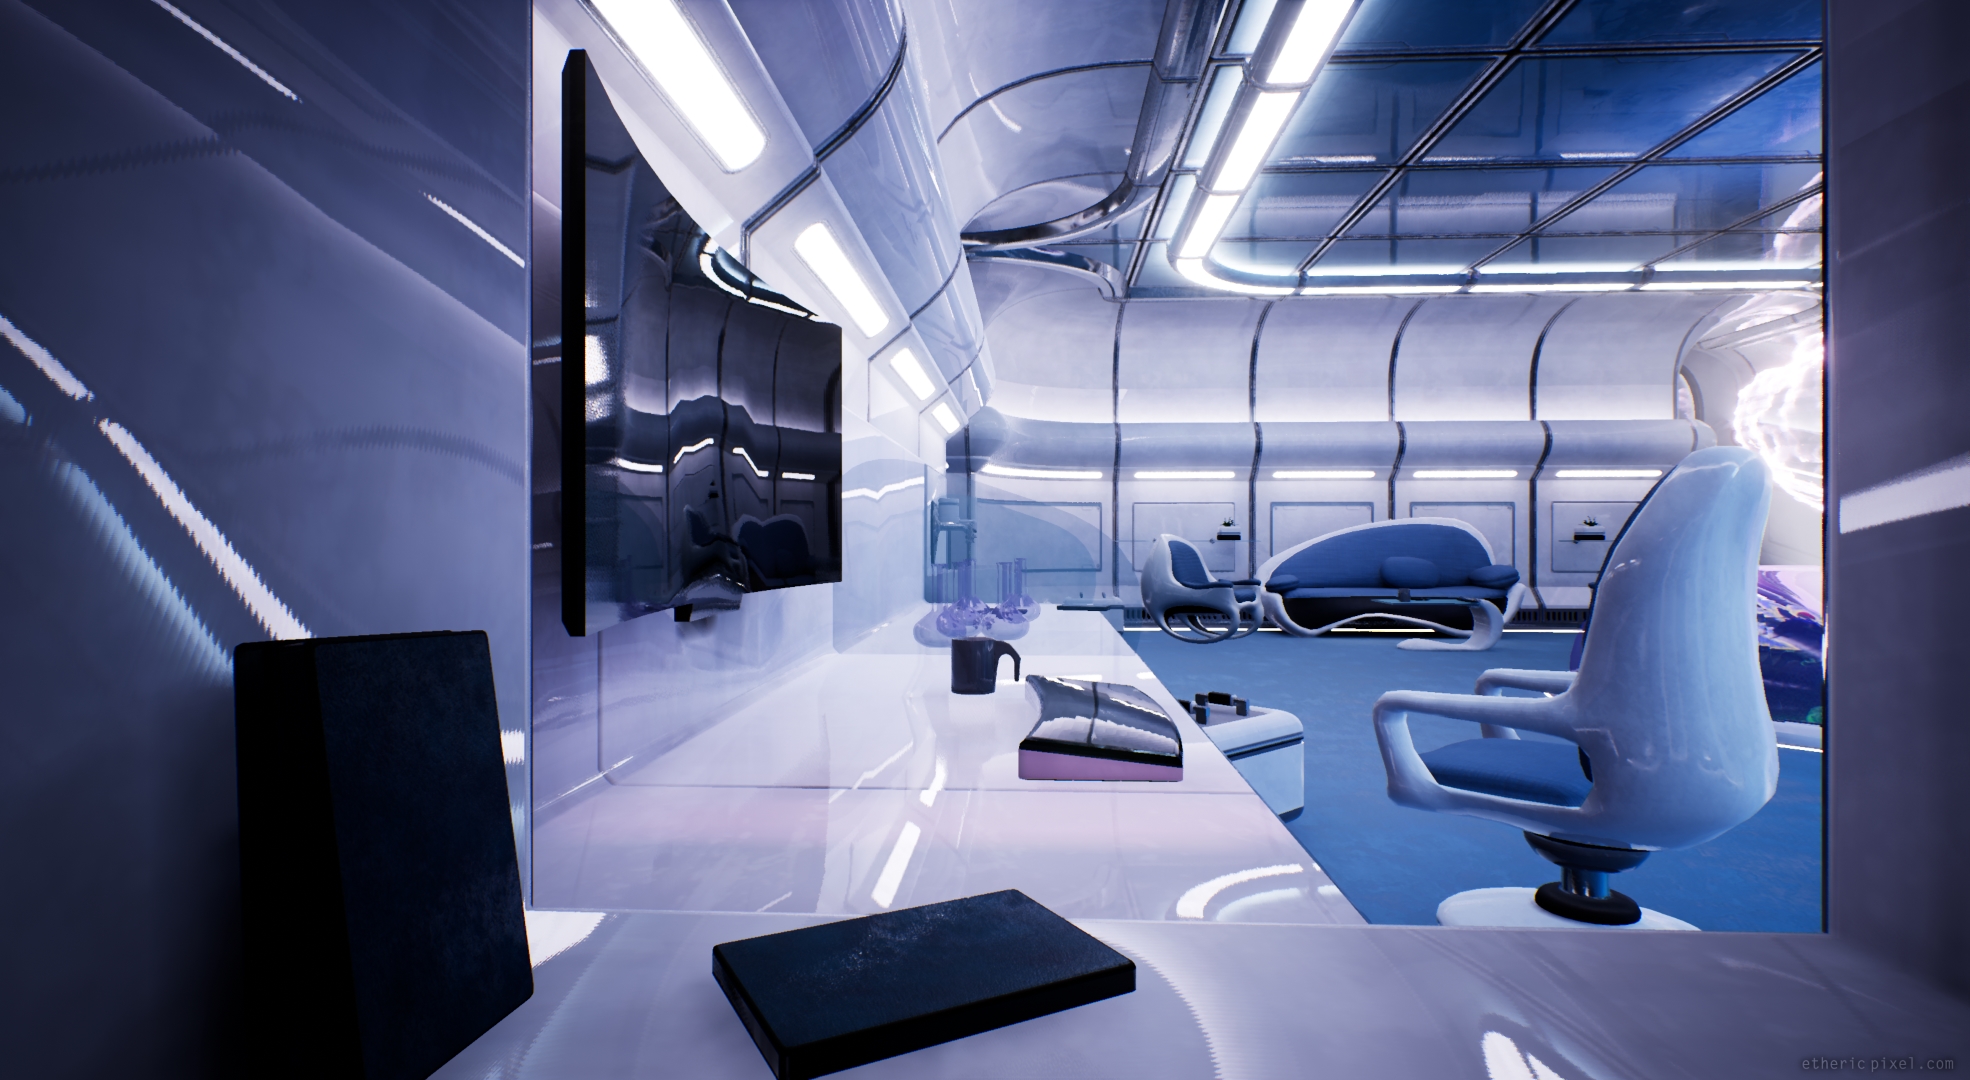
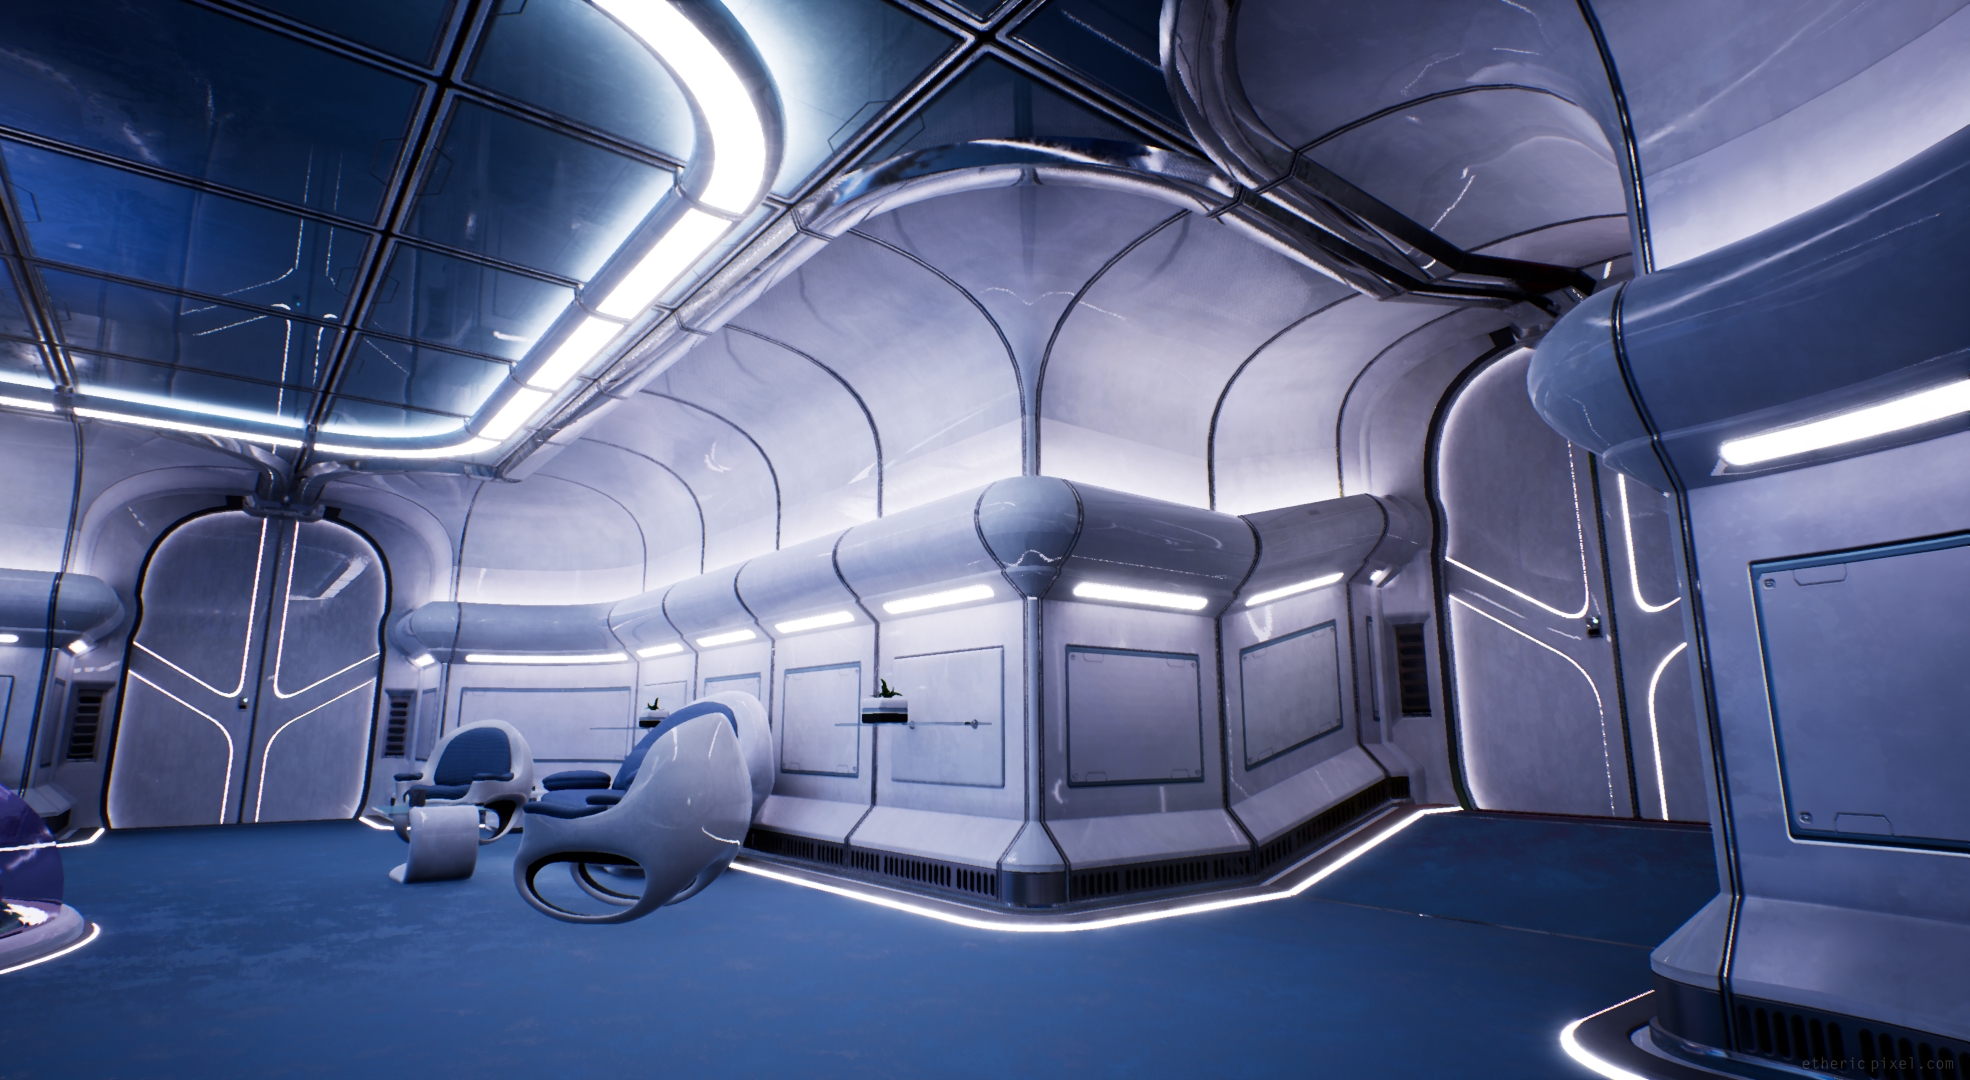
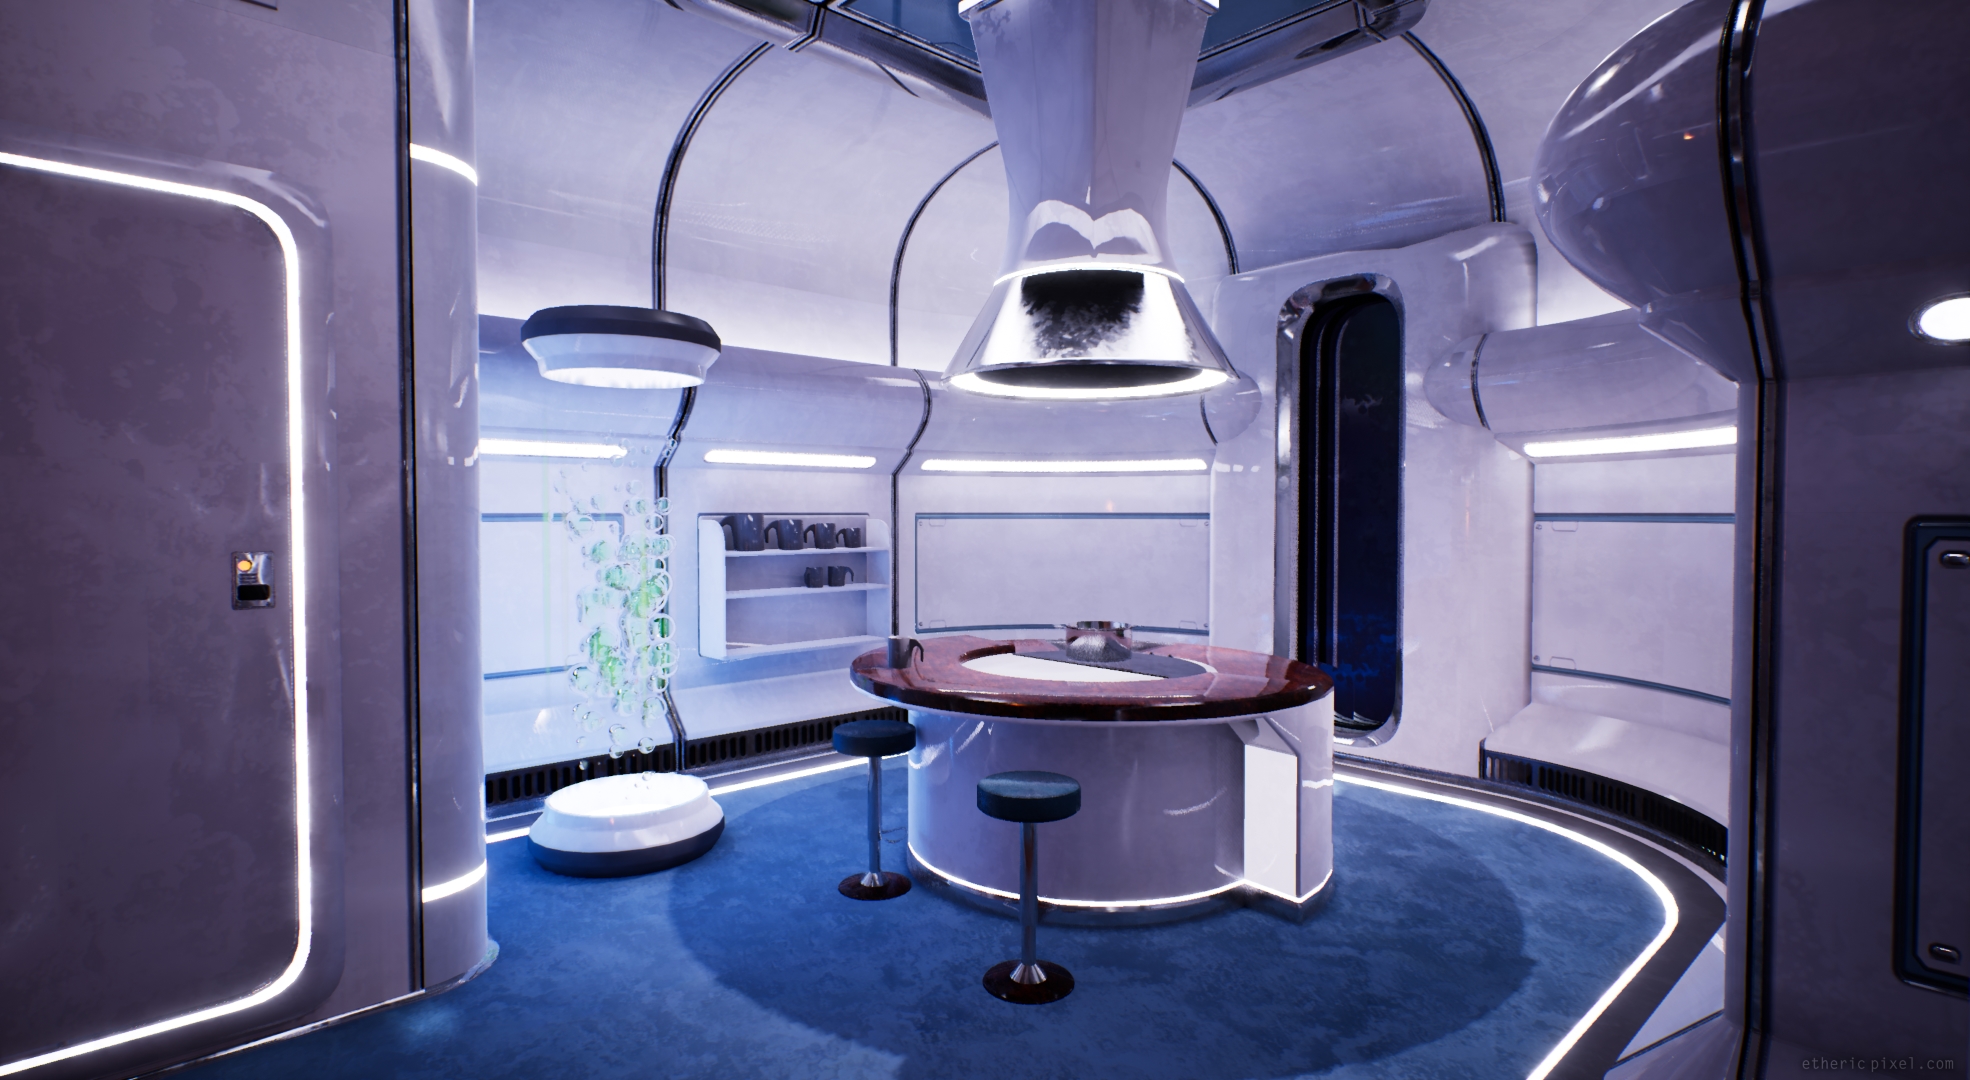
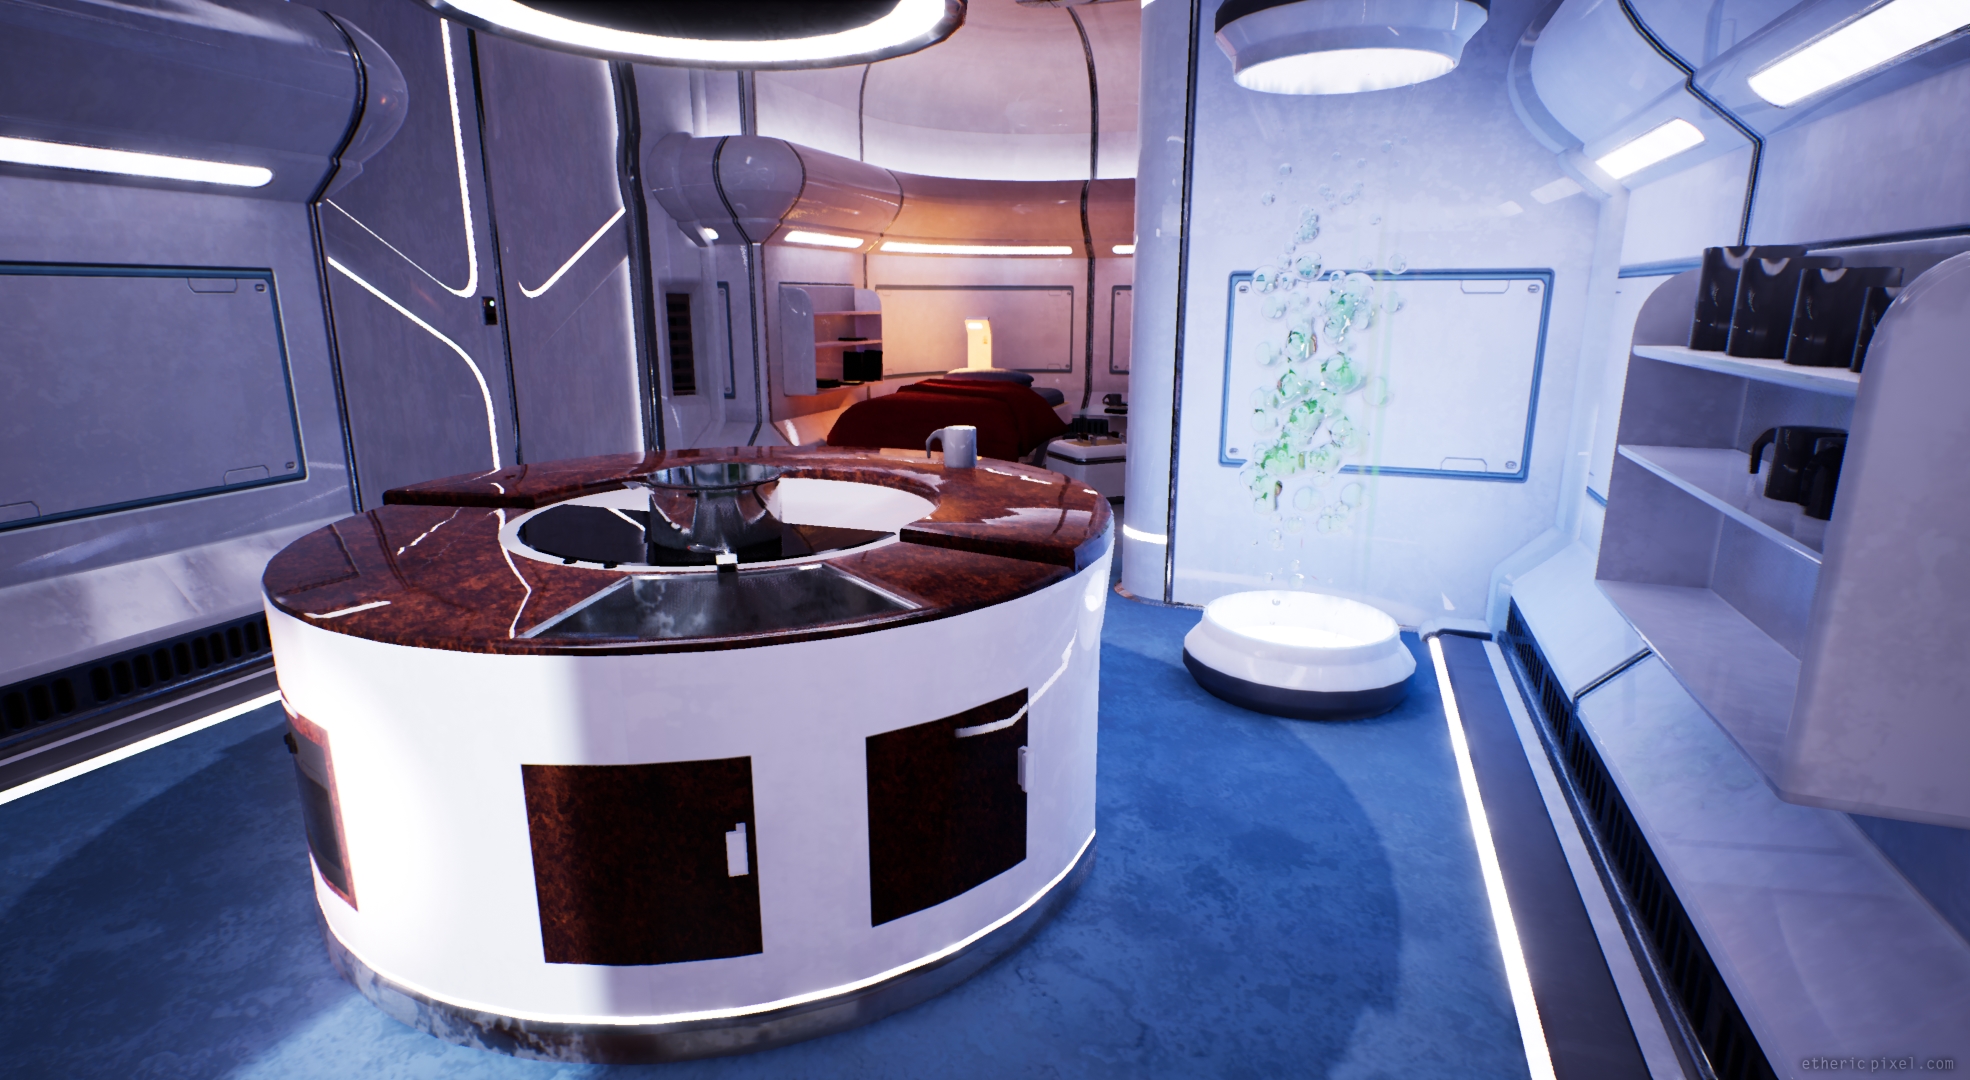
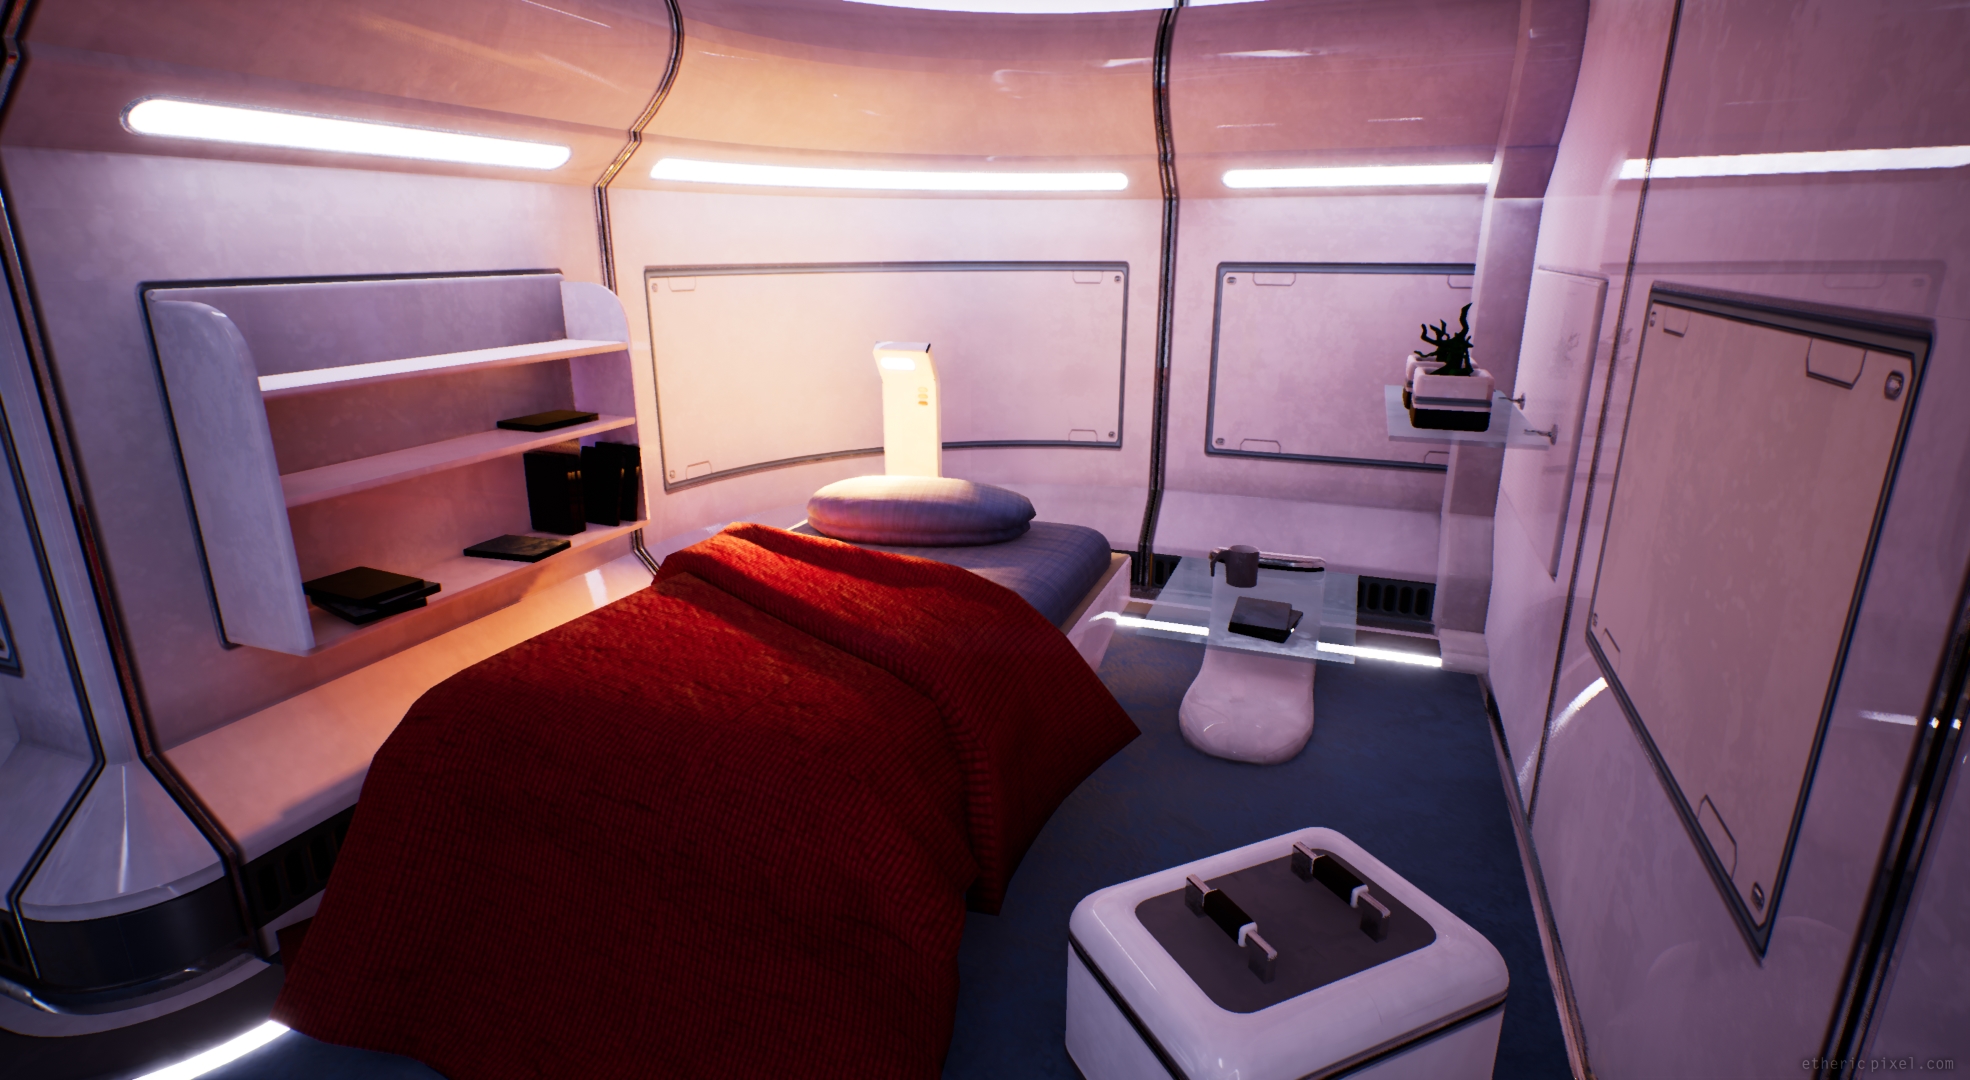
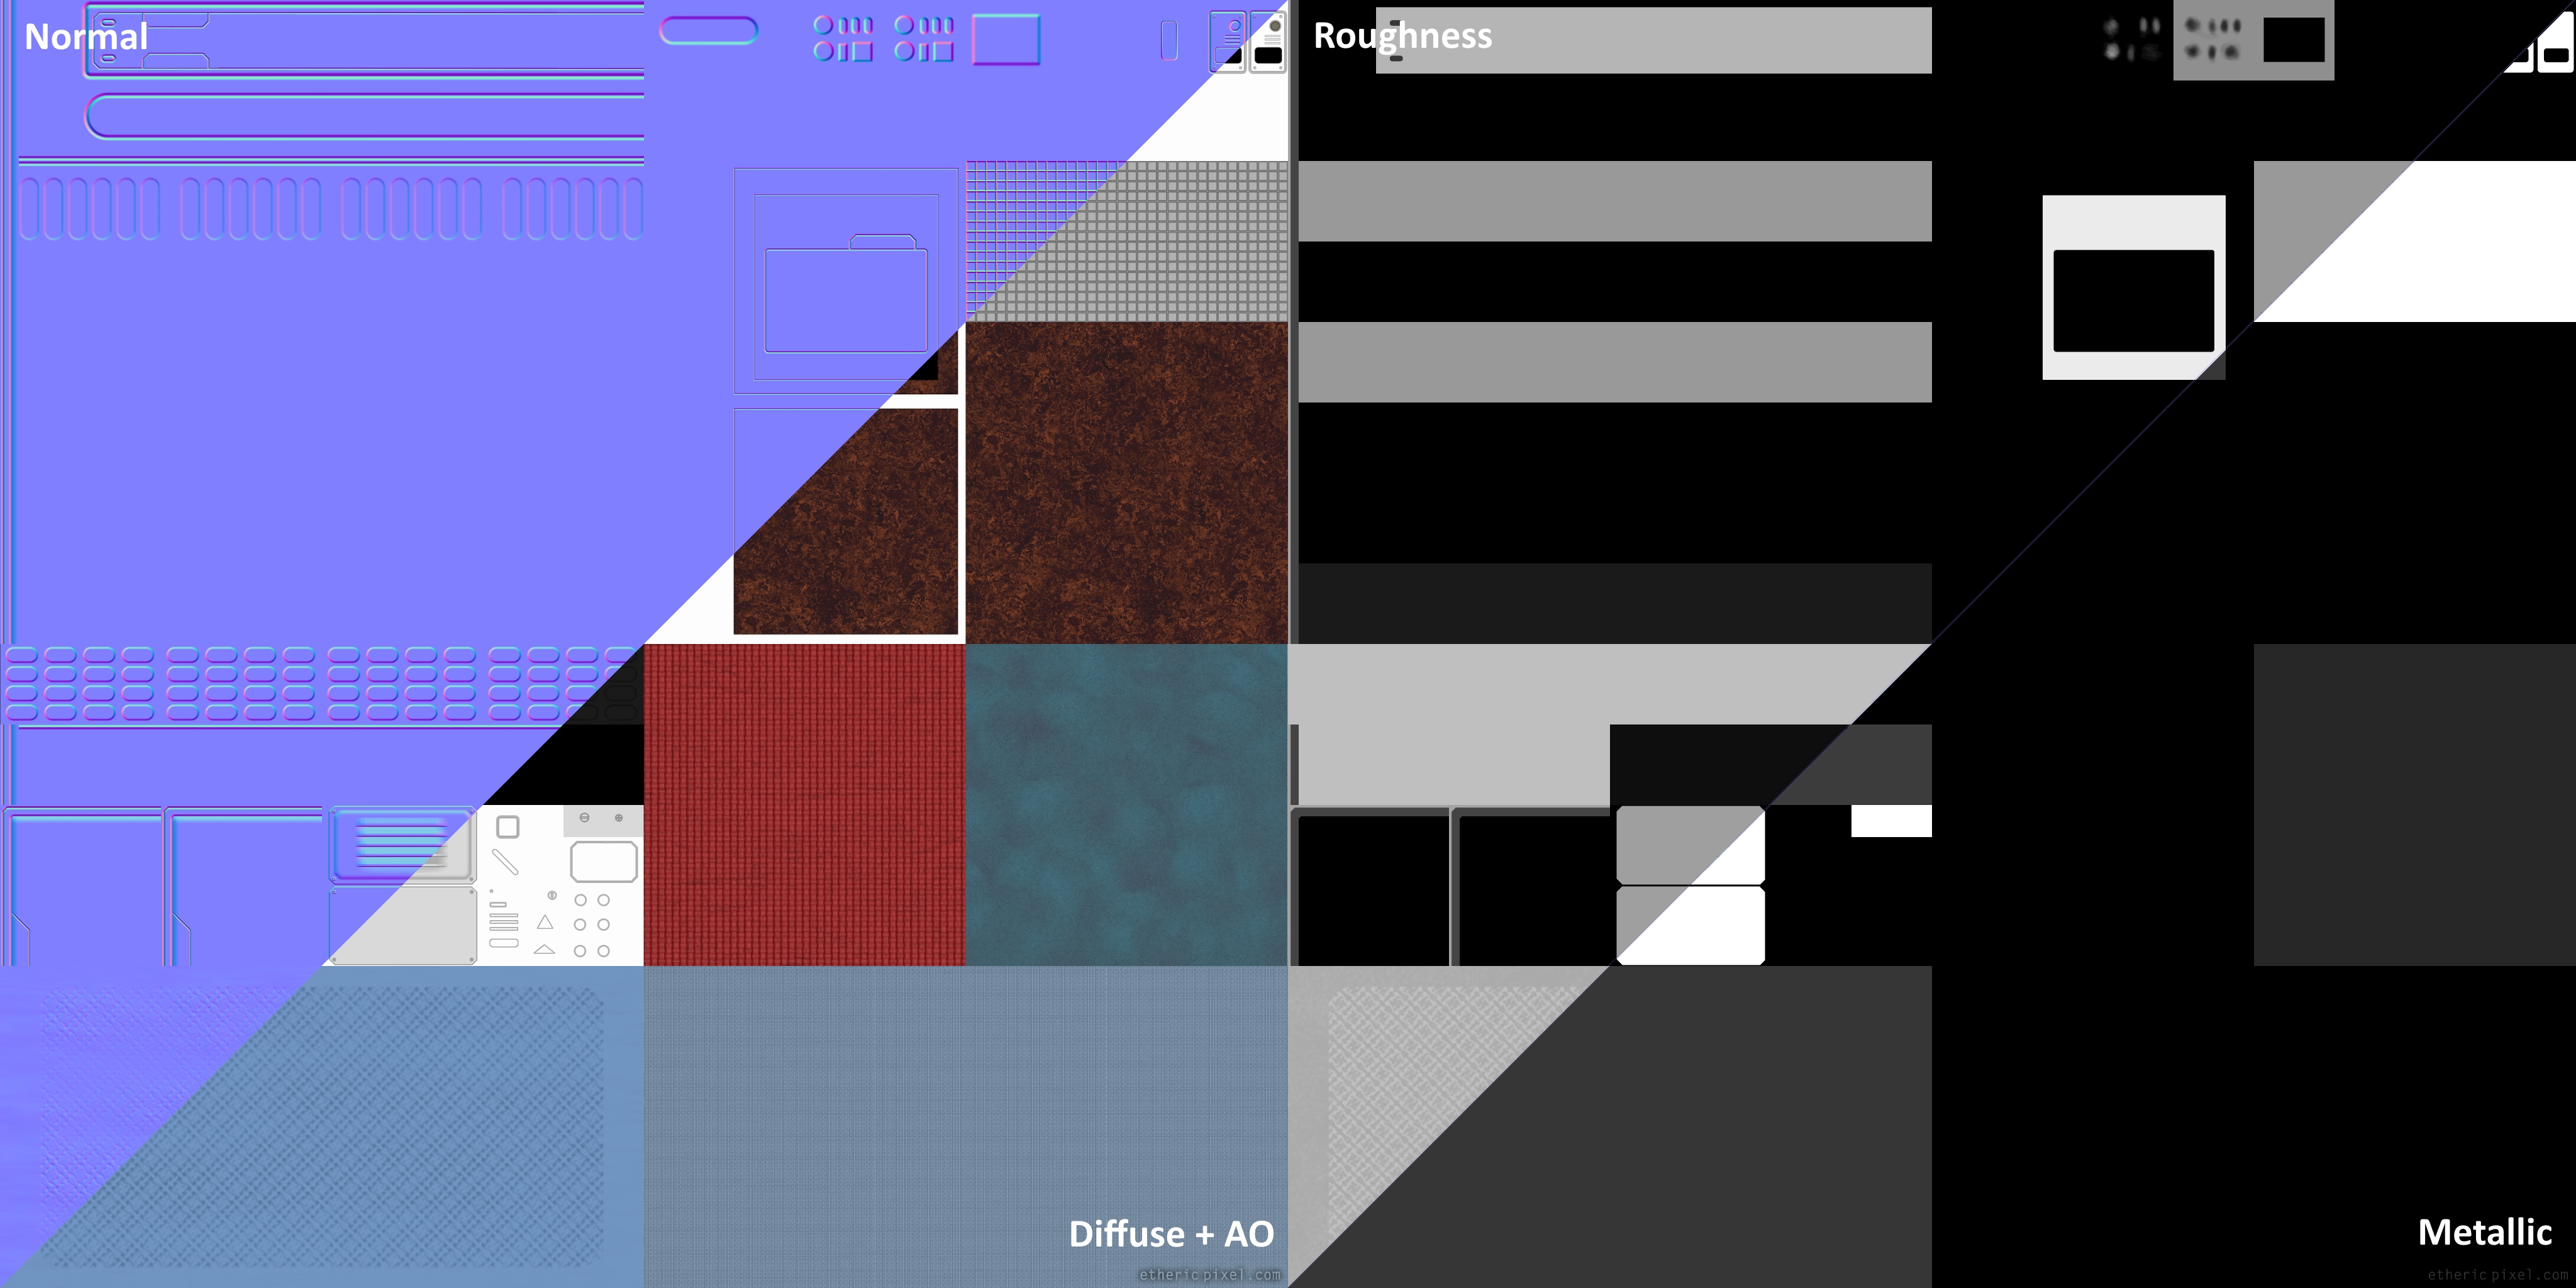
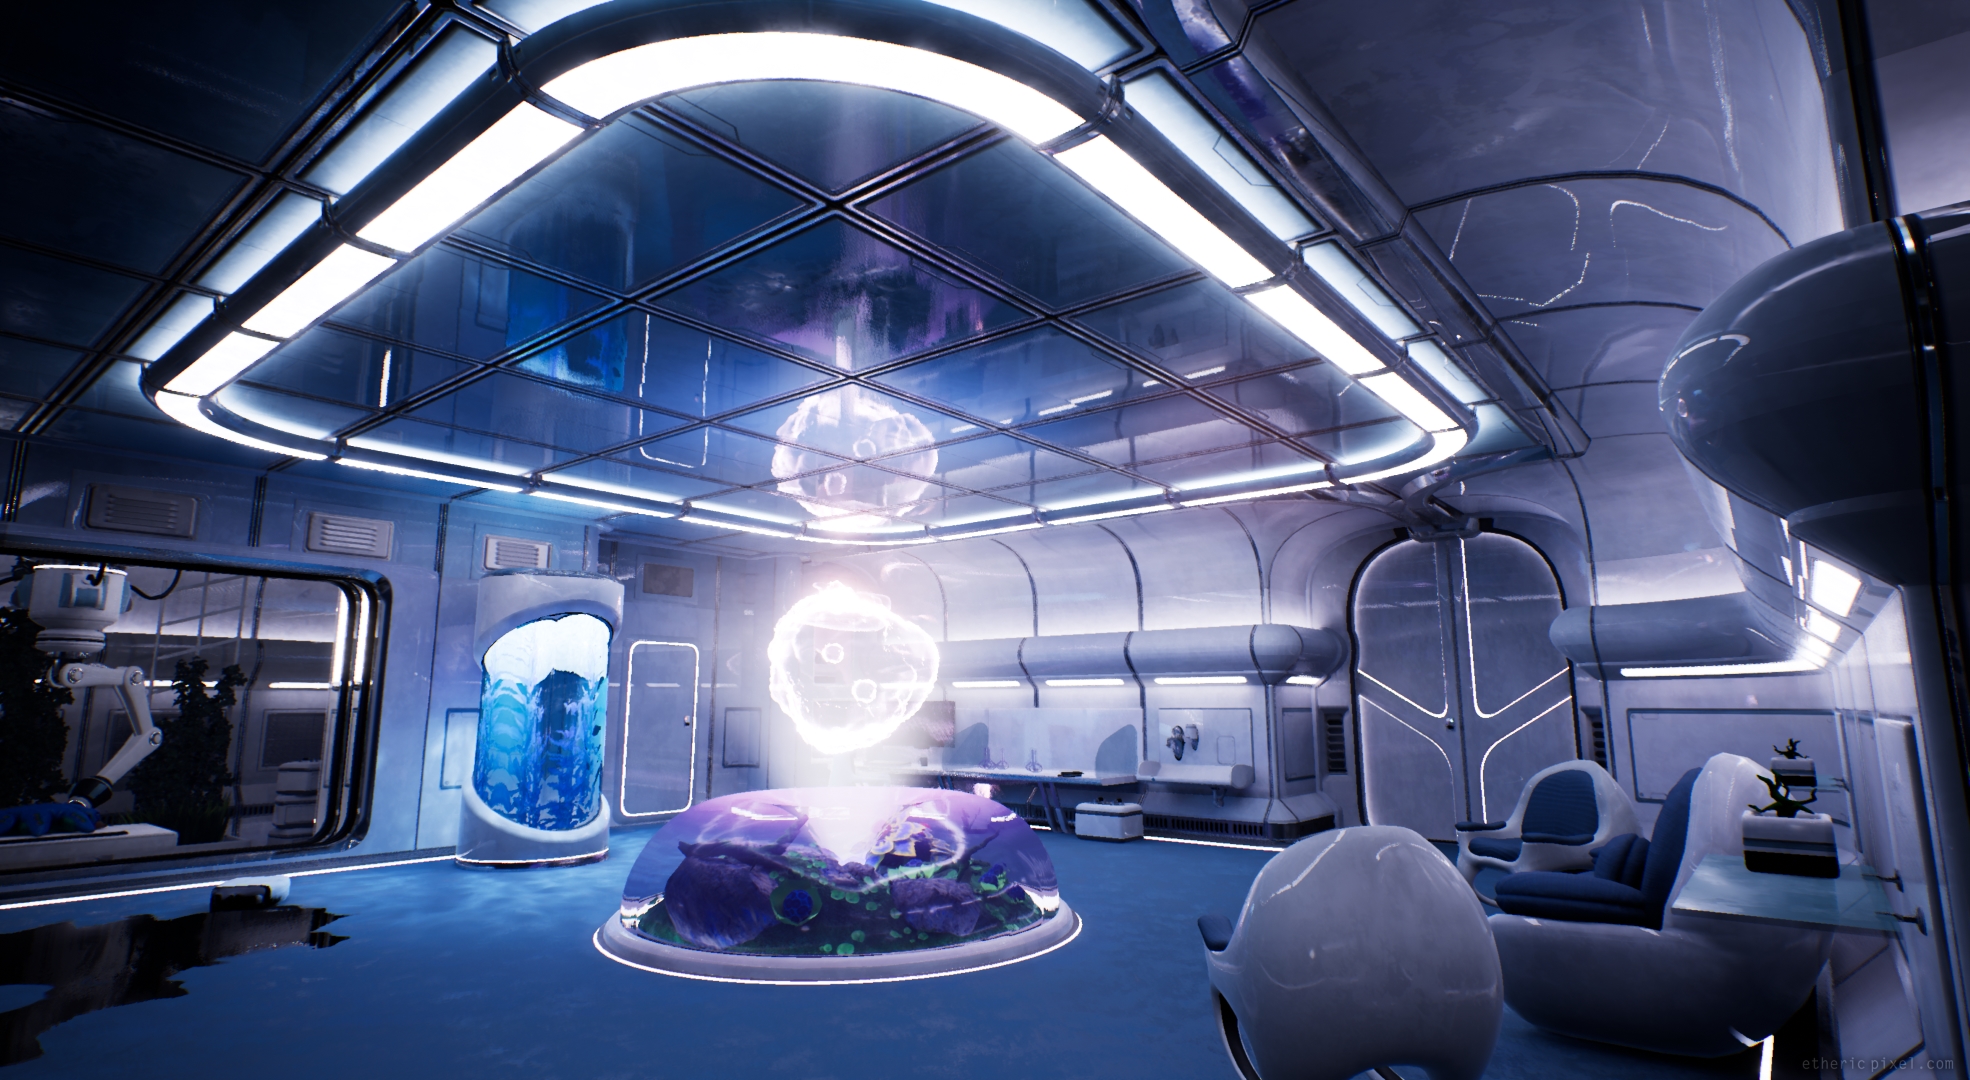
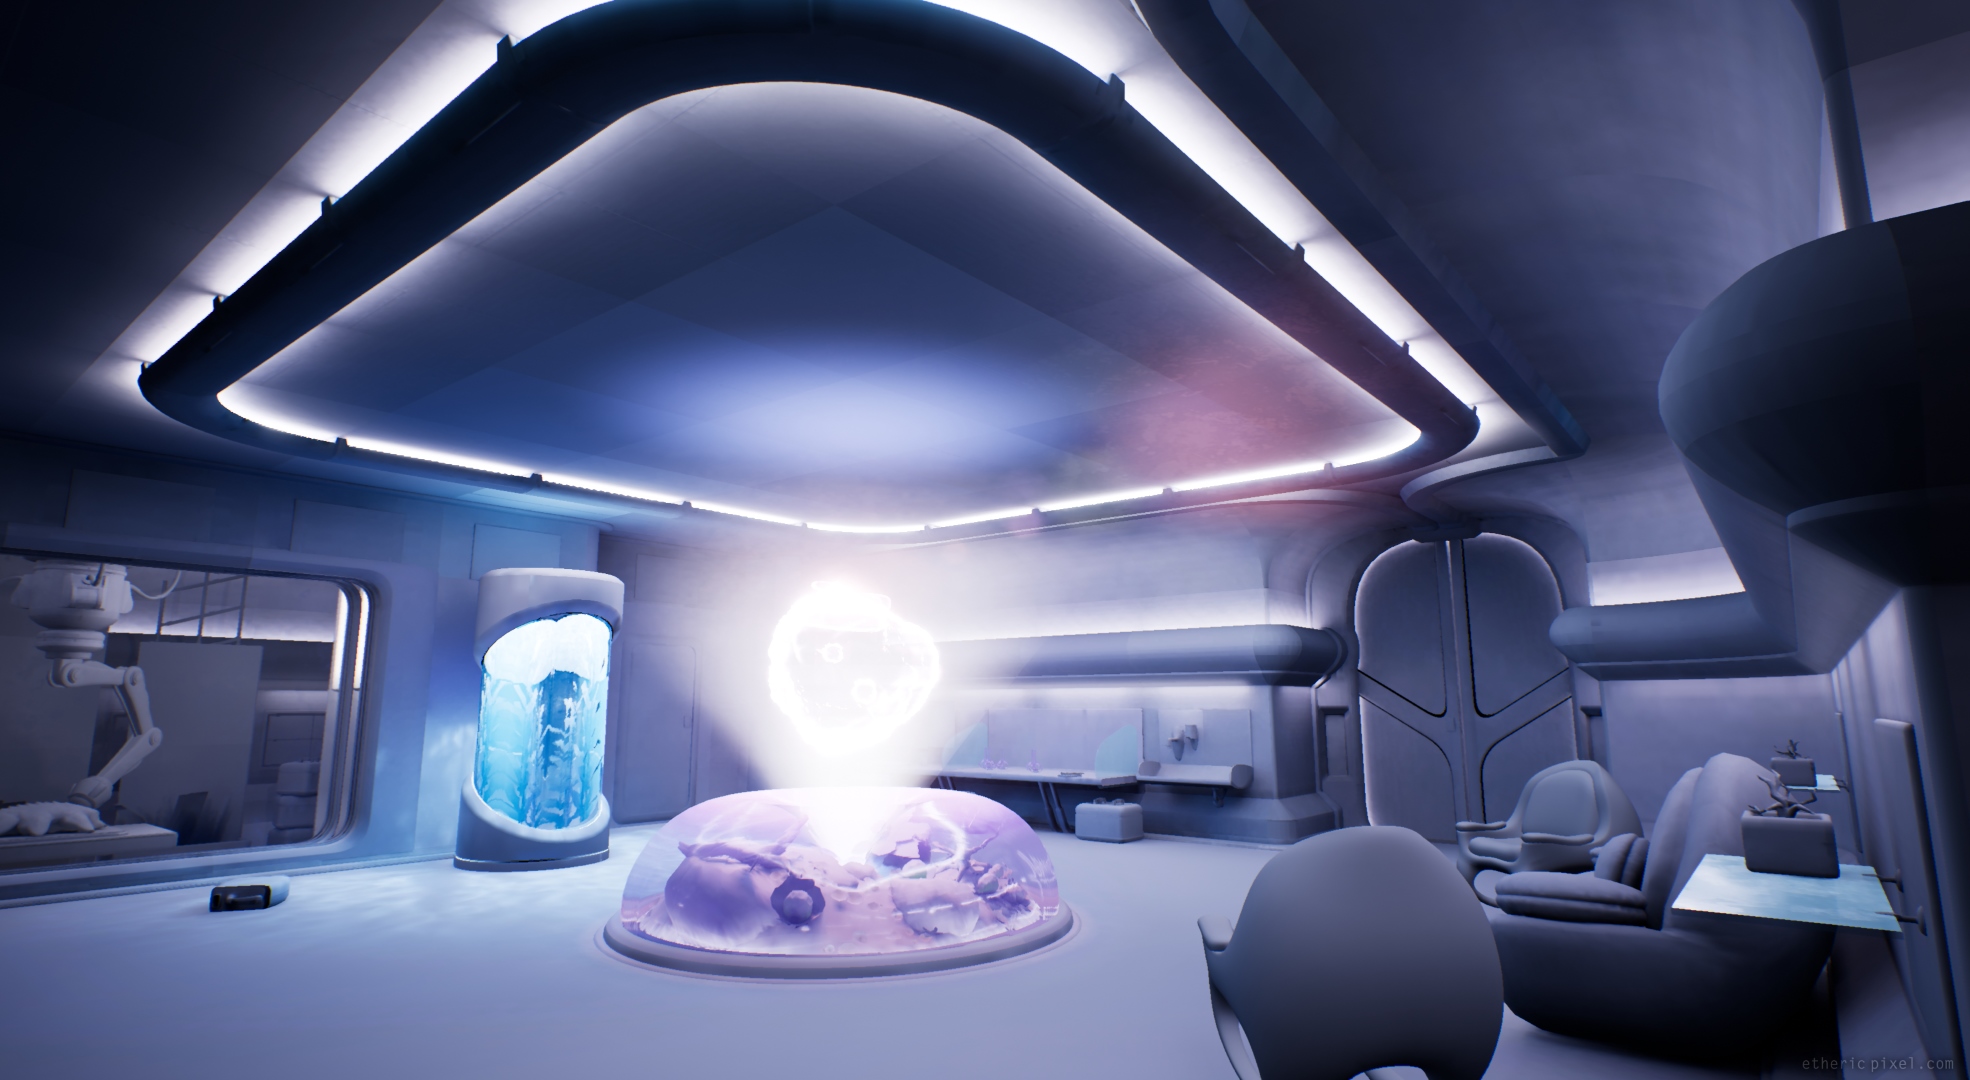
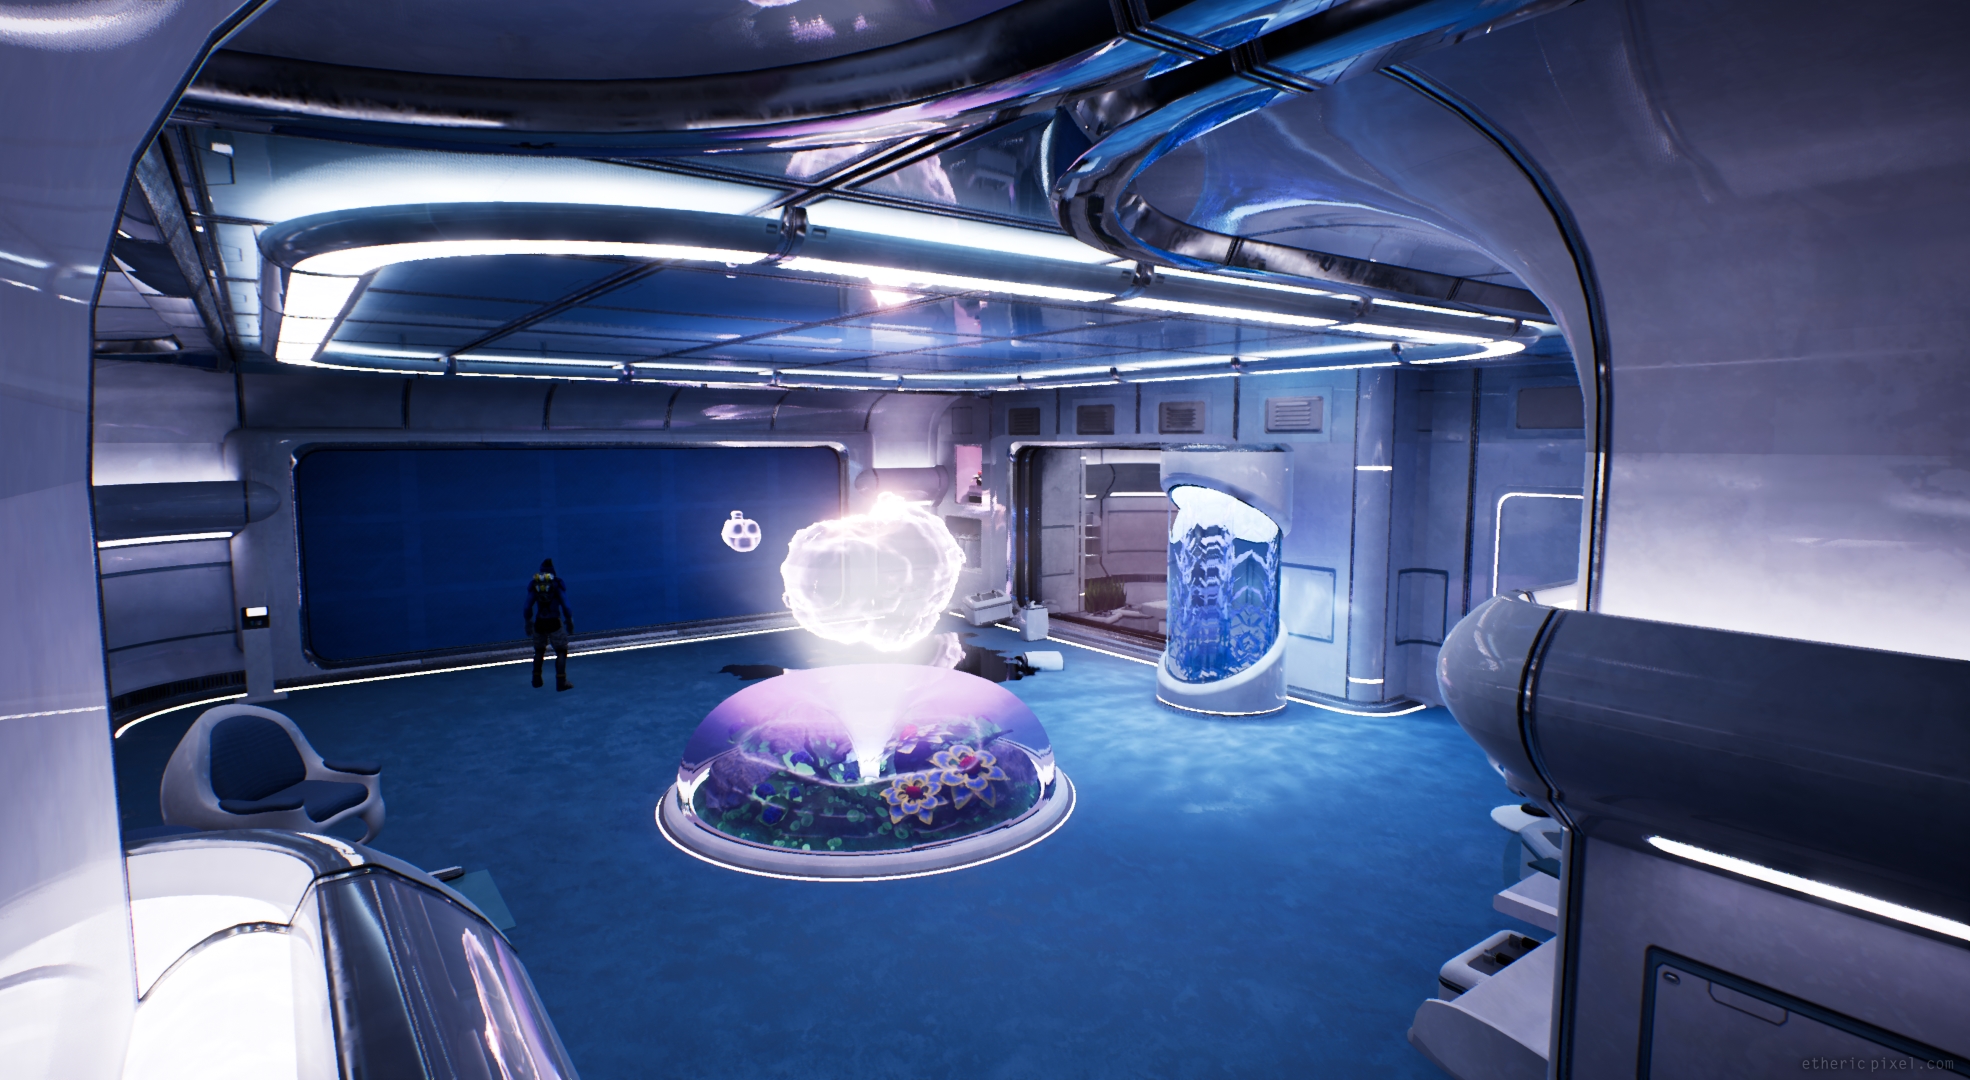
Along with a team mate, my tasks focused on creating and building the environment (mostly modular). I played a part in the lighting and the visual effects, like the torches and some particle systems.

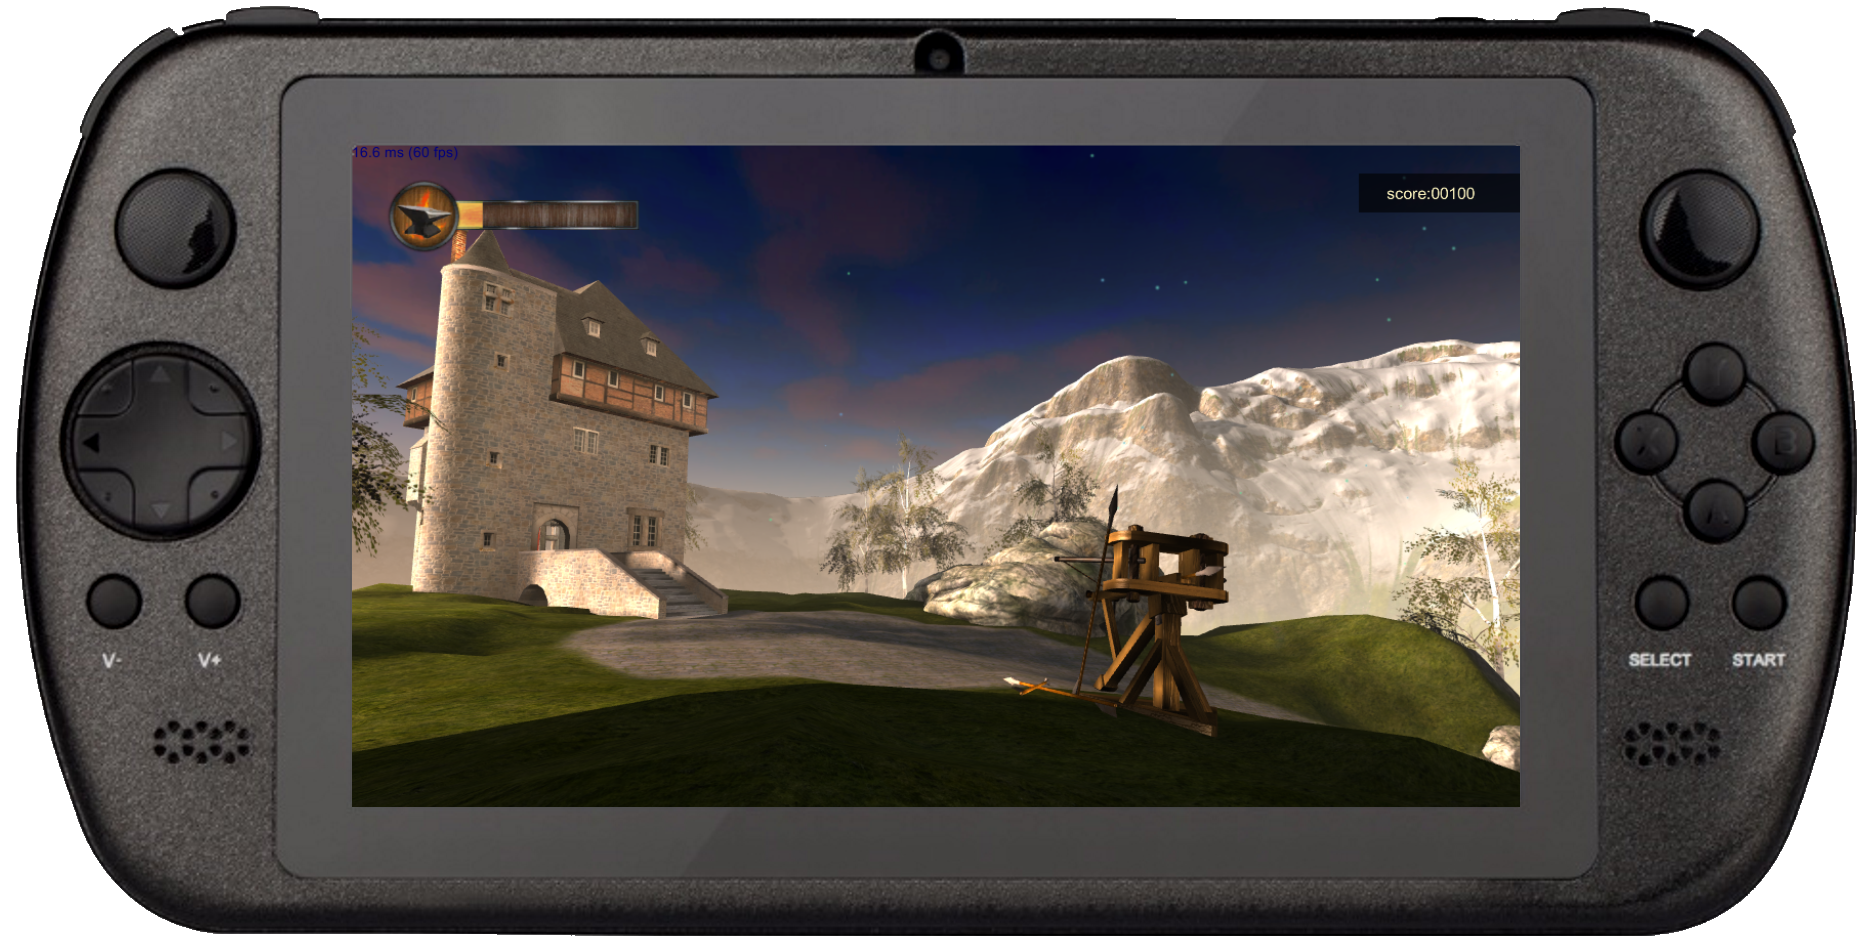
The demo had to run at 60 fps on PS4, and was made with Unity 2017.
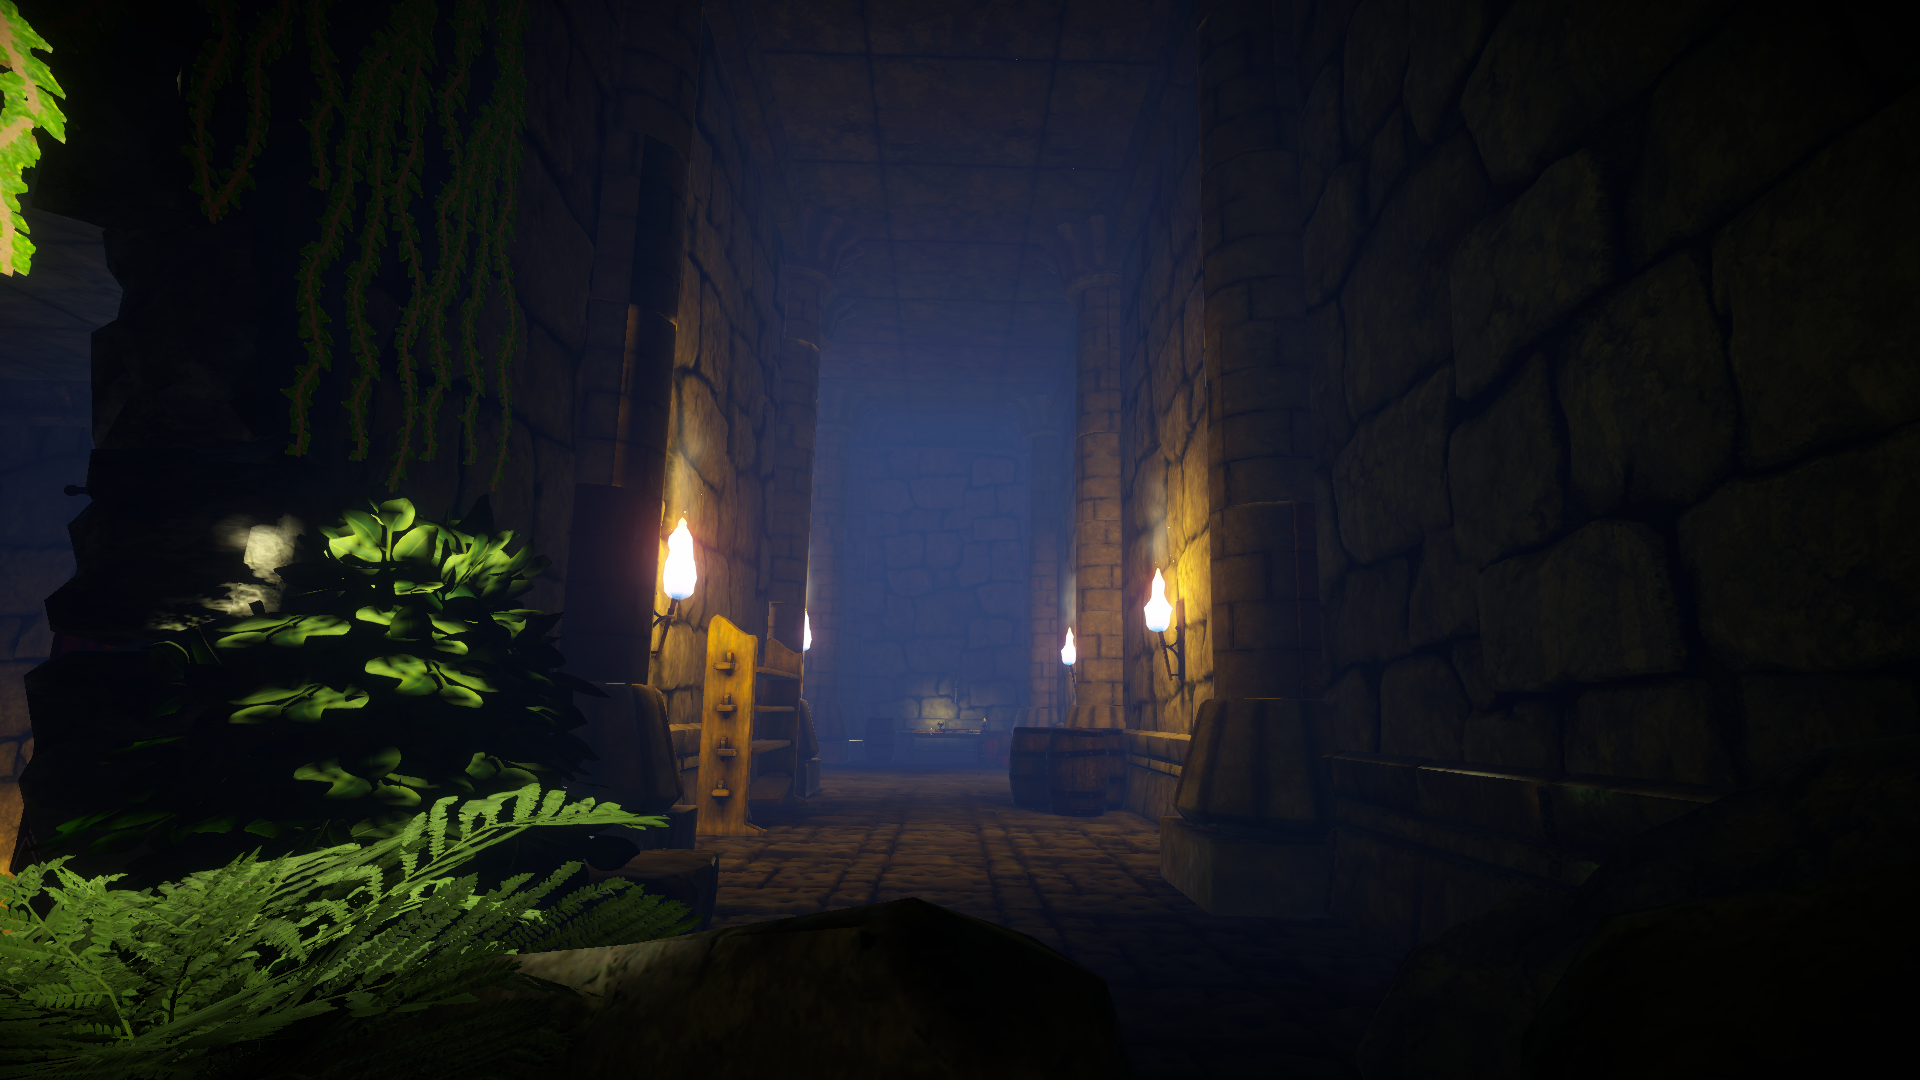
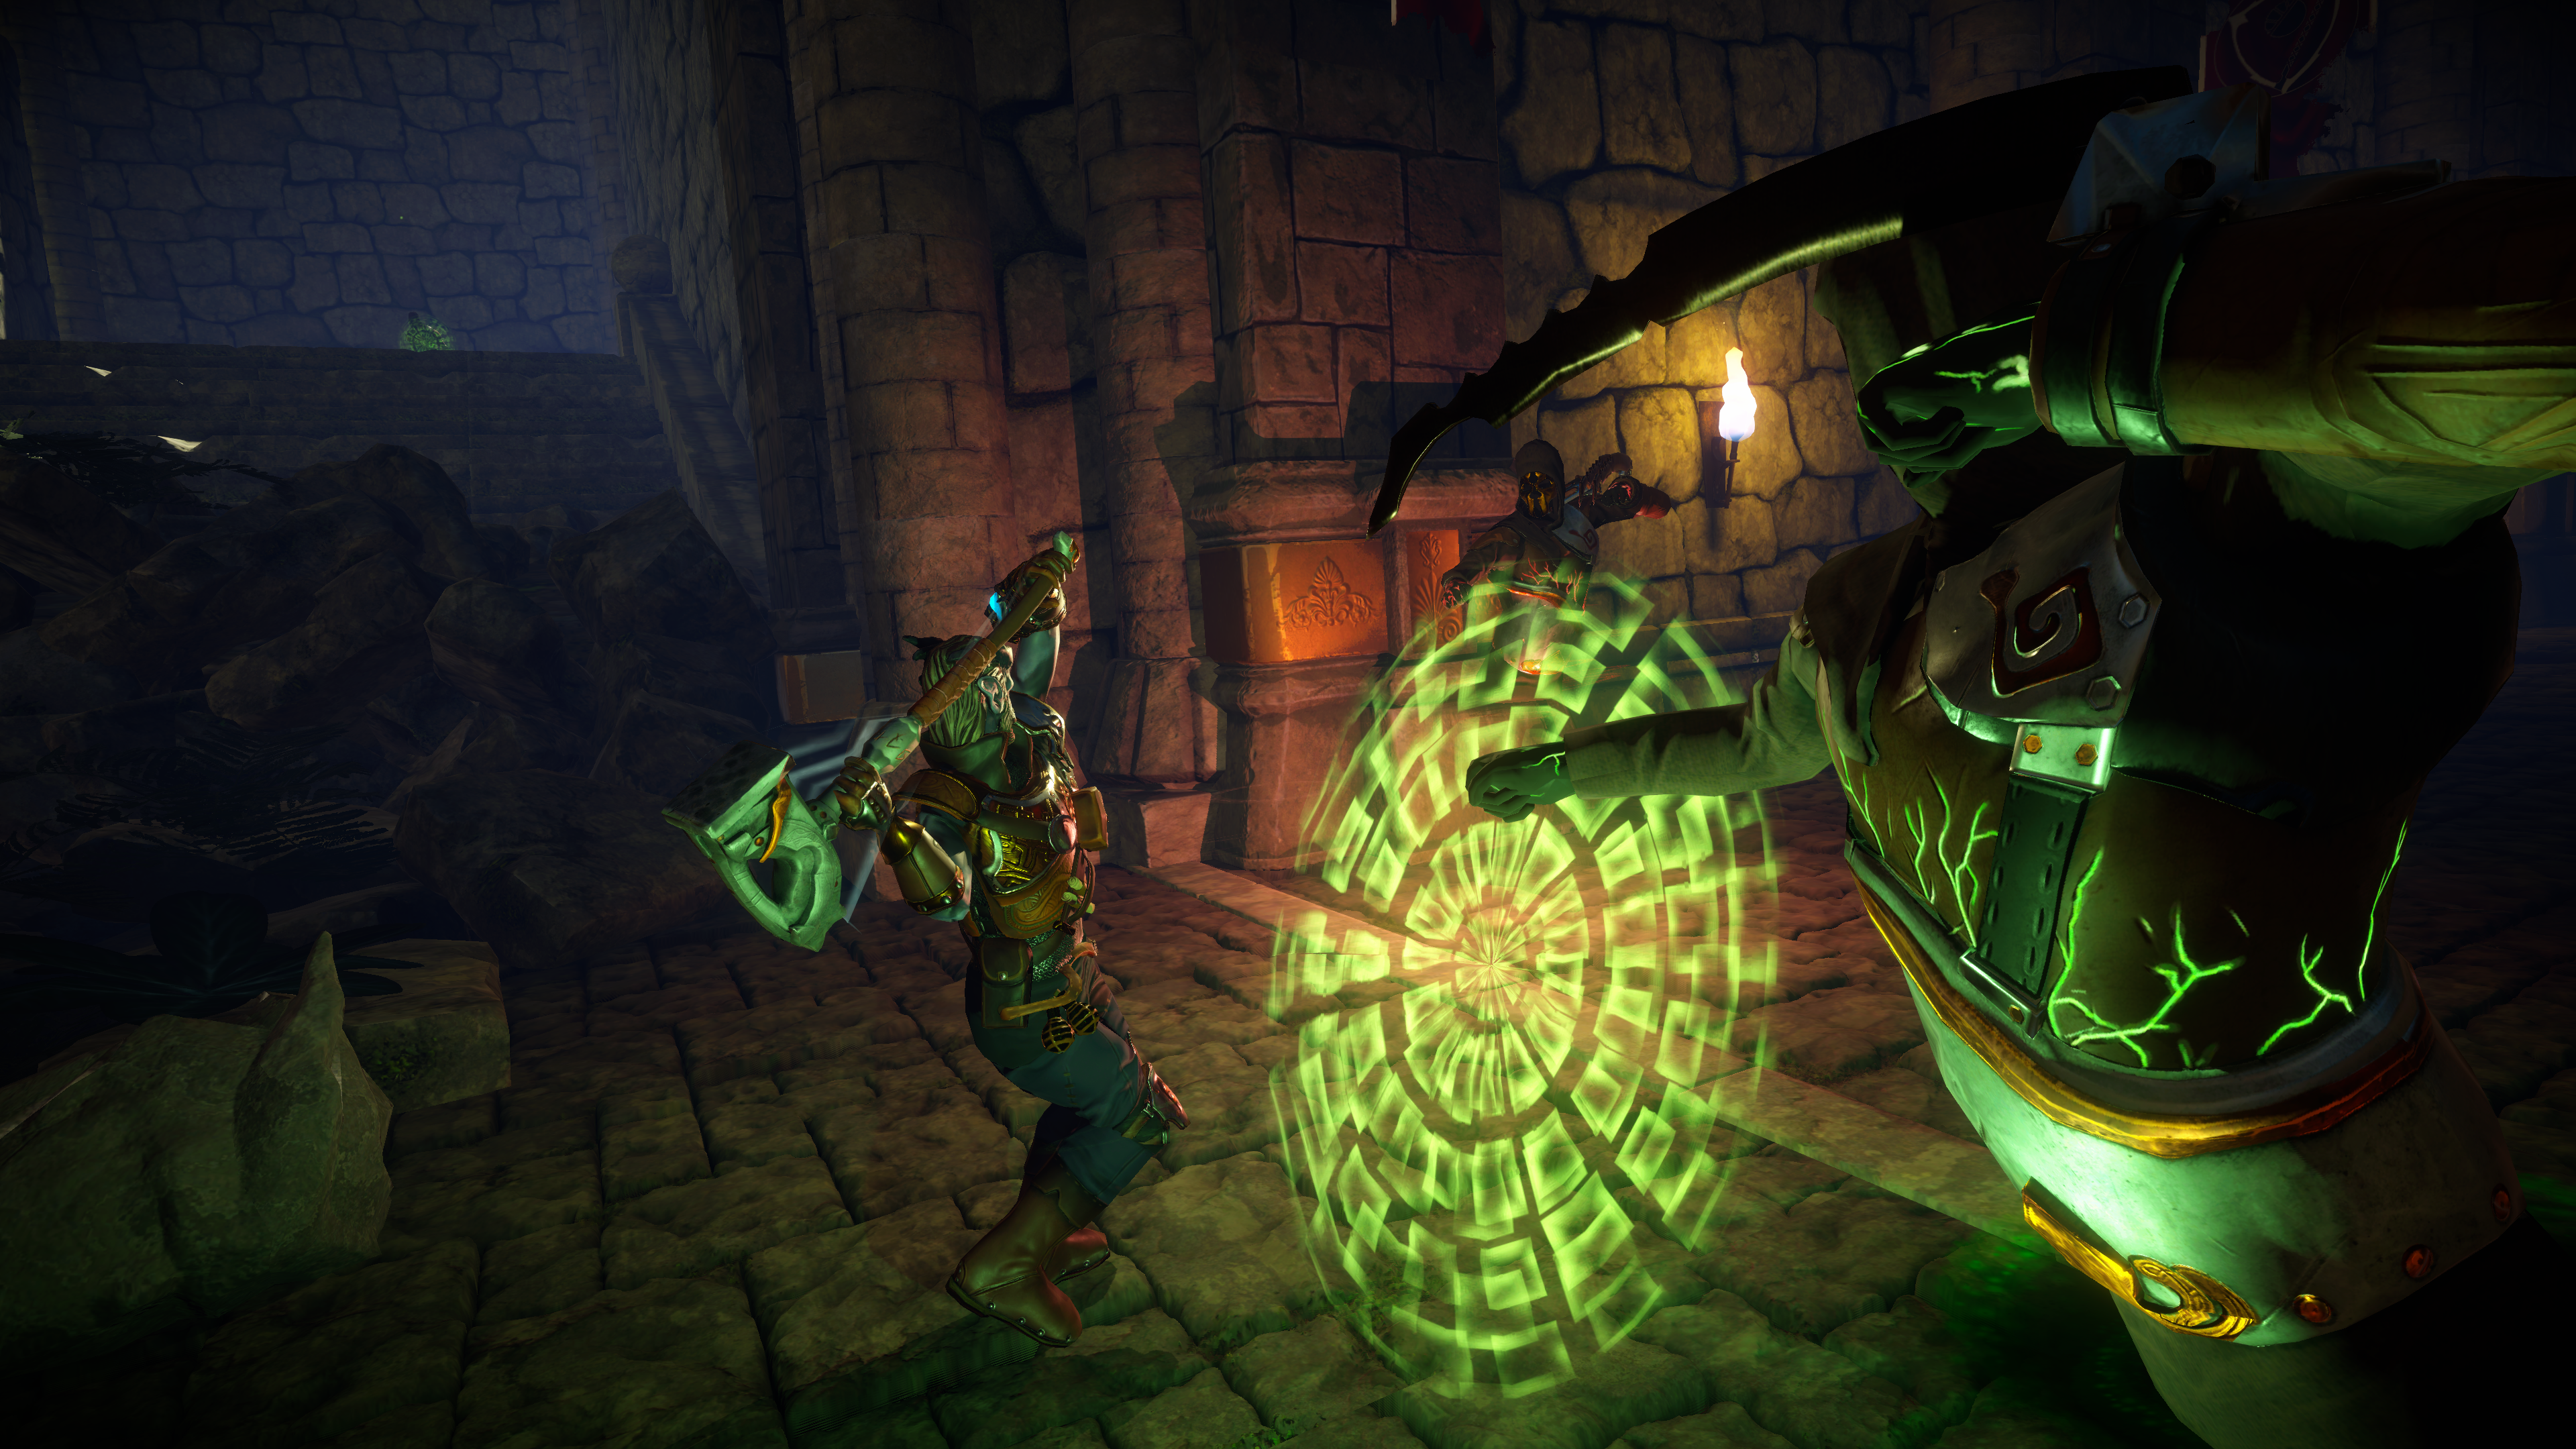
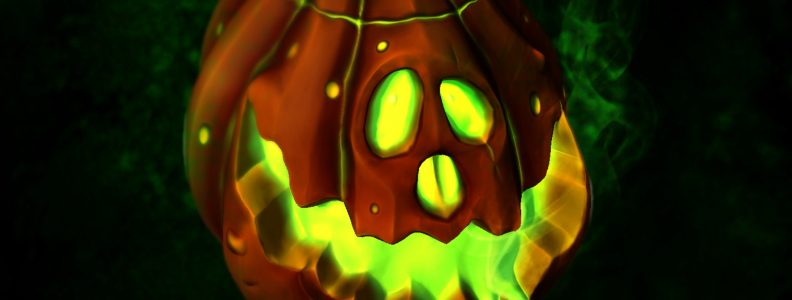
VFX Showcase:

Garden Entrance

image

image

A personnal project inspired by some nice architectural elements I have come across last summer in Britanny.

I wanted to start using Blender again and see what I could come up with regarding sculpting and retopology.

high poly image

low poly image

The texturing was done in Substance Painter, using a granite rock material I recreated in Designer and based on a raw picture. A good occasion to deepen my knowledge of the Susbtance suite.

From left to right: Metal – Rough – Color – Normal

Texture image

I used particle systems for the grass.


Medieval Game Environment (WIP)

Here is a first overview of my second end year project: a medieval / fantasy scene made with Unity 5.
Time was running out and this is what I managed to do before submitting the work.
Specific shaders were provided to improve the performances on the target platform (GPD-Q9 with Android 4.4).

Everything is there: A landscape generated with WorldMachine, a sky, a castle, a forge, some trees, rocks and medieval props.


There are a few things that need to be reworked, like the lighting of the interior as you may have noticed. I also plan to create more foliage, improve some textures and tweak the moods, among other things, so I can bring more variety and harmony to the whole.


The Hero Asset


To be continued…

Project Revive: Bioscience Lab Modular Environnent

Finally. Here is an overview of my very first modular game environment created and rendered in Unreal Engine 4.15, for an end-of-year project.

This is a living room which is part of a space bioengineering laboratory.
The story behind tells us that some advanced alien civilisation invested an asteroid, trying to recreate a habitable biosphere after their star died and blew up their home planet (hence the project name Revive).

The scene consists of about 70 different modular units and props, created in 3ds Max.

The maximum texture resolution allowed for this project was 2048*2048. Also I could only have 1 material ID per object. For all the 3D assets (except the organic elements) I decided to use 1 texture set, which I progressively filled up throughout the process, primarily in Photoshop.

The main shader uses:
– Diffuse RGB texture,
– Normal RGB texture,
– Emissive RGB texture,
– Roughness, Metalness, AO and Opacity mask packed in one RGBA texture,
– A triplanar mapped dirt texture.


Textures used for all props and modular units.

The final render looks very new, clean and shiny, but since we are in a bioenginiering lab it makes sense, somehow.

Unlit

Lighting only

More screenshots:

See this on my Artstation

Reptilian Bioscientist

Hey, this is Frank! In fact I don’t know his name. But he is a very good scientist, working at some bioengineering laboratory in… well, in space. On an asteroïd. Yes. That’s it.  I will explain everything, just later.
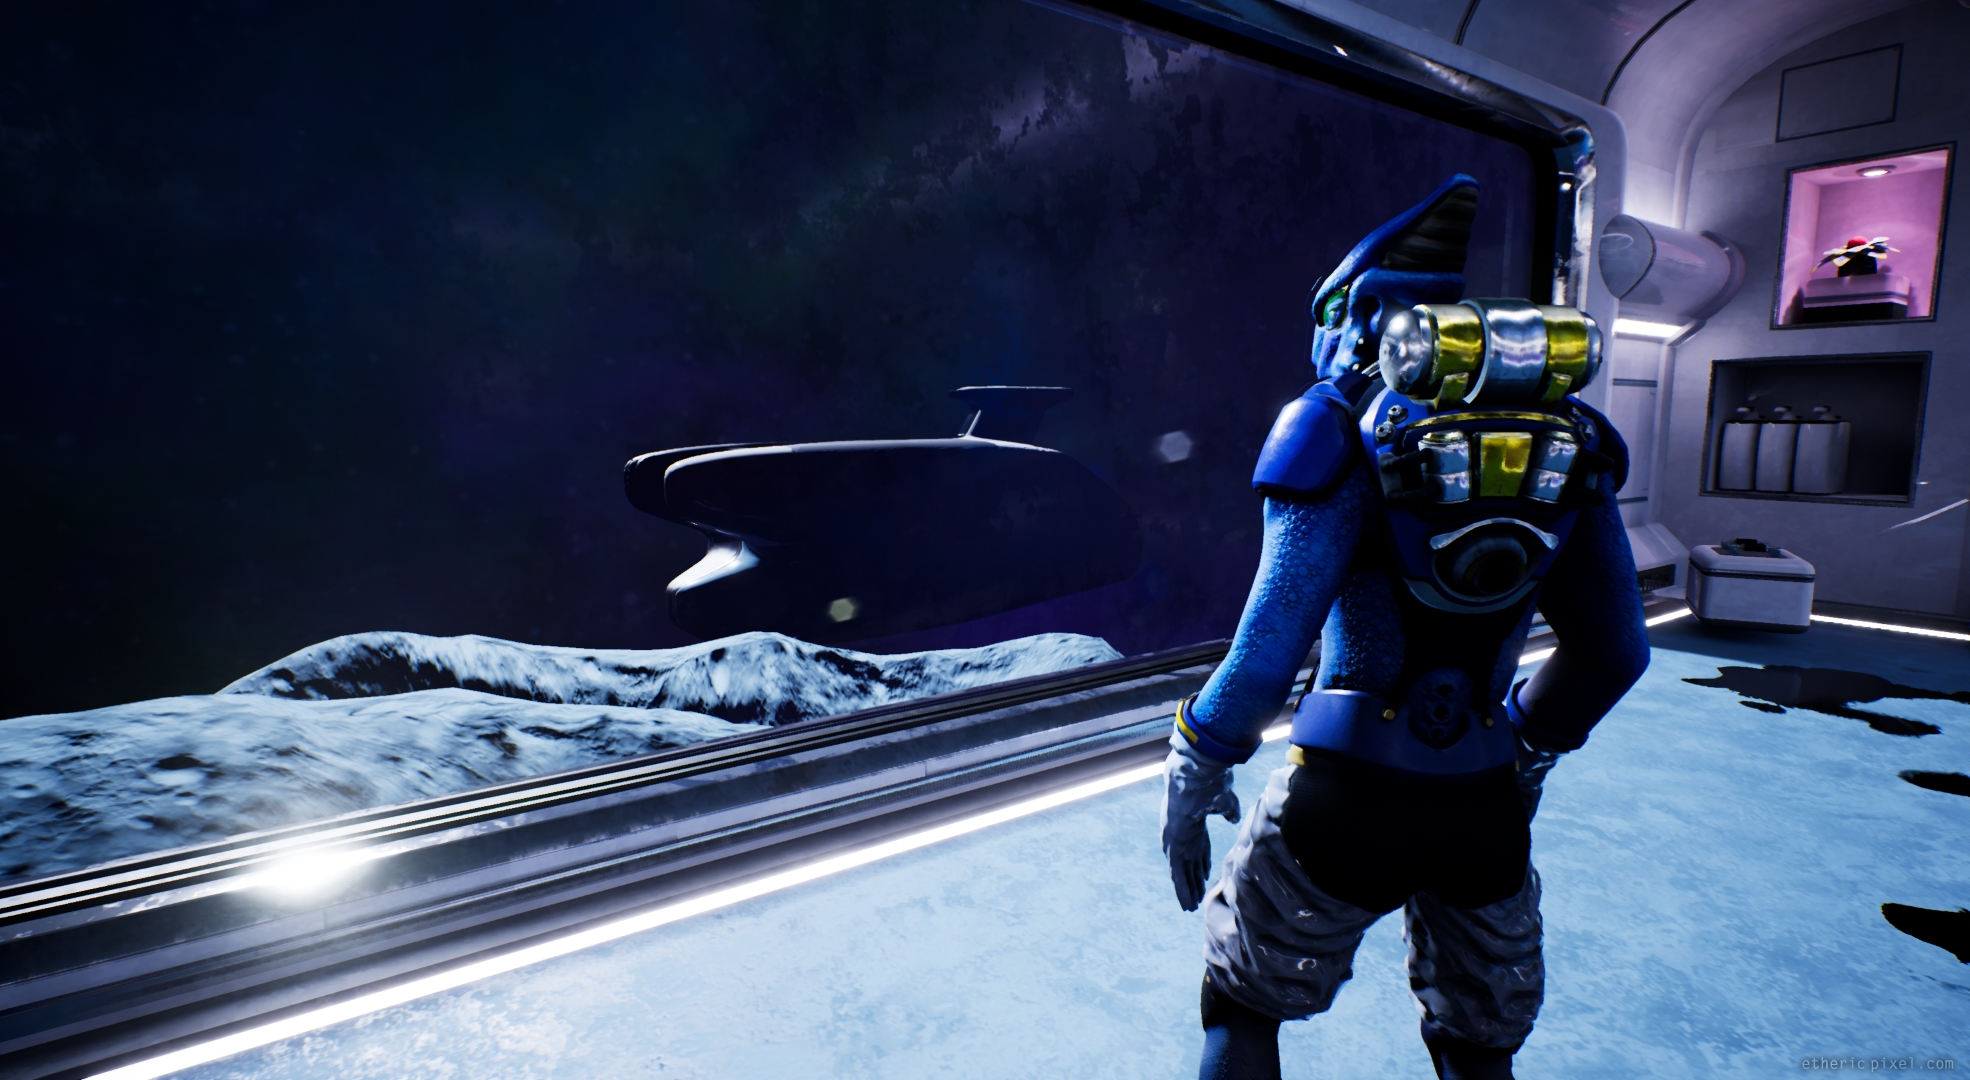
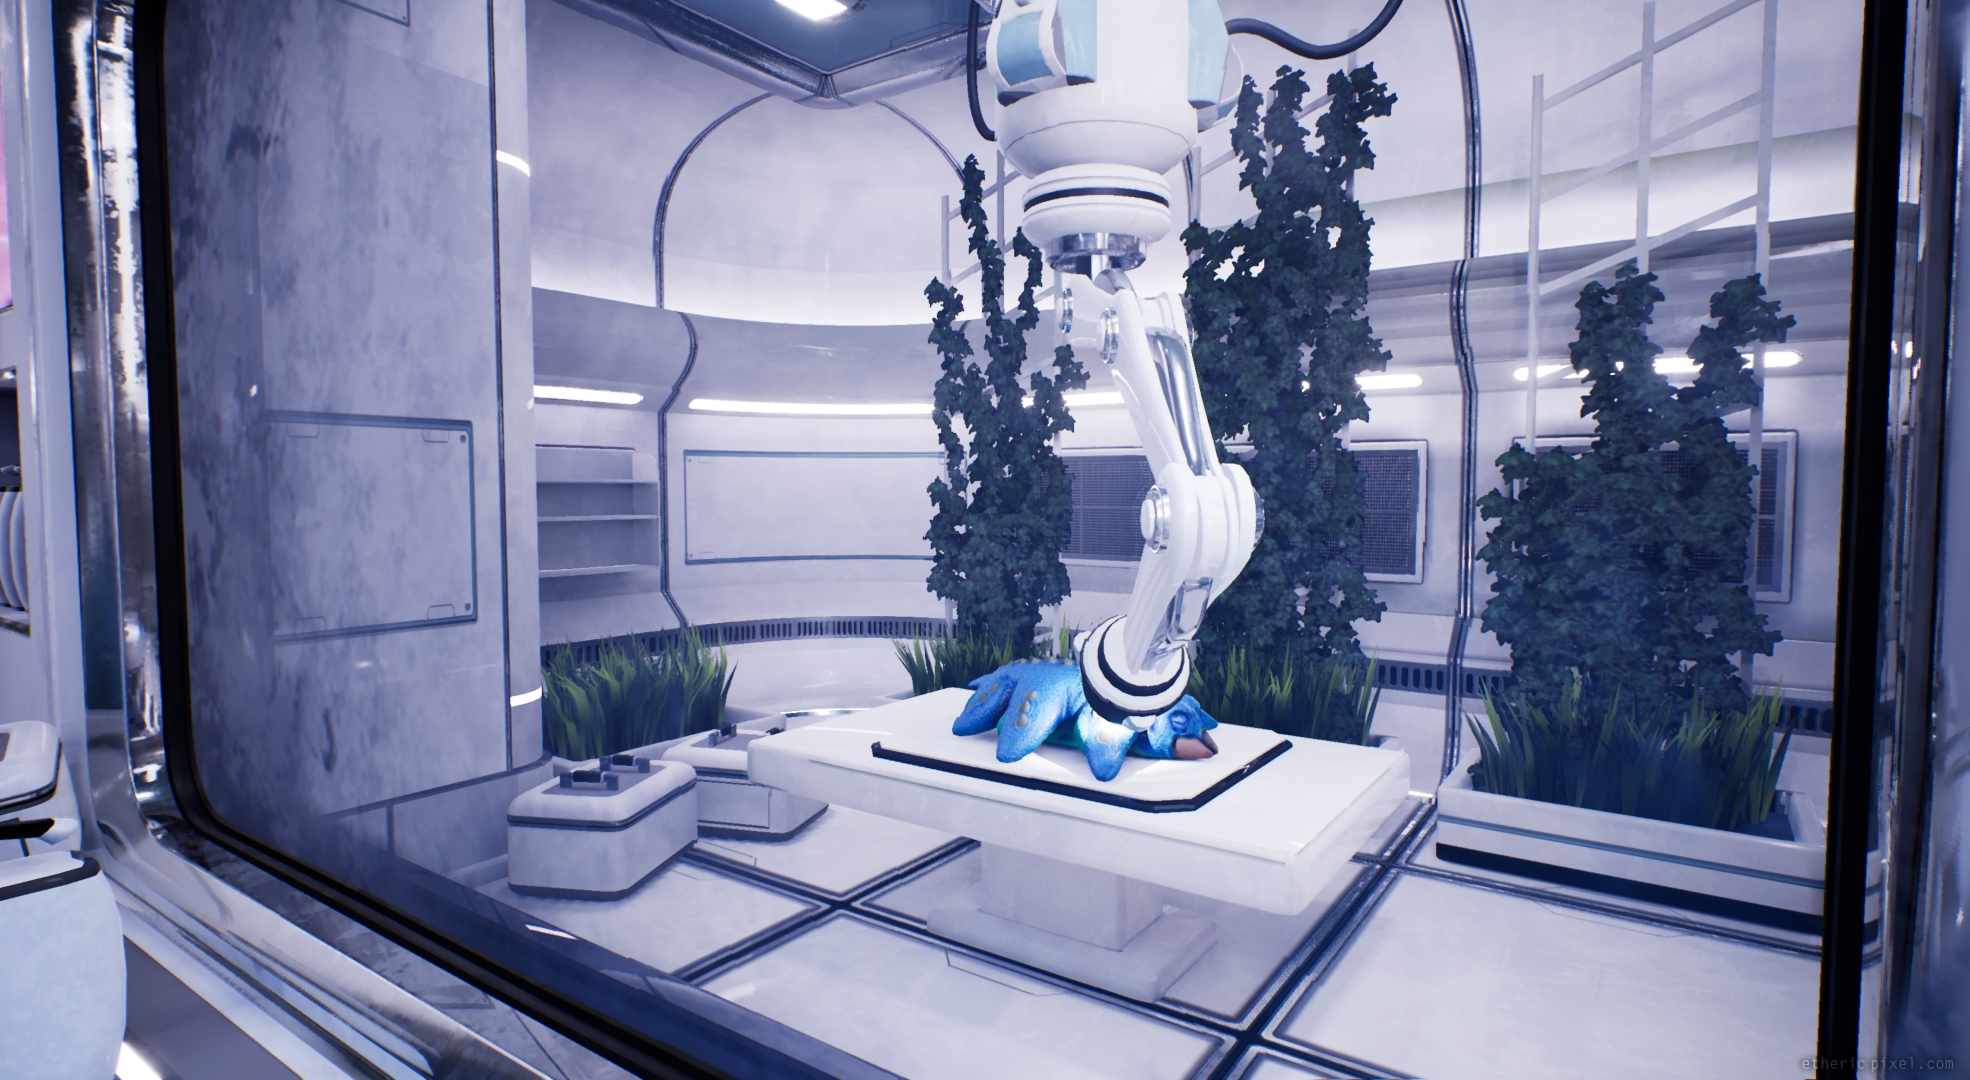
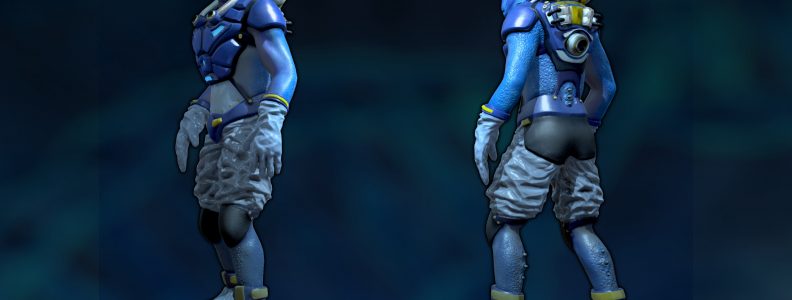
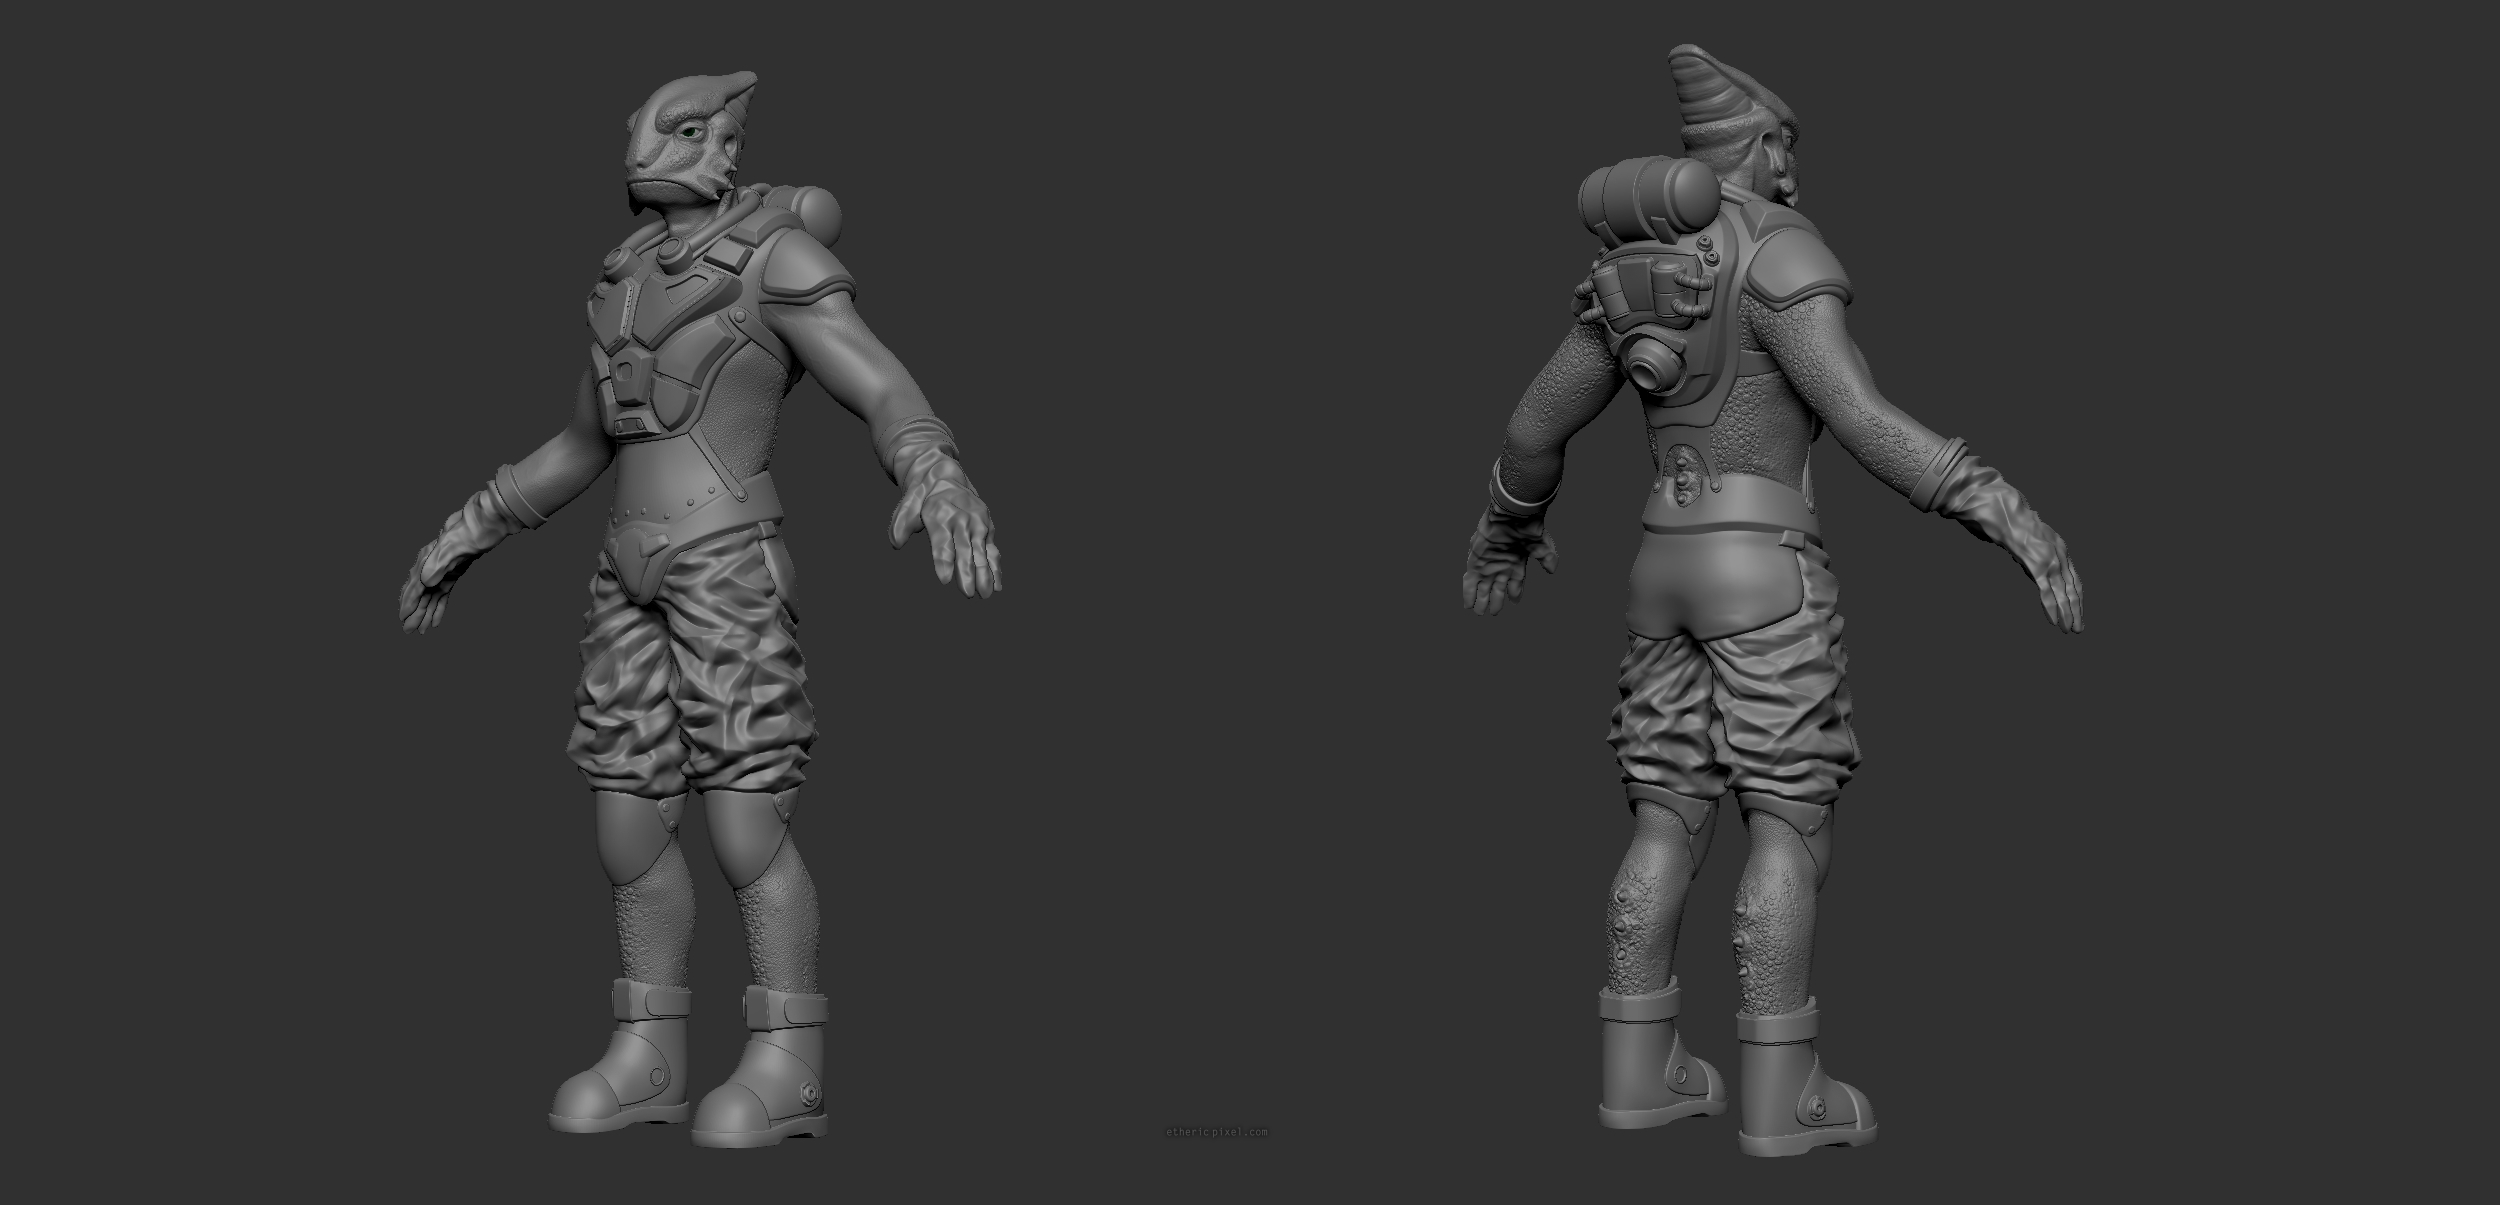
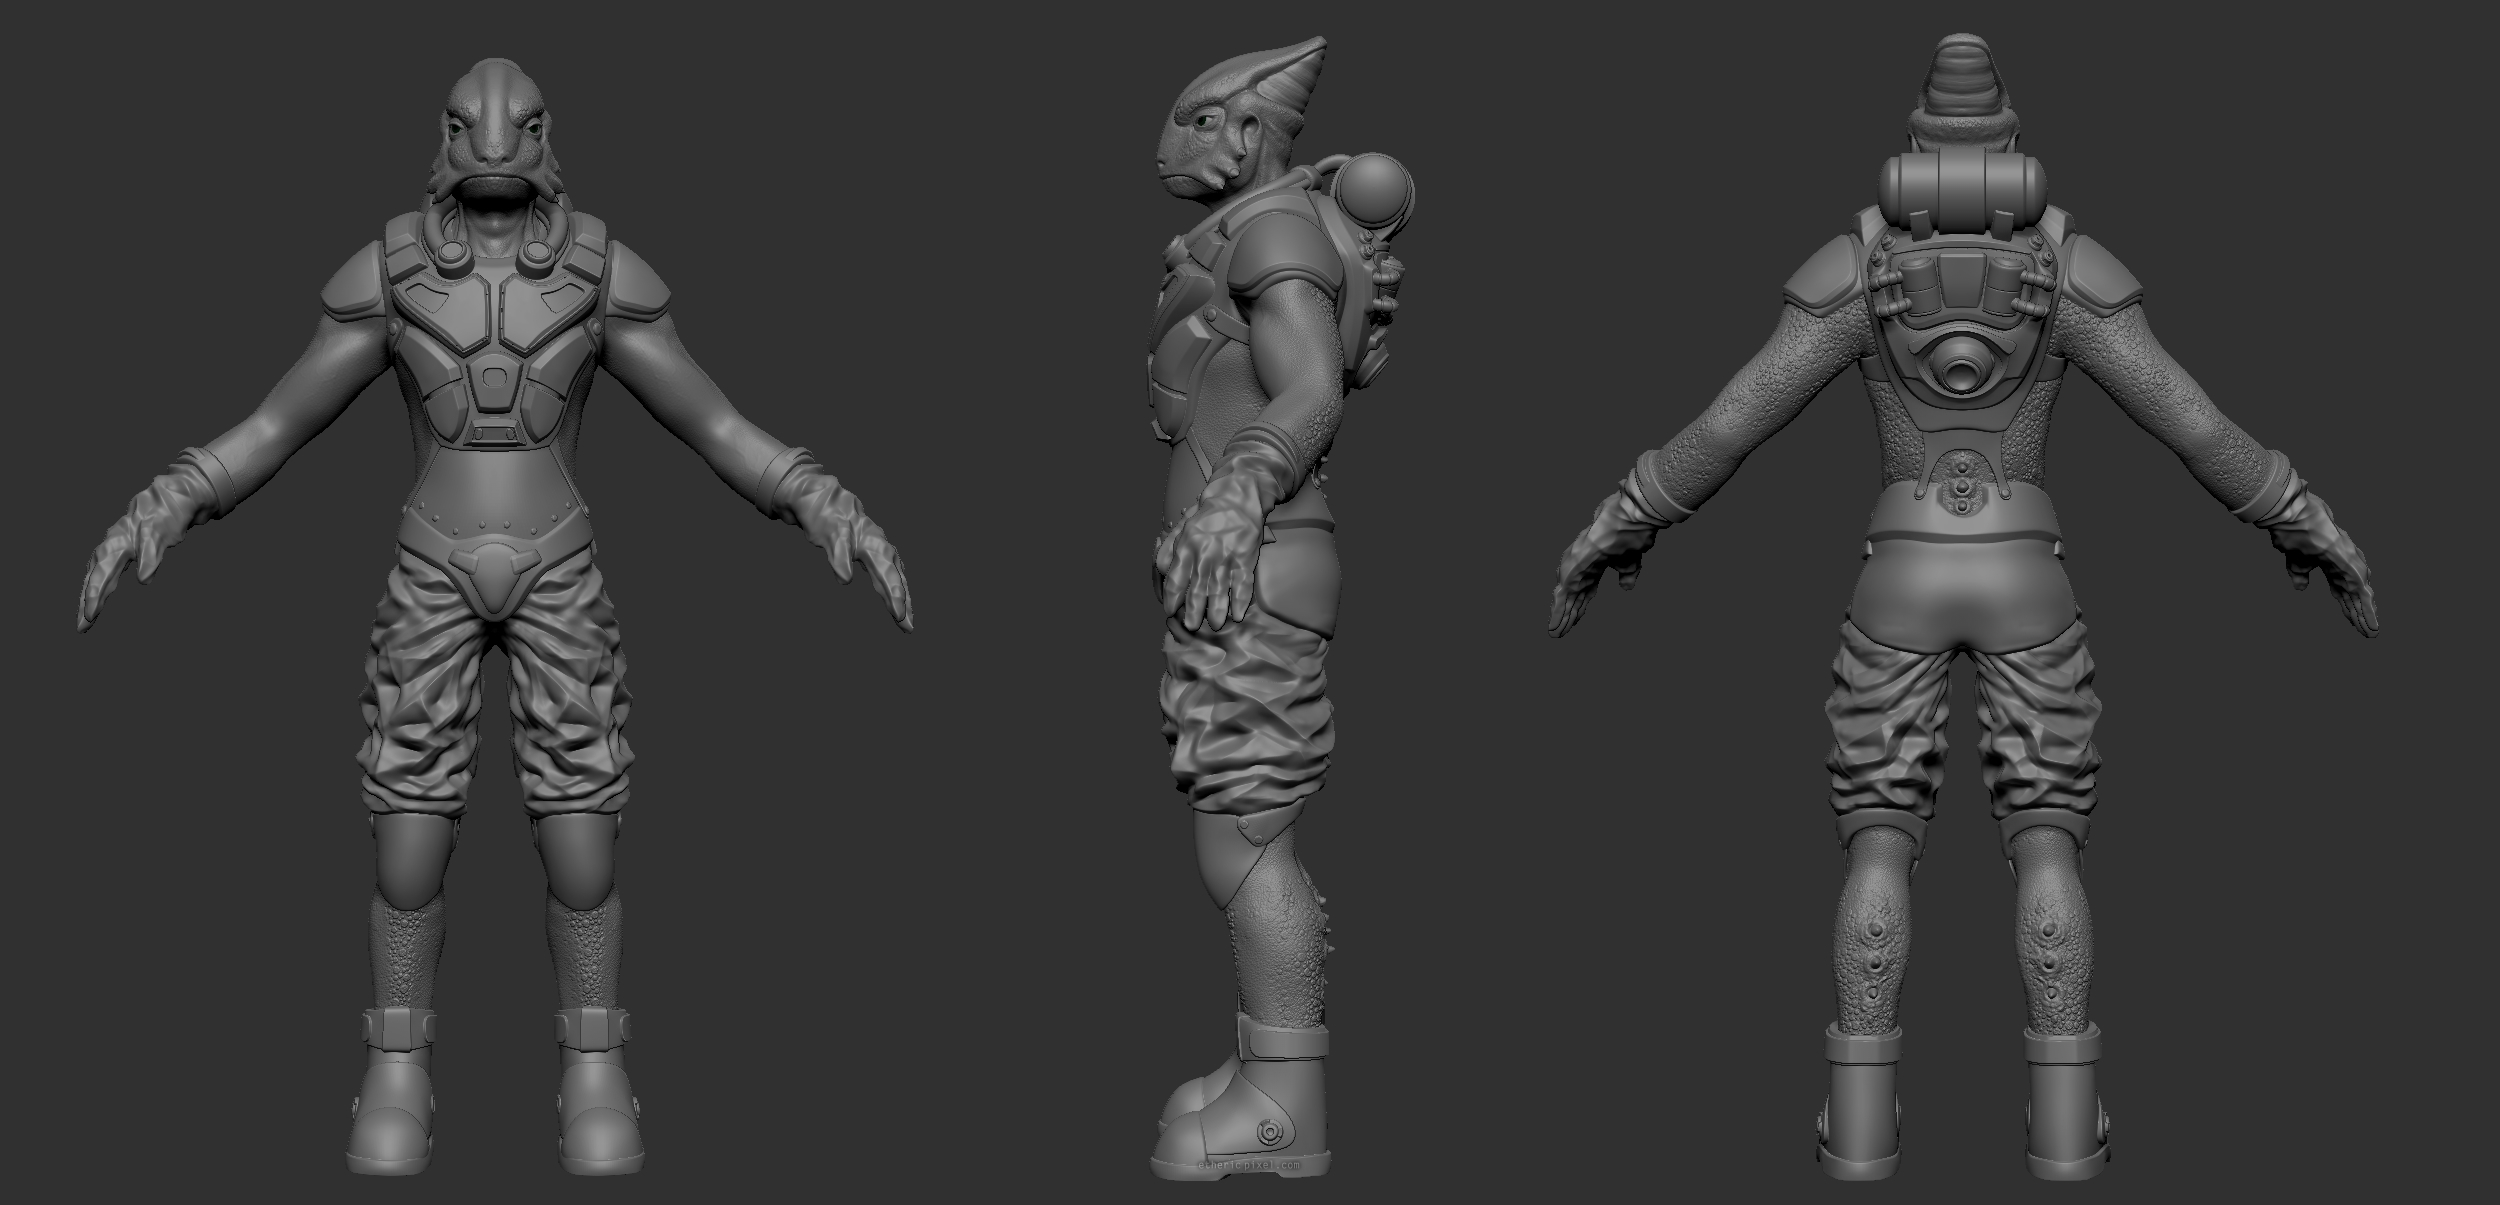
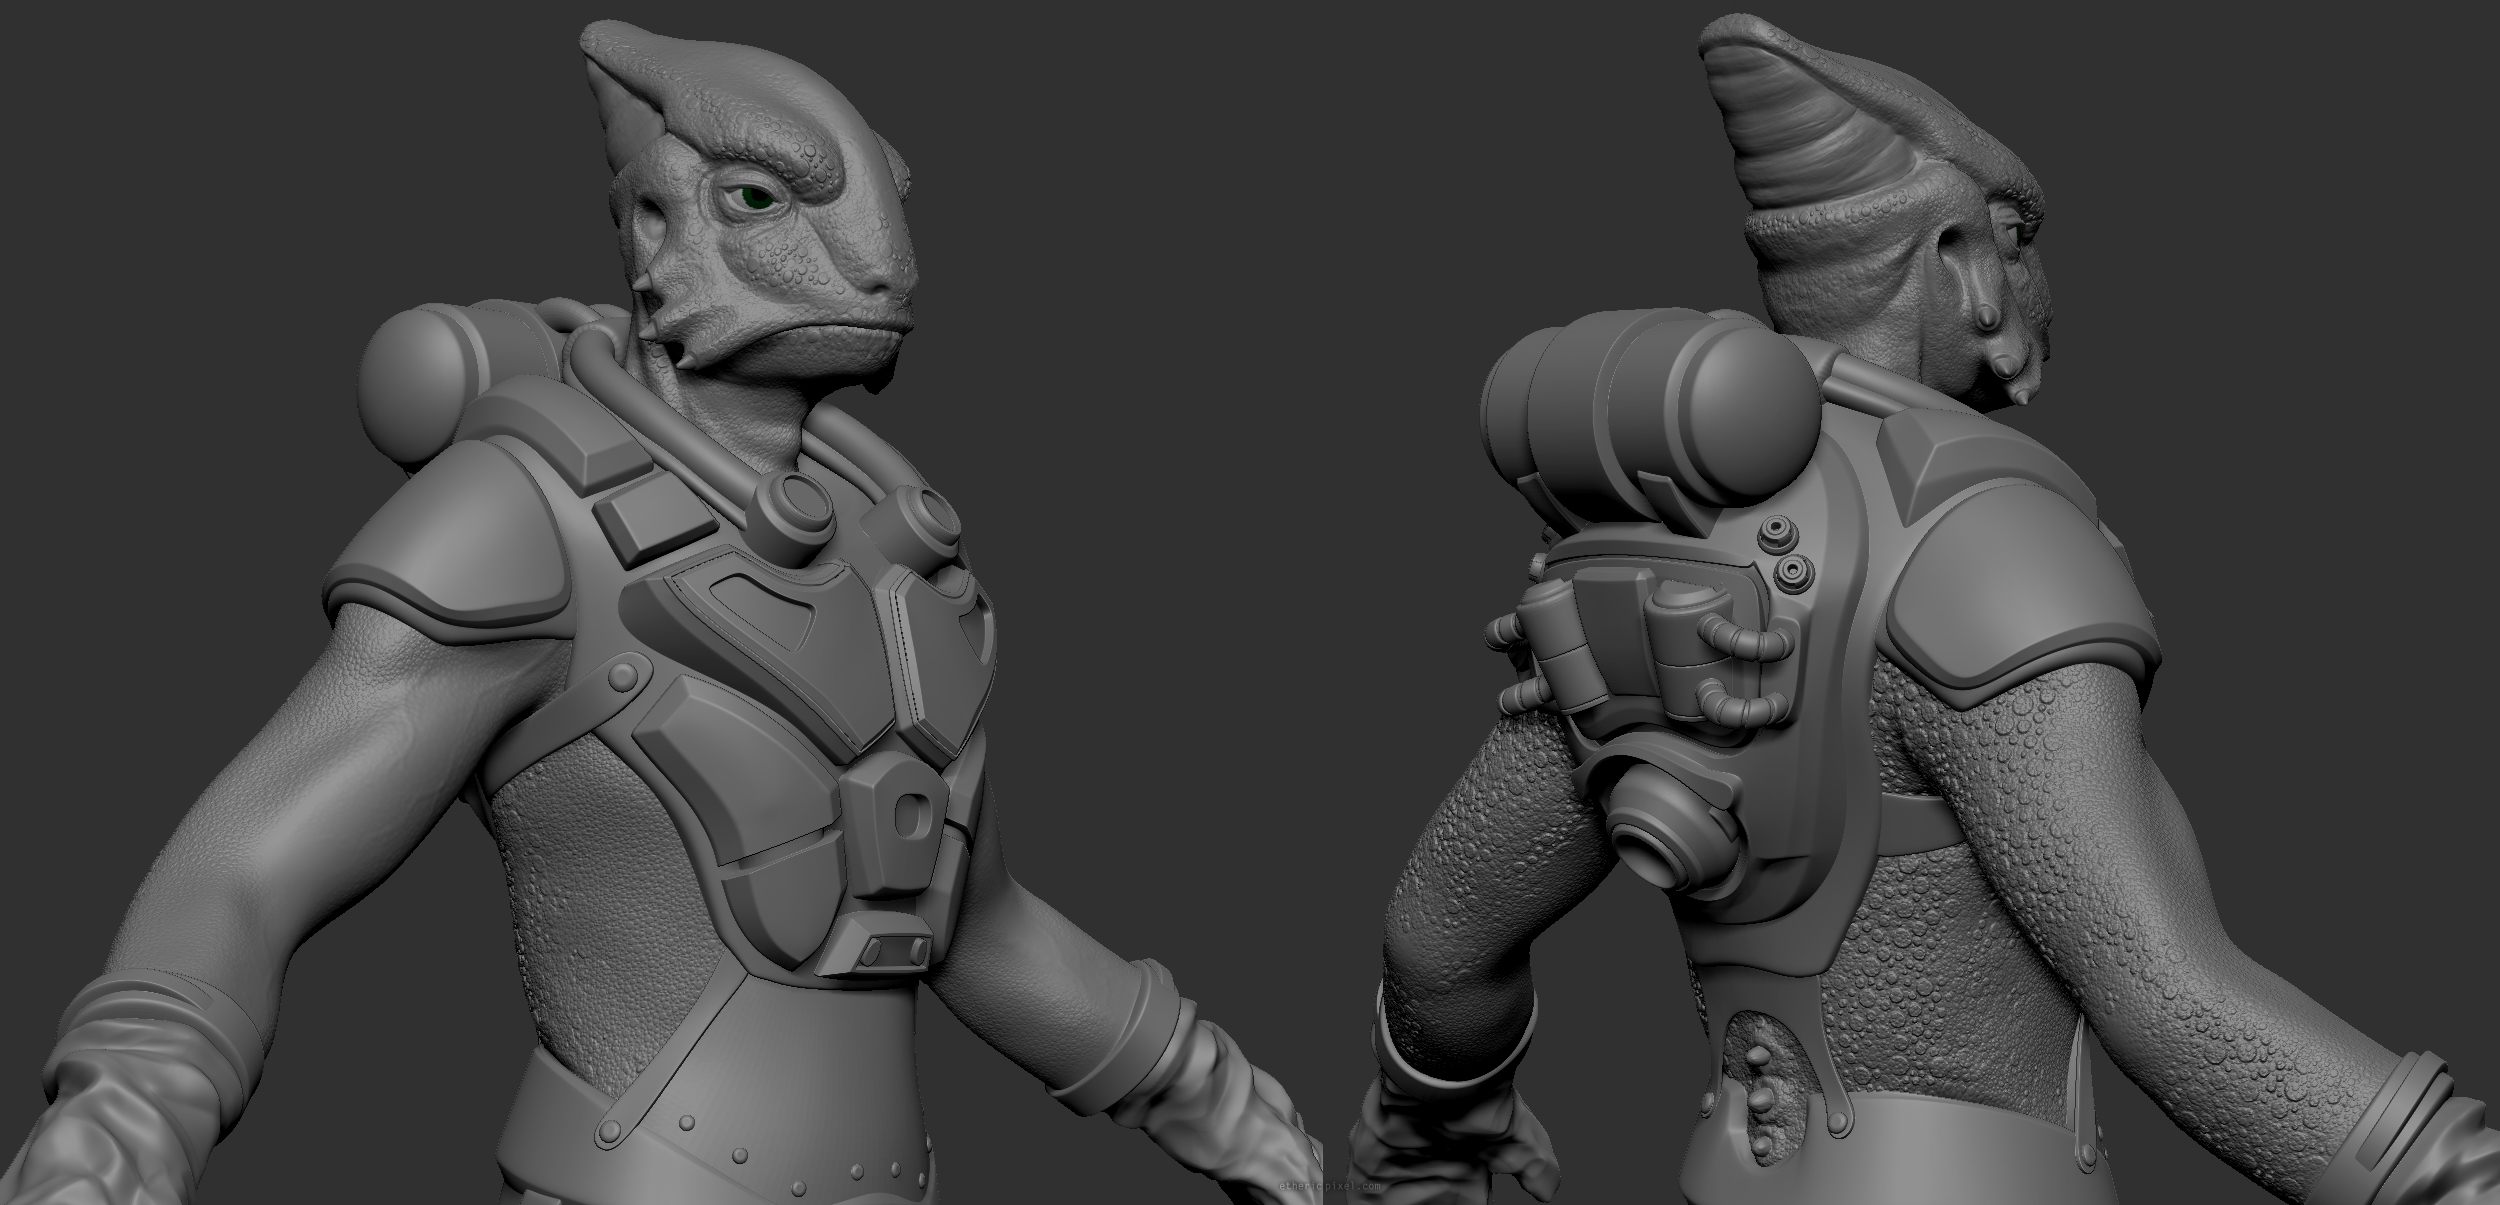
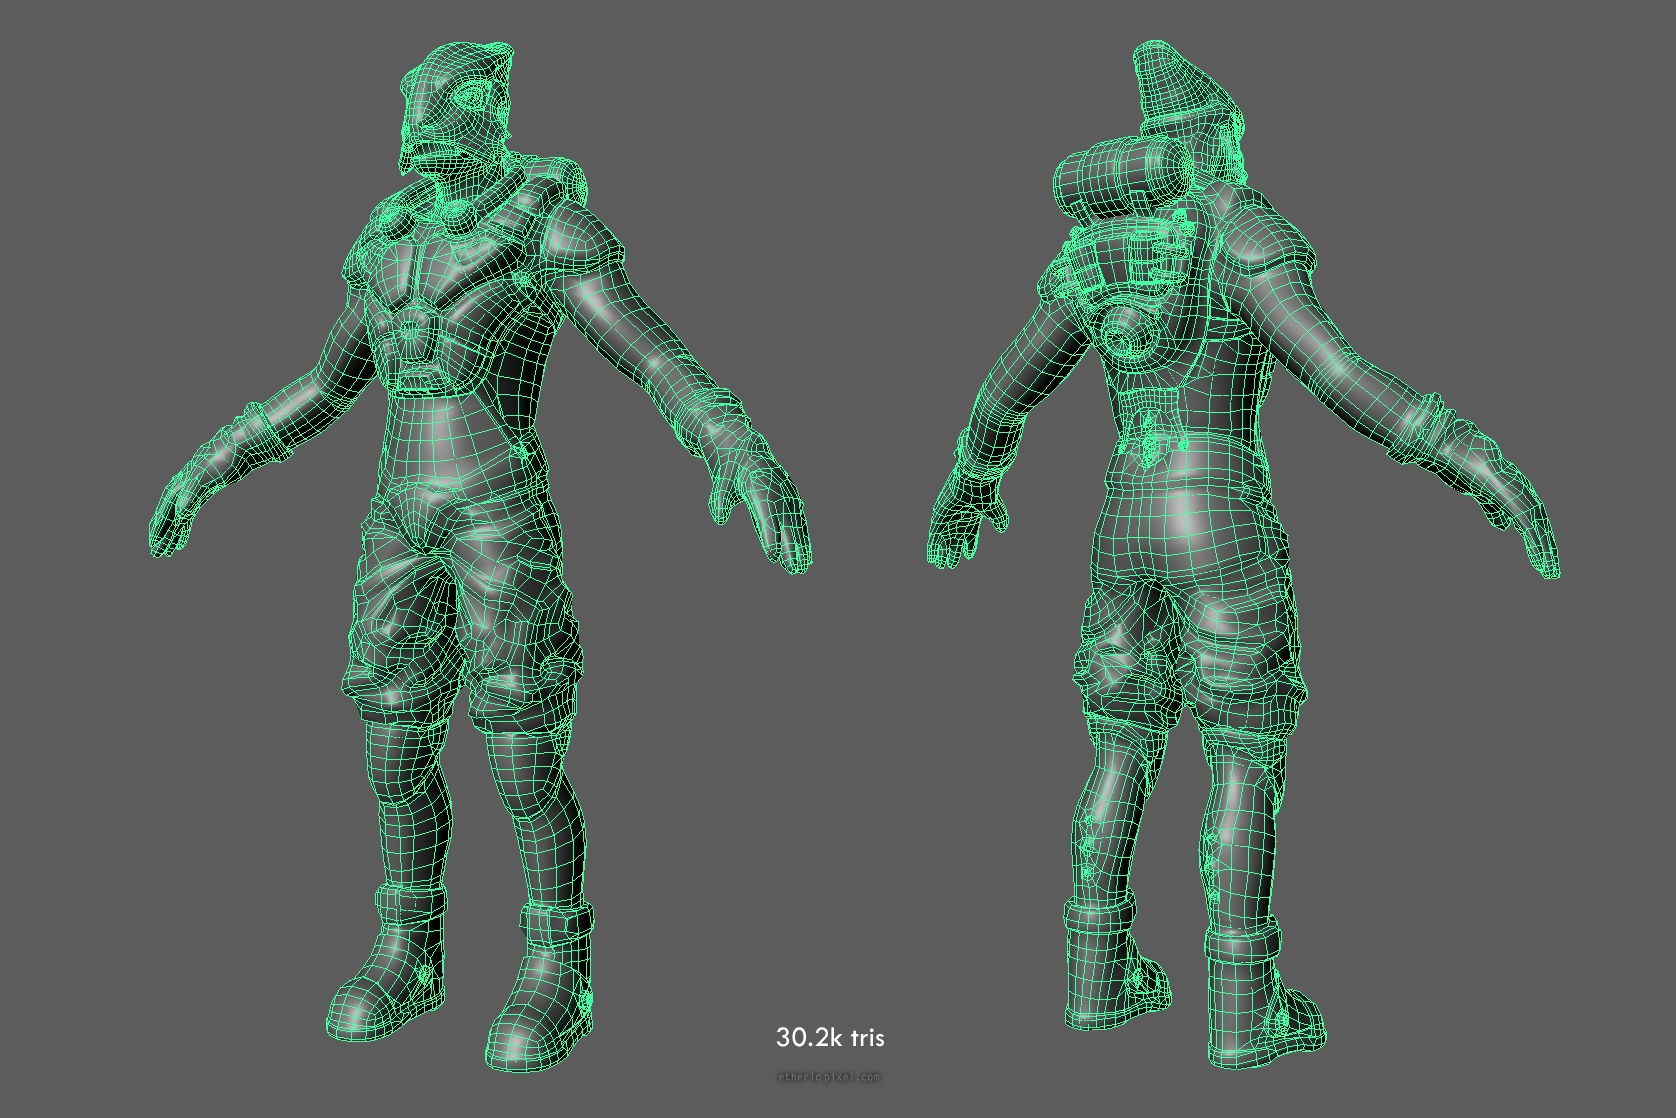
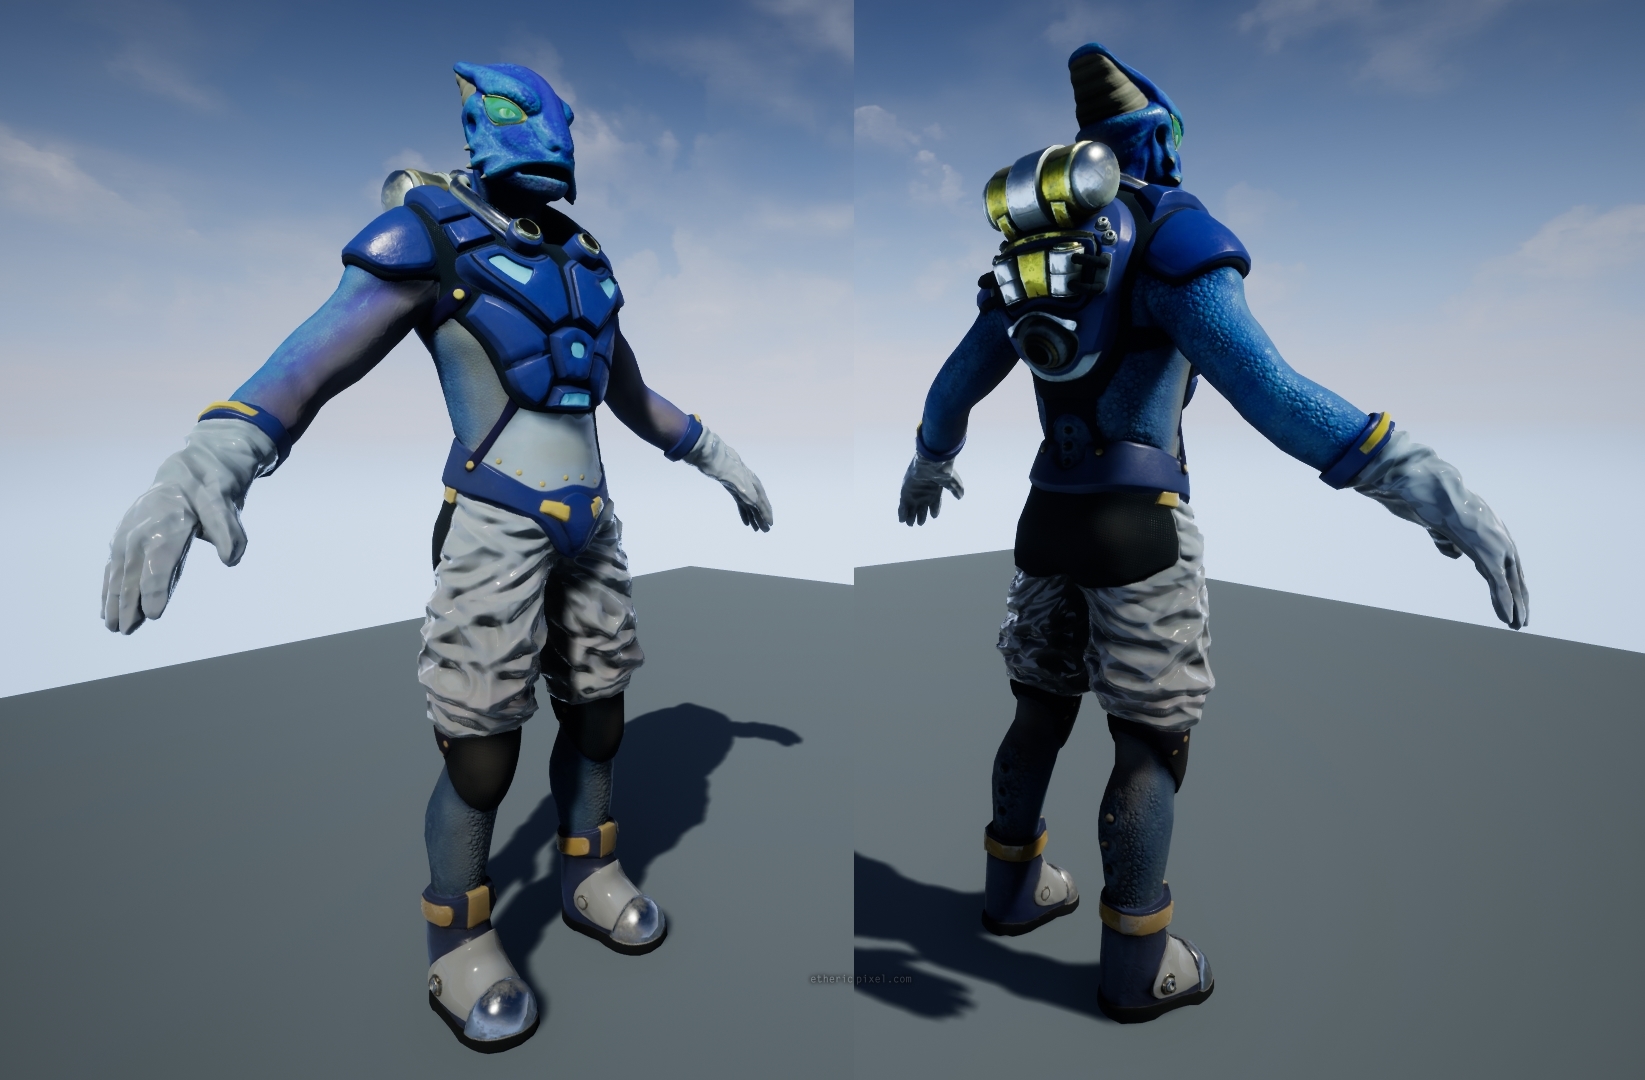
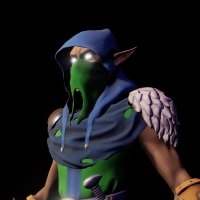
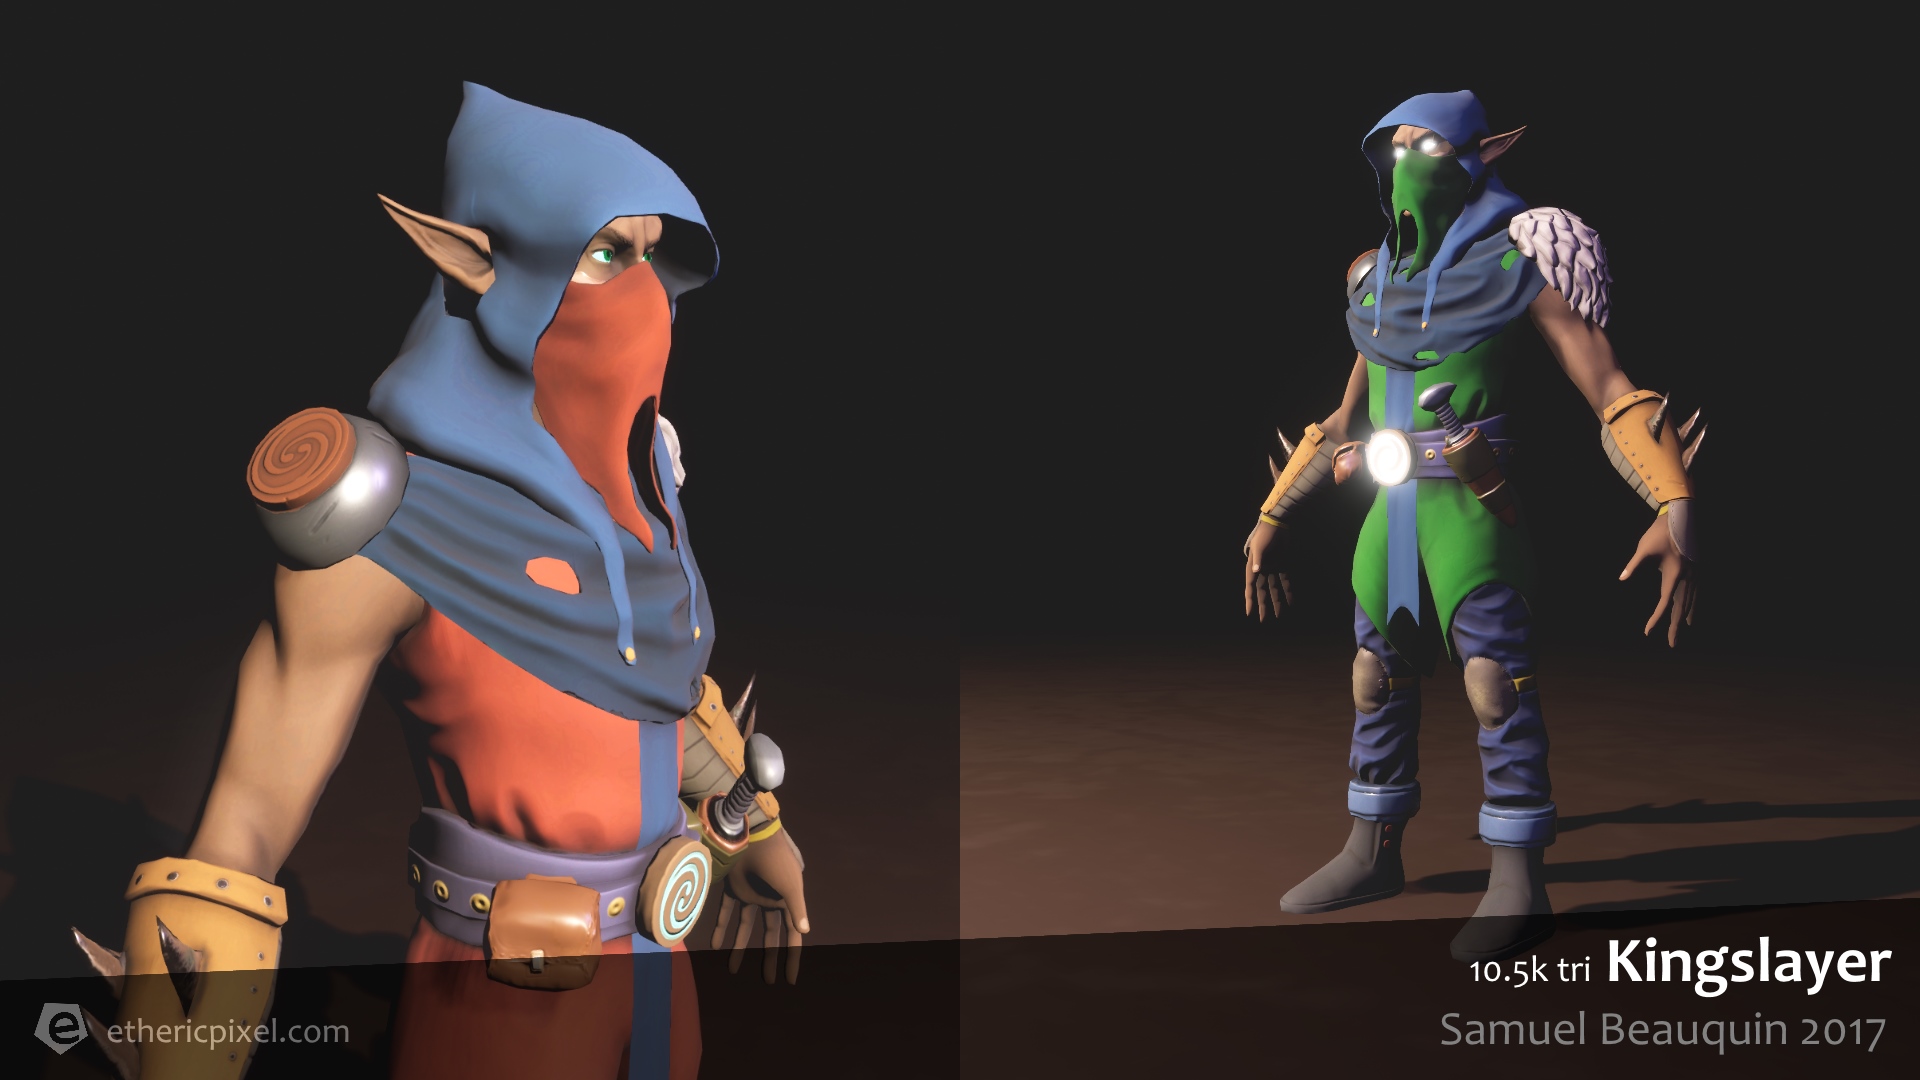
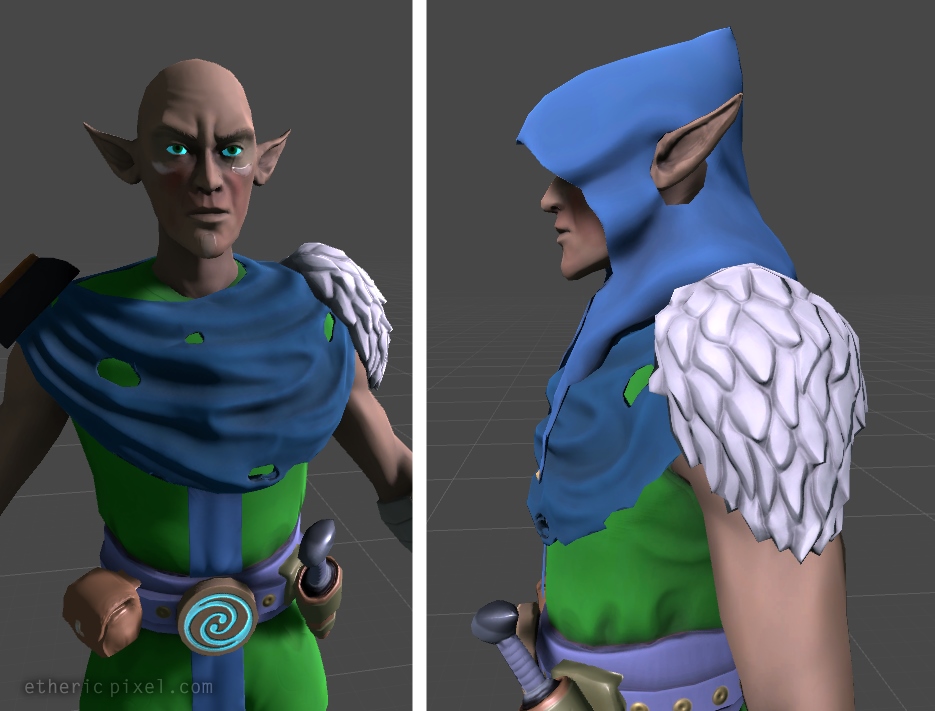
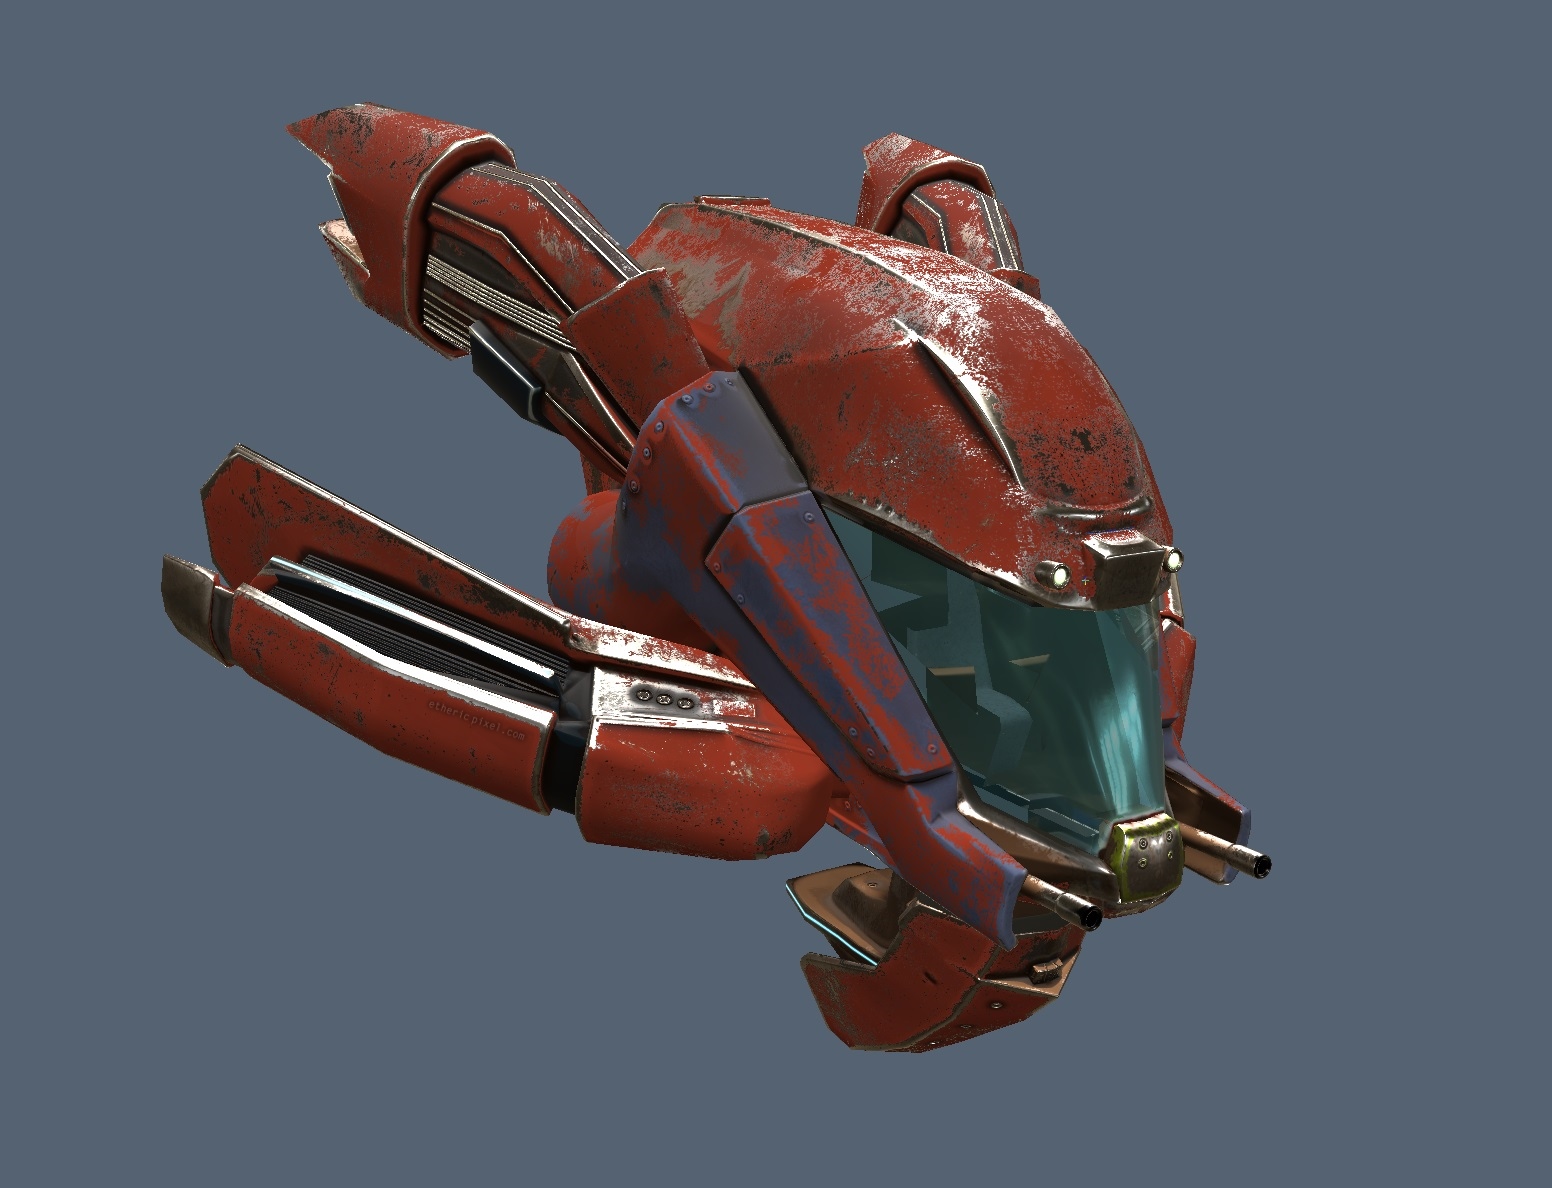
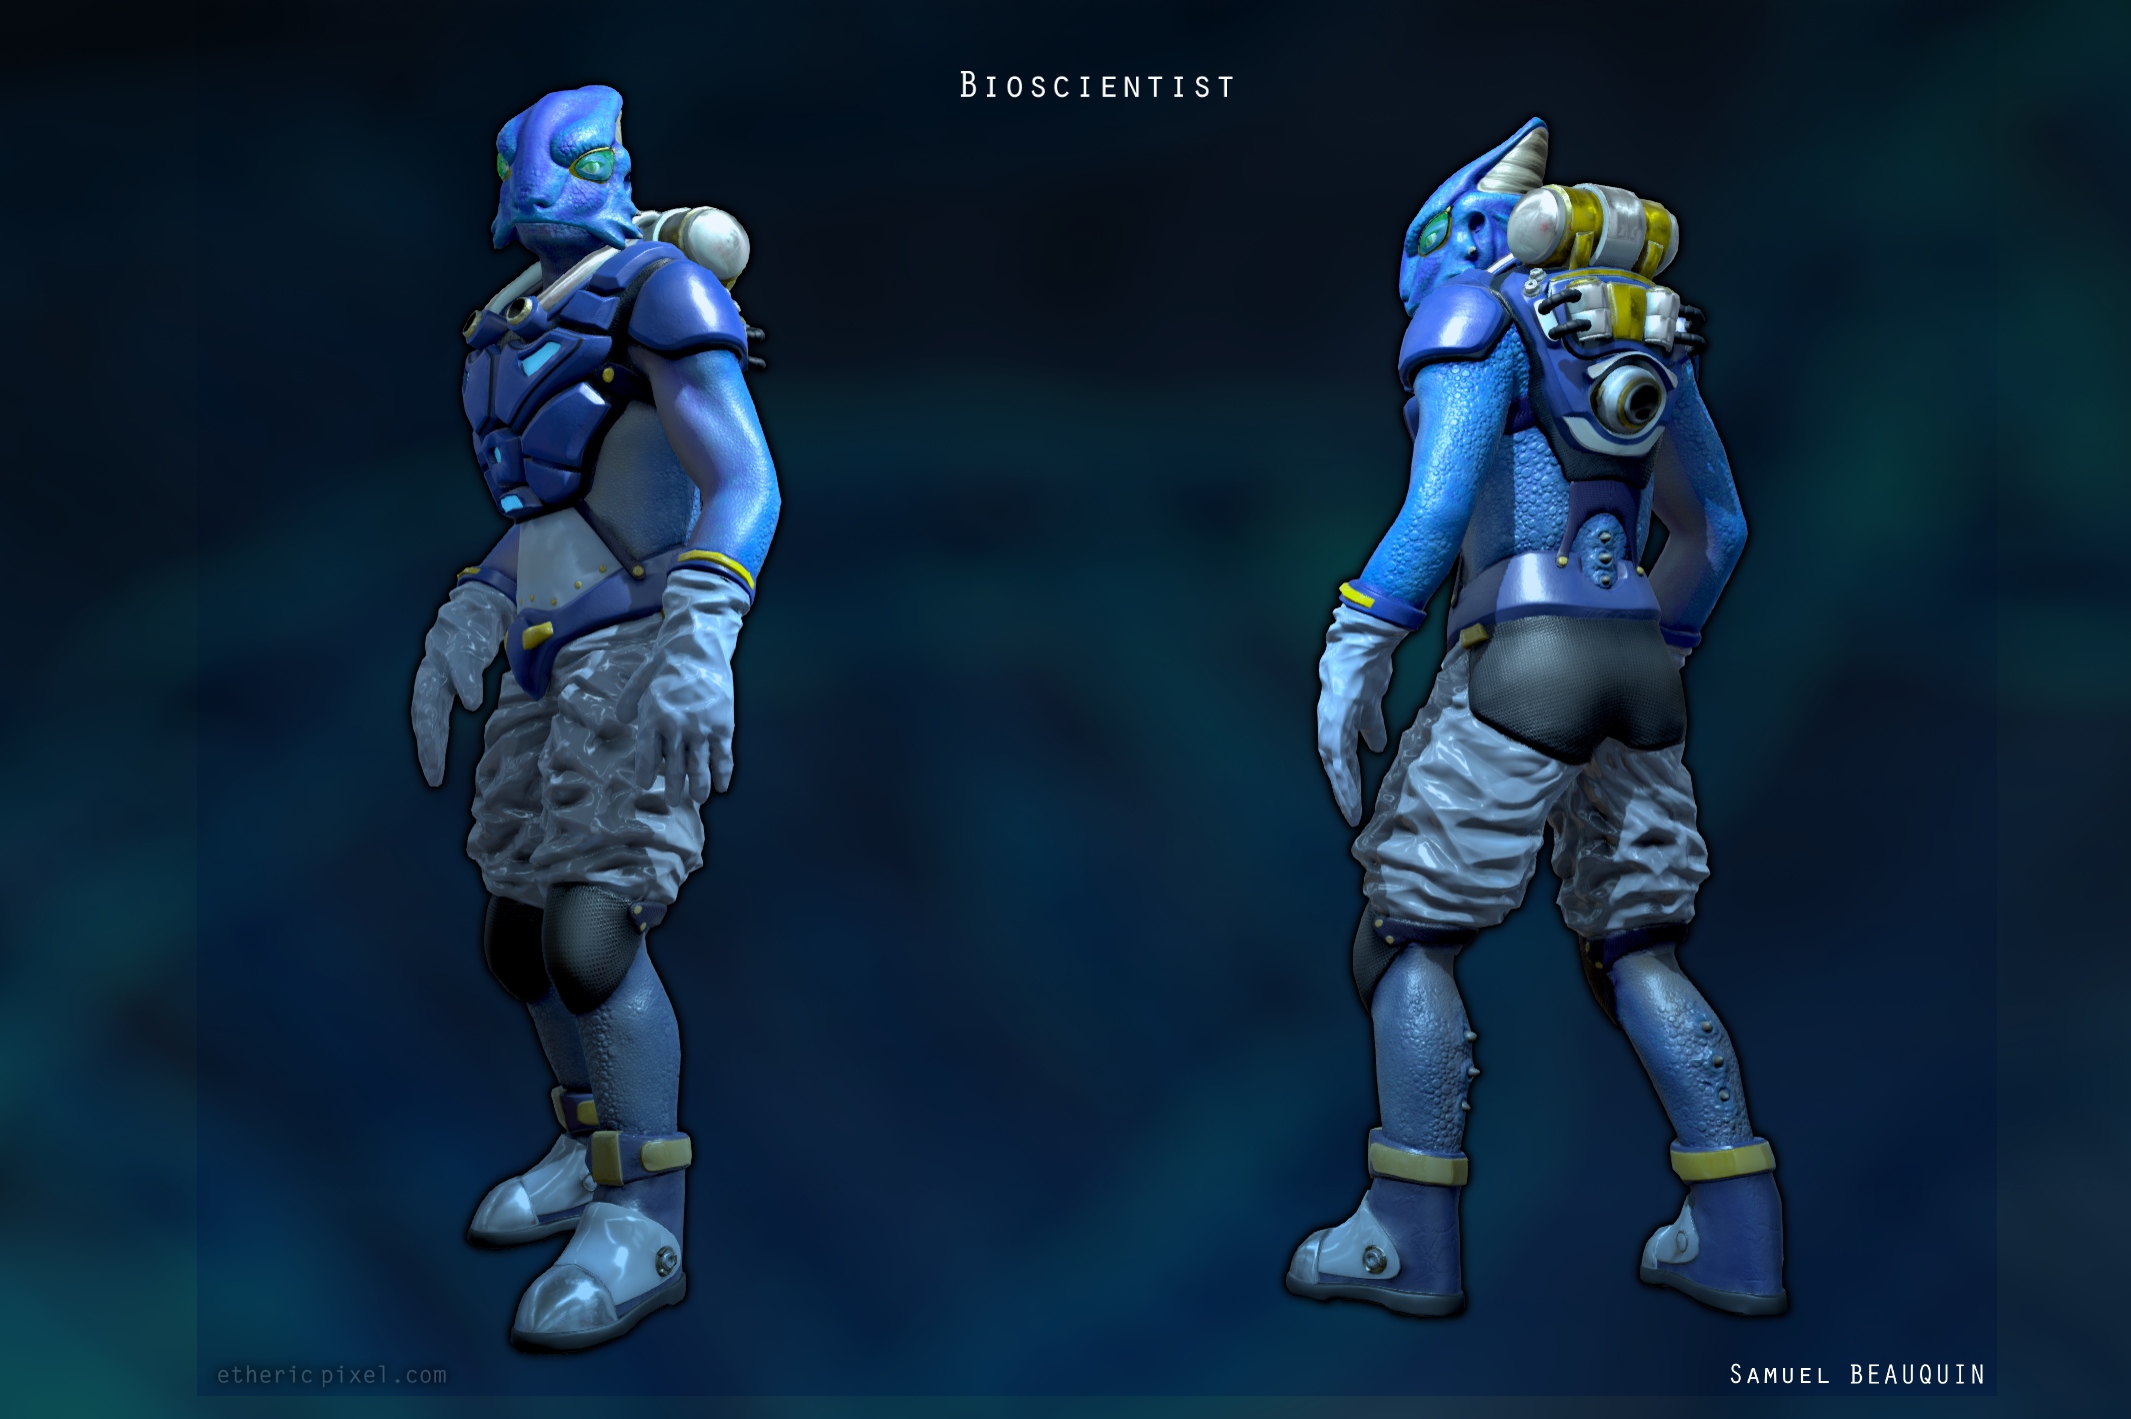
He (we assume Frank) is part of my end-of-year project (which is coming next).
The high poly model was done entirely in Zbrush (including the high frequencies of the organic).

It was the first time I worked hard surfaces in Zbrush.

I did a retopo in 3D-Coat, then I exported to Maya to tweak the UVs, skinned the model onto an existing rig, and some other adjustments. The final low poly model counts about 30k tris.

I did some vertex painting in Zbrush to bake the colors into an ID map in xNormal, along with a first Normal map, AO and Curvature before importing everything in Substance Painter to finish the texturing.

Then I integrated Frank in Unreal, tweaked the shaders and made him use his legs a little bit.


Making a humanoid reptilian Character was part of the original request. I didn’t want to go for a feroce space tyrex in steel armor with a lasergun, I went for a … let say a peaceful scientist thinking of his own place in the universe when he raises his look towards the cosmic space the eyes full of wonders…

References for the safety suit:


See this on my ArtStation

Highlands Boulders

An arrangement of modular rocks sculpted in Zbrush and textured in 3DCoat.

The final set has 11 rock units and a polycount of about 14k tris.

Roughness, Albedo/Color and Normal map:

Rendered in UE4 (4K textures) (do not pay attention to that random ground texture):

I wanted to make them look realistic so I made my textures out of raw pictures (actually of a piece of an old rock wall) that I projected on the low poly models. The cracks and most of the details in the normals come from the baked high poly.

The set also includes 3 little clumps of moss. Timewise not very efficient for filling an entire scene or even covering a single rock with these, but, anyway… this was part of the experiment.

Sketchfab (2K textures)

Kingslayer Game Character

Finally I got to show my work on the fantasy character I did for the January exams.
This is the textured, low poly version of my sculpted assassin/mage.


I went through some serious baking problems that had to wait a while before I could fix these.
Since I am busy with the next projects I didn’t push the texturing (3D-Coat) very far.

Just below is what I got after skinning the mesh on an existing, animated rig and testing it in Unity:


This is the final version, which is to be integrated in one of my final projects, for Jun.

Low Poly Spaceship

This is the less-than-6k-verts spacecraft I made for my January exams.

Modeling and normal map baking were done in Maya, however most of the details of the normal were painted in 3dCoat, before applying the colour.

This my first hard surface modeling and texturing work. The normal baking went well,
the texturing looks still a bit gross (as it was done in about 4 hours) but the great texture presets from 3dCoat saved my life 😀

I am not the author of the design. We had to start from an existing concept.
I found the one below inspiring so I started here:

If you lost yourself in this blogpost, please don’t hesitate du leave your feedback as you pass by 😀
You can aslo subscribe below to be notified of my future artwork uploads.

This is Halloween

Hi there!

Let me introduce my first low poly model ever made following a proper workflow.
Sculpted in Zbrush, retopo and texturing in 3DCoat.
This fall I starded Game Art studies in Belgium and this lovely dribbling skull pumpkin is my first school project. So, more is to come…

Happy Halloween!